Photoshop合成正在施法的巫师【英】(9)
文章来源于 photoshoptutorials.ws,感谢作者 MARIA SEMELEVICH 给我们带来经精彩的文章!Step 147
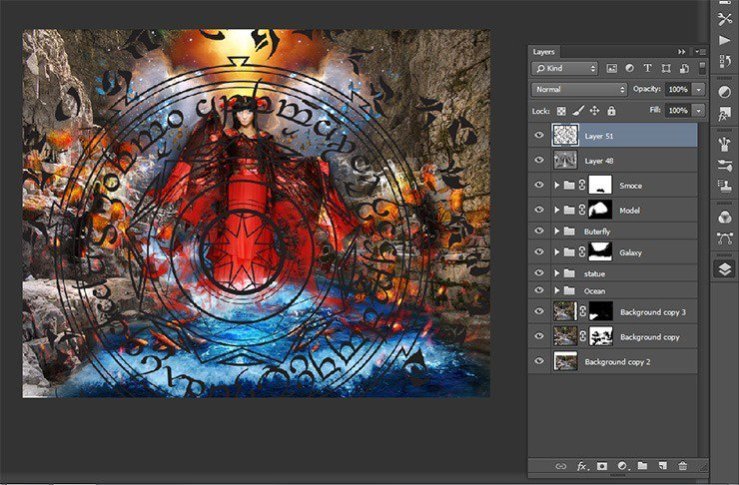
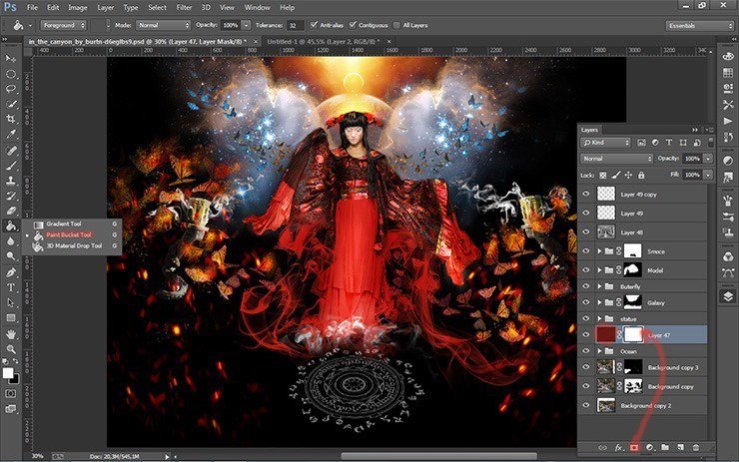
Now add magic mandala! I drew it myself :) If you do not like it, replace. Go to File> Place. Select imedge of mandala. Mandala layer must be the topmost.
Step 148
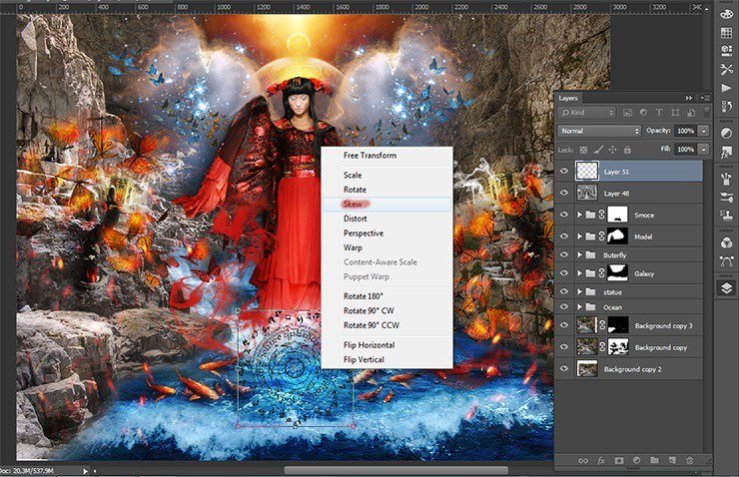
Transform the mandala. Please change the size, to reduce the size of the circle on the water left, and then tilt it in the plane
Step 149
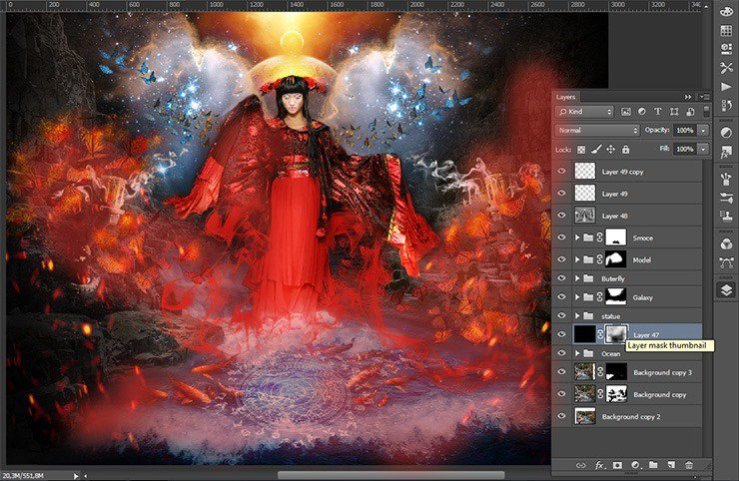
After transformations, invert it the short key Ctrl+ Shift+ I. Duplicate the layer with the mandala the short key Ctrl+ J.
Step 150
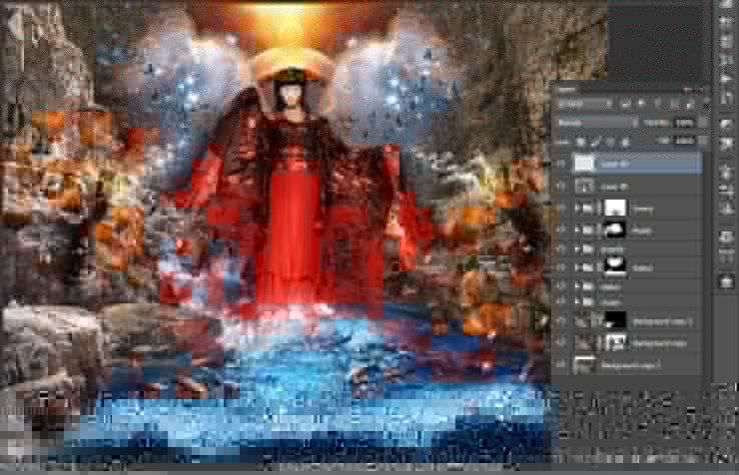
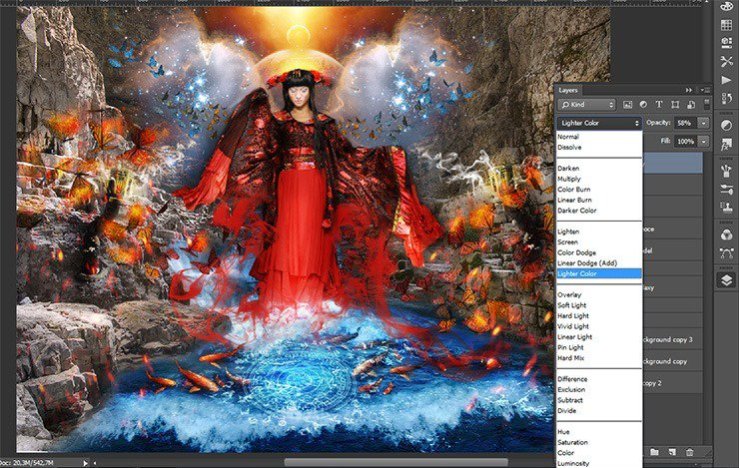
Change the blending mode for the first mandala to Overlay for a second Lighter Color.

Step 151
Proceed to completion of the atmosphere. Create a new layer the short key Ctrl+ Shift+ N and fill it with black. Add a layer mask.
Step 152
Take Brush Tool (B). Set these settings: Size: 400px, Hardness: 0% Opacity: 60%, Flow: 100%. Remove from the middle part and of the landscape black.
Step 153
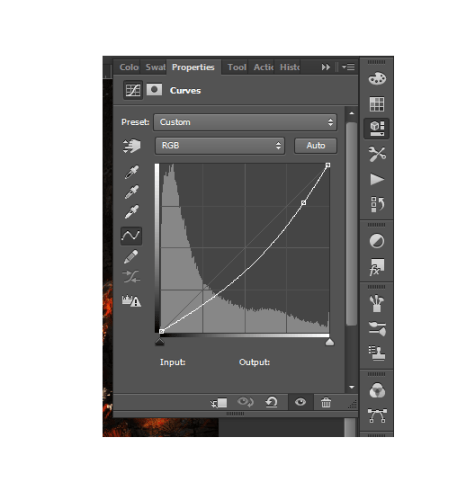
Proceed to the final part. Add two adjustment layers. The first is Curves.
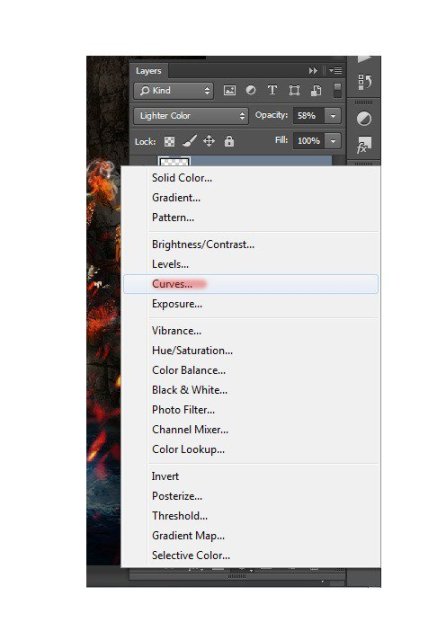
I wanted bright colors were much brighter, so set the curve as shown in the figure.
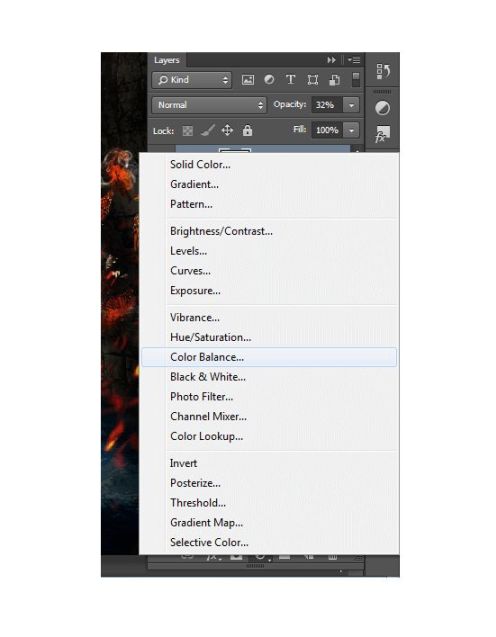
Step 154
The second adjustment layer is Color Balance.
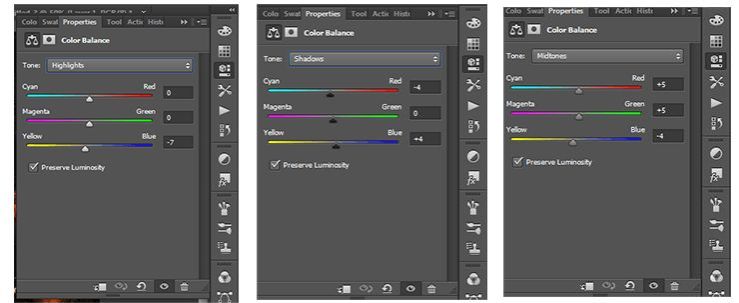
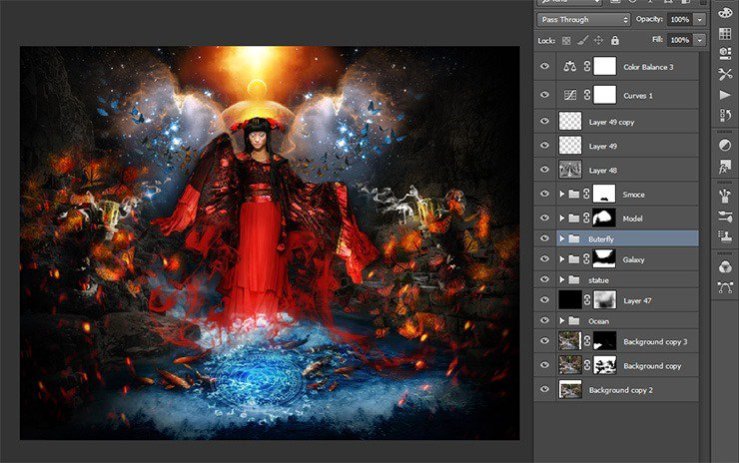
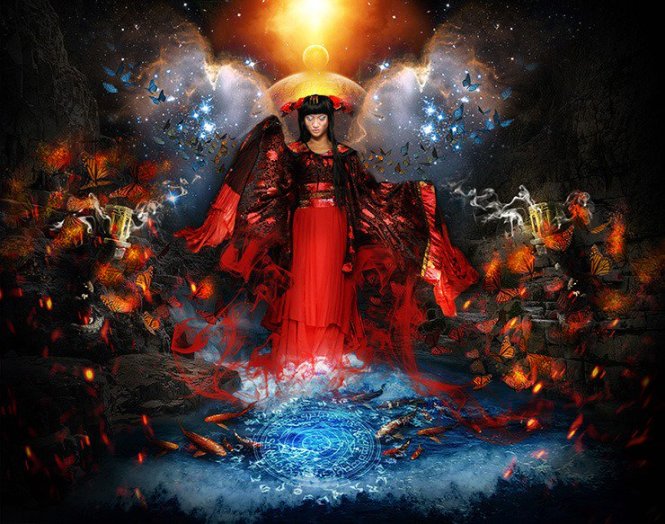
Step 155
Here is the complete look of the final. Painting has done! You1 can see all the layers and their location.
Final Results
 情非得已
情非得已
-
 Photoshop制作复古风格的老照片效果【英】2018-04-23
-
 Photoshop合成长着创意大树的长颈鹿【英】2018-04-23
-
 Photoshop合成冰冻特效的金鱼场景【英】2018-02-10
-
 Photoshop合成梦幻风格的森林场景【英】2018-02-10
-
 Photoshop合成正在施法的巫师【英】2018-02-10
-
 Photoshop制作金属质感的3D立体字【英】2018-01-09
-
 Photoshop设计火焰燃烧艺术字教程【英】2018-01-09
-
Photoshop制作复古风格的老照片效果【英】
相关文章11882018-04-23
-
Photoshop合成长着创意大树的长颈鹿【英】
相关文章13832018-04-23
-
Photoshop合成冰冻特效的金鱼场景【英】
相关文章34052018-02-10
-
 Photoshop制作黄金质感立体字【英】
相关文章7422018-02-10
Photoshop制作黄金质感立体字【英】
相关文章7422018-02-10
-
 Photoshop制作惊艳大气的3D立体字
相关文章14682018-02-10
Photoshop制作惊艳大气的3D立体字
相关文章14682018-02-10
-
Photoshop合成梦幻风格的森林场景【英】
相关文章24492018-02-10
-
 Photoshop制作复古双重曝光字体
相关文章6532018-01-09
Photoshop制作复古双重曝光字体
相关文章6532018-01-09
-
 Photoshop制作木地板LOGO刻印效果【英】
相关文章19272018-01-09
Photoshop制作木地板LOGO刻印效果【英】
相关文章19272018-01-09
