Photoshop合成正在施法的巫师【英】(8)
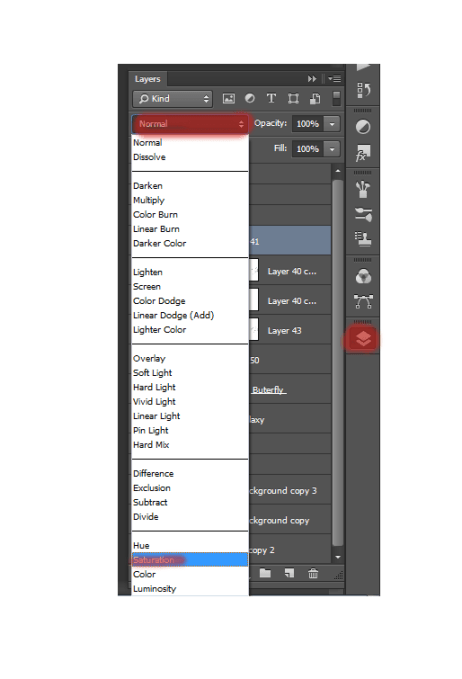
文章来源于 photoshoptutorials.ws,感谢作者 MARIA SEMELEVICH 给我们带来经精彩的文章!Step 131
Change the blending mode for this layer. In the Layers list, select the mode Saturation.
Step 132
Create new layer and repeat the application of fire. Take Brush Tool (B). Set these settings: Size: 75px, Hardness: 0% Opacity: 60%, Flow: 100%. Choose a color # ebb032. Add a mask to remove the group part of the lamp with the same brush that you did fire.
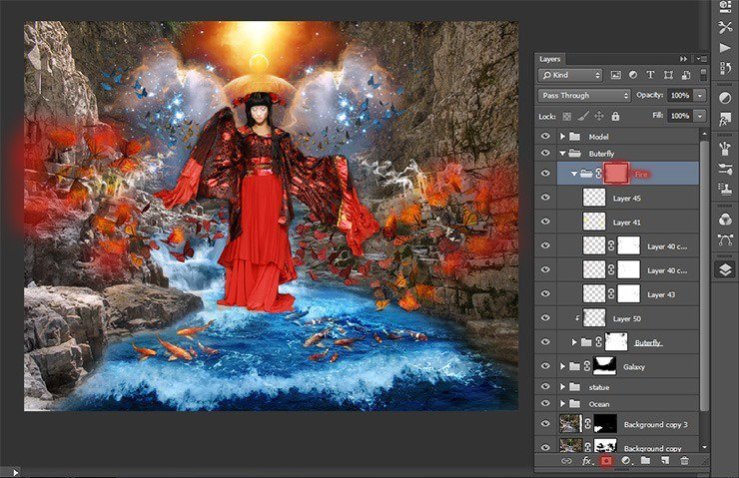
This will give the depth of the fire. The figure shows the result.
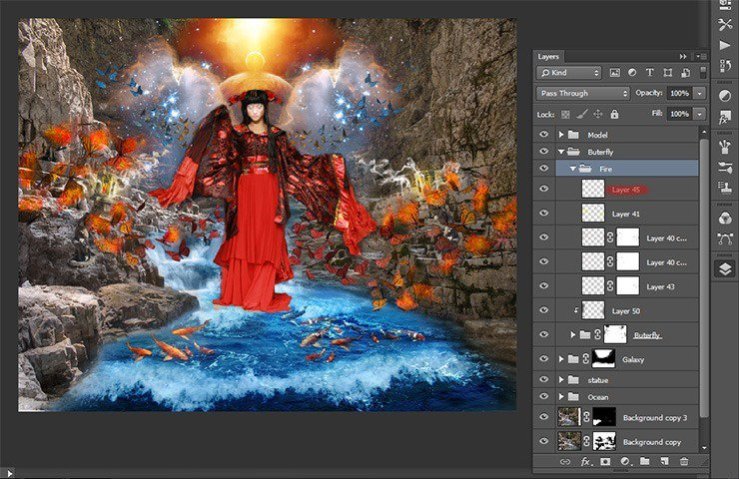
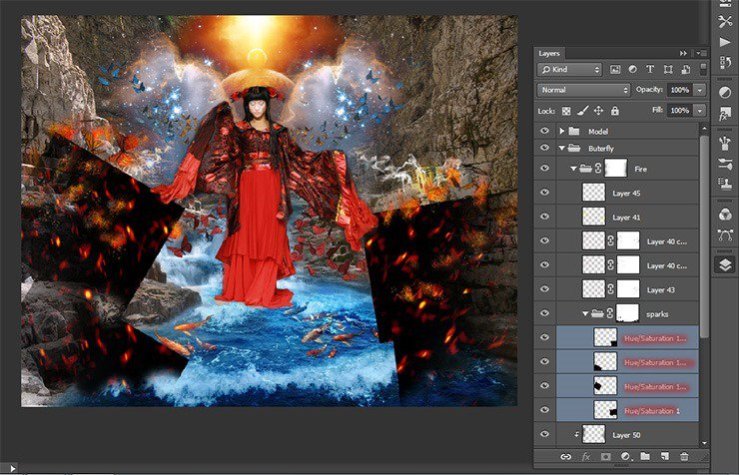
Step 133
Now add sparks Go to File>Place and select image with sparks. Create a new group and place added file there. Reduce the size of pictures that sparks were not so big and tilt them slightly.
Step 134
Duplicate the layer with the sparks turned 3 times, the short key Ctrl+ J. Place two layers of the right so that sparks flew from butterflies to the water. Place the remaining two layers left.
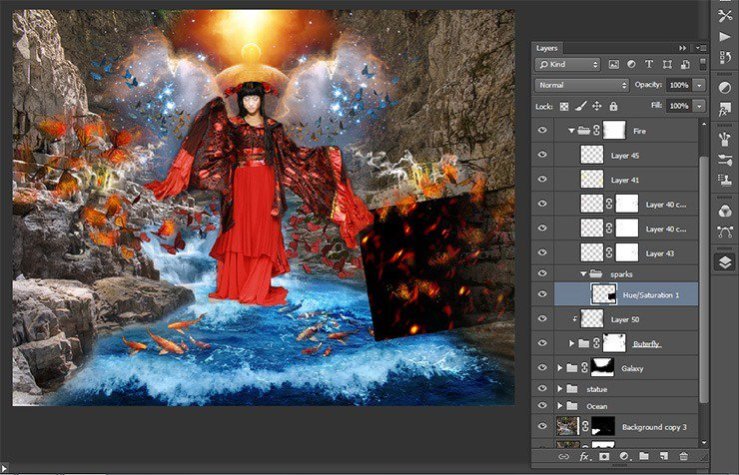
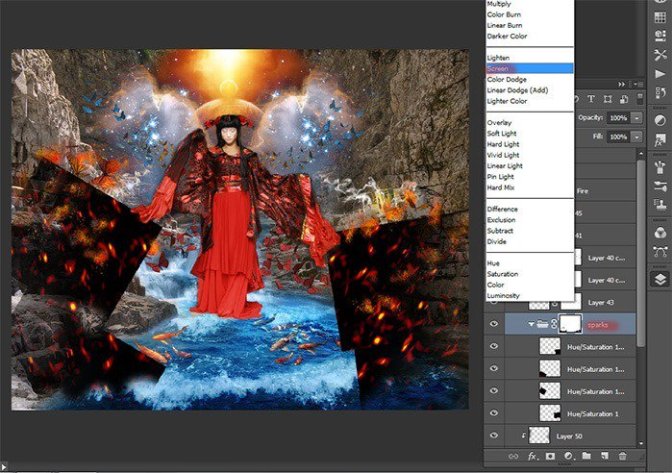
Step 135
Change the blending mode for the group with sparks on Screen.
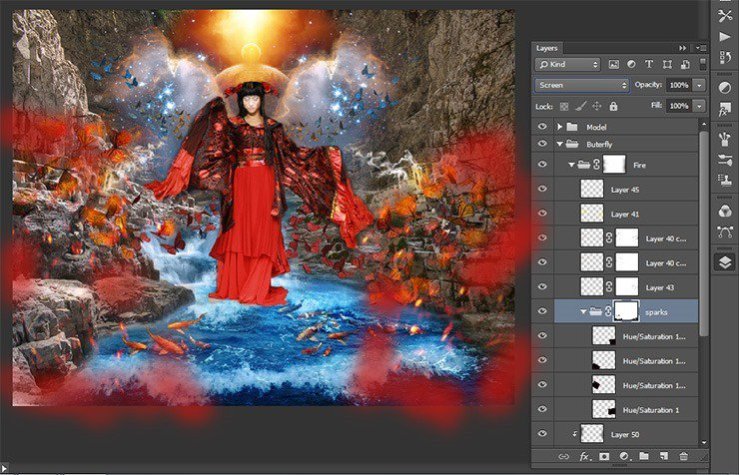
Step 136
Now add a mask to a group with sparks and remove excess. In places where it ends texture could remain flat edge of the image, remove it.
Step 137
Combine all groups with butterflies, fire and sparks in one group and call it “Butterfly” the short key Ctrl+ G
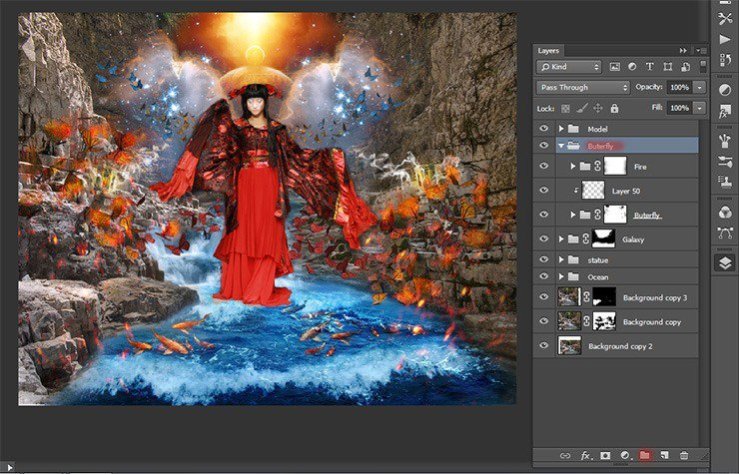
Step 138
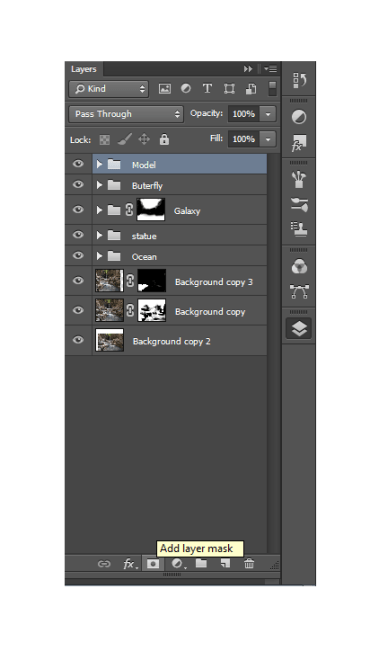
So, you do not interfere with work sparks and butterflies make them invisible by clicking the eye icon next to the desired item. Now we transform the dress model. Add a mask to the group with the model.
Step 139
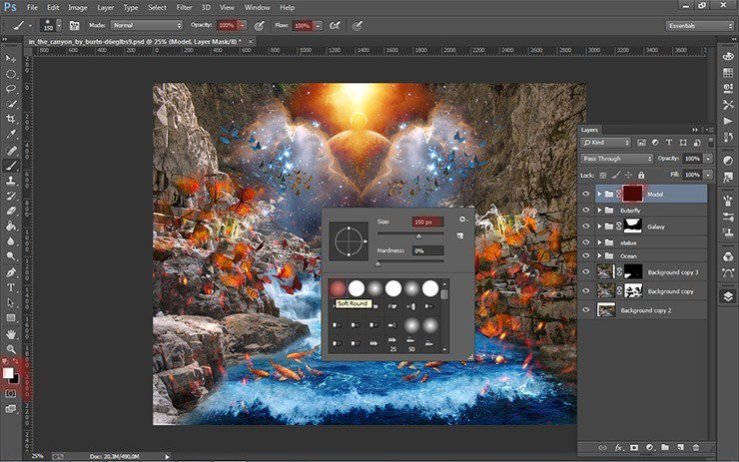
Invert the mask the short key Ctrl+ I. Take Brush Tool (B). Set these settings: Size: 150px, Hardness: 0%, Opacity: 100% Flow: 100%. Make the main color is white. First press D for the establishment of standard colors, and then X for their switching.
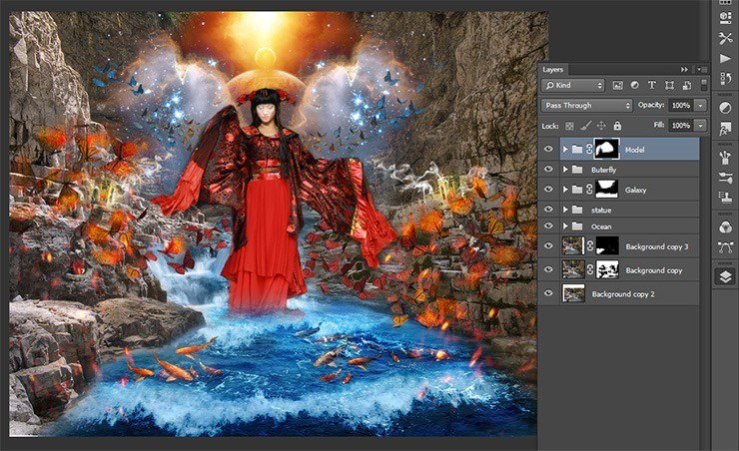
Step 140
Restore white model, but the bottom of the dresses we almost did not restore. Change the value Opacity of brush to give just a hint of texture and color.
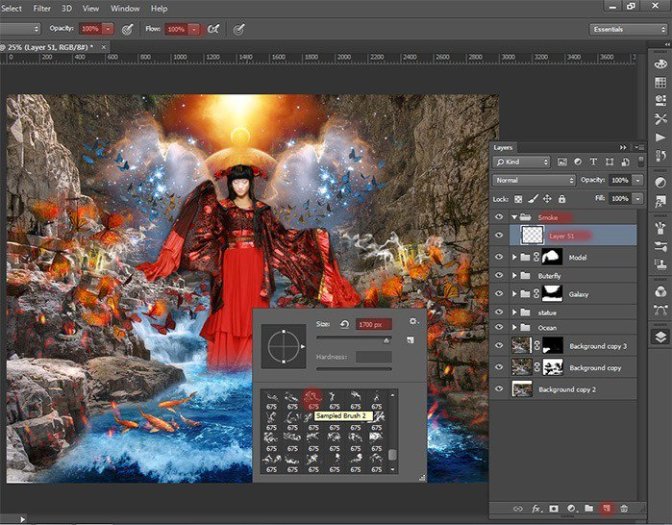
Step 141
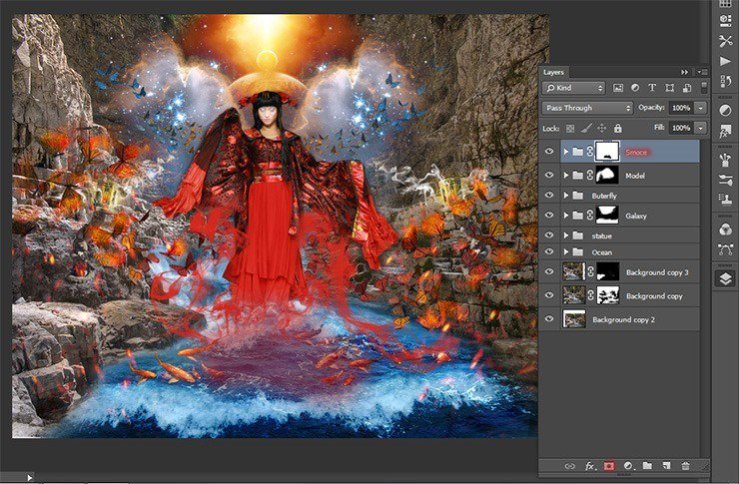
Create a new group, name it «smoke», and create a new layer. Take Brush Tool (B). Set these settings: Size: 1700px, Hardness: 0% Opacity: 100% Flow: 100%. Choose a color # c51711. Choose a smoke brush, which is show in figure or another of your choice.
Step 142
Click once somewhere in the middle bottom of the dress mid brush.
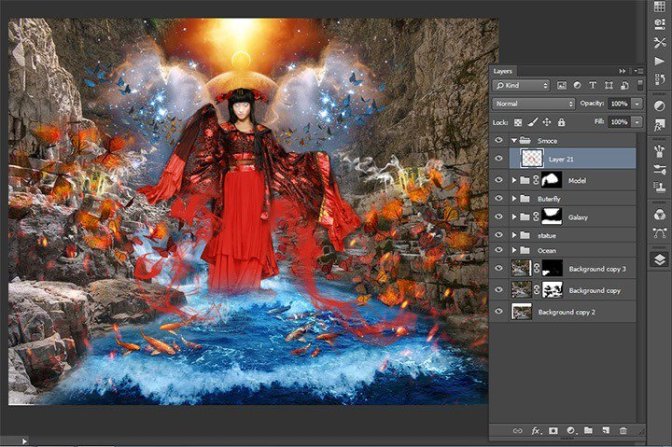
Add a mask to the group with the smoke and remove the smoke near the water where her dress model
Step 143
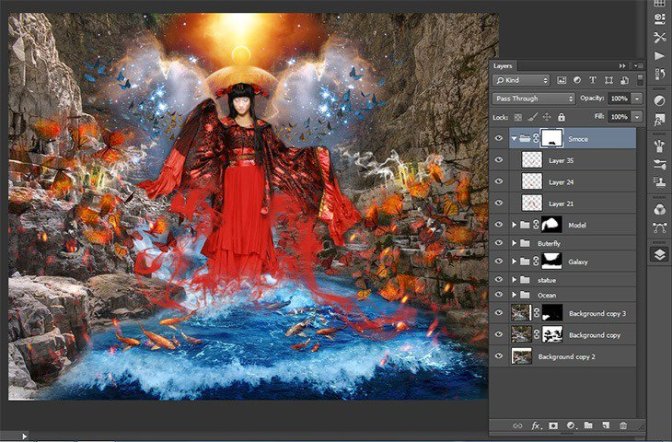
I chose a few more hands on new layers placed them. Settings remain the same, but changed size. Experiment! Here are the results of my experiments.
Step 144
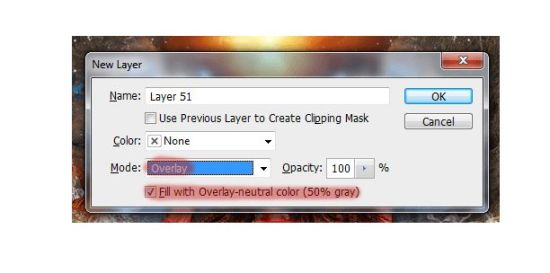
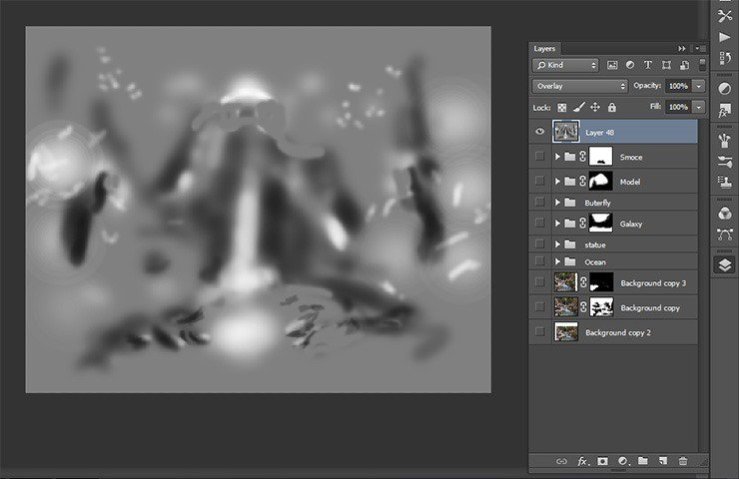
Now let us work on the shadows. Create a new layer the short key Shift+ Ctrl+ N. and set the settings as shown in Figure.
Step 145
Now, use the Dodge and Burn Tool to create shadows and light.
Step 146
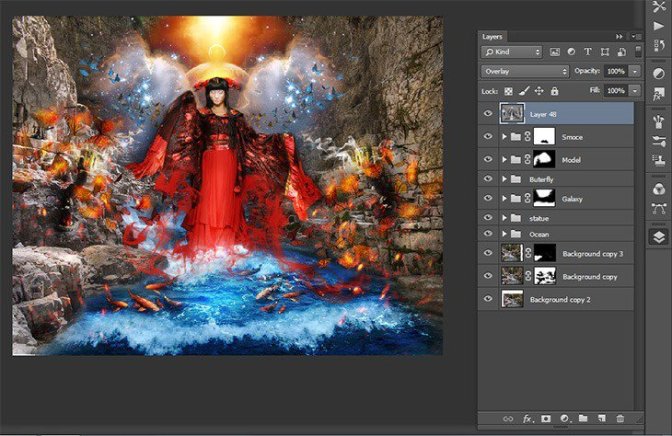
Here is how I did it. Without this study, the picture will look unnatural. Little time and effort to turn all.
 情非得已
情非得已
-
 Photoshop制作复古风格的老照片效果【英】2018-04-23
-
 Photoshop合成长着创意大树的长颈鹿【英】2018-04-23
-
 Photoshop合成冰冻特效的金鱼场景【英】2018-02-10
-
 Photoshop合成梦幻风格的森林场景【英】2018-02-10
-
 Photoshop合成正在施法的巫师【英】2018-02-10
-
 Photoshop制作金属质感的3D立体字【英】2018-01-09
-
 Photoshop设计火焰燃烧艺术字教程【英】2018-01-09
-
Photoshop制作复古风格的老照片效果【英】
相关文章11882018-04-23
-
Photoshop合成长着创意大树的长颈鹿【英】
相关文章13832018-04-23
-
Photoshop合成冰冻特效的金鱼场景【英】
相关文章34052018-02-10
-
 Photoshop制作黄金质感立体字【英】
相关文章7422018-02-10
Photoshop制作黄金质感立体字【英】
相关文章7422018-02-10
-
 Photoshop制作惊艳大气的3D立体字
相关文章14682018-02-10
Photoshop制作惊艳大气的3D立体字
相关文章14682018-02-10
-
Photoshop合成梦幻风格的森林场景【英】
相关文章24492018-02-10
-
 Photoshop制作复古双重曝光字体
相关文章6532018-01-09
Photoshop制作复古双重曝光字体
相关文章6532018-01-09
-
 Photoshop制作木地板LOGO刻印效果【英】
相关文章19272018-01-09
Photoshop制作木地板LOGO刻印效果【英】
相关文章19272018-01-09
