Photoshop制作黄金质感立体字【英】
文章来源于 Tutsplus.com,感谢作者 Rose 给我们带来经精彩的文章!教程所需要的素材:金沙质感3D立体字设计PS教程素材
先看看效果图

What You'll Be Creating
This tutorial will show you how to use Photoshop's 3D Tools, adjustment layers, and a couple of textures to create a dazzling, glittery, festive text effect. Let's get started!
This text effect was inspired by the many Layer Styles available on GraphicRiver.
1. How to Create a Text Shape
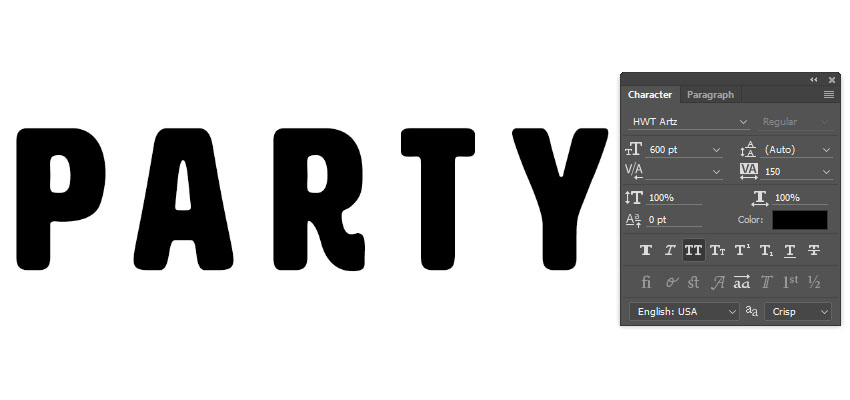
Step 1
Create a new 3500 x 2000 px document.
Then, create the text using the font HWT Artz. Set the Size to 600 pt and the Tracking to 150 pt.
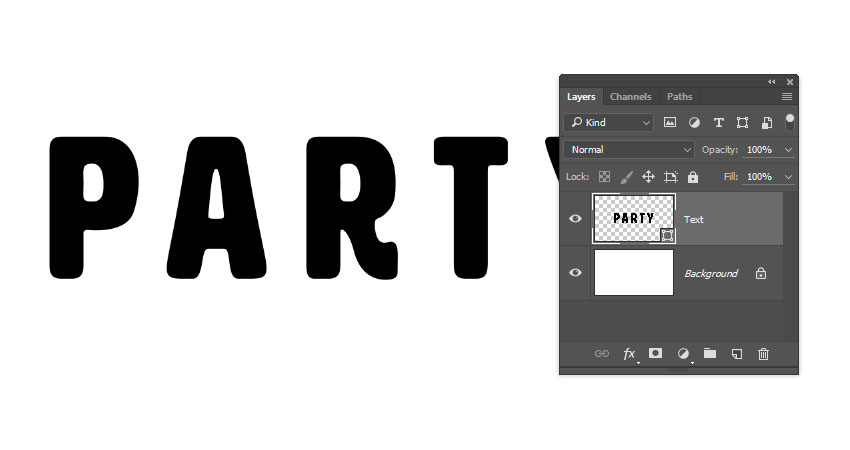
Step 2
Rename the text layer to Text, and then right-click it and choose Convert to Shape.
2. How to Create Stroke Layers
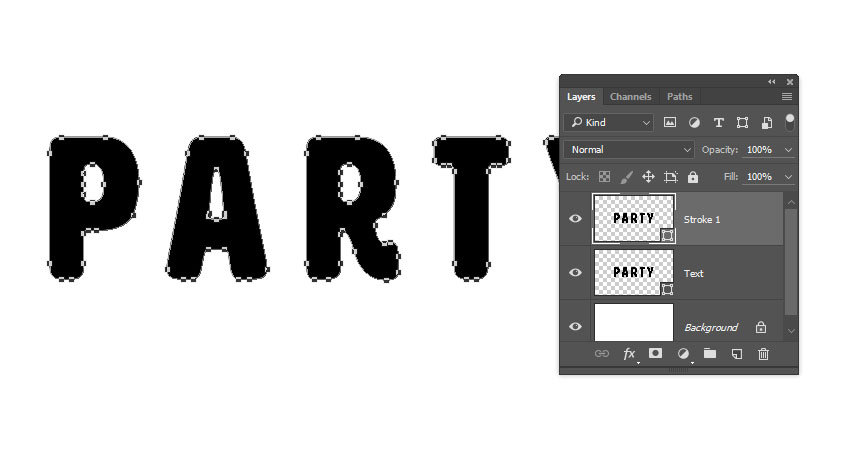
Step 1
Duplicate the Text layer and rename the copy to Stroke 1.
Step 2
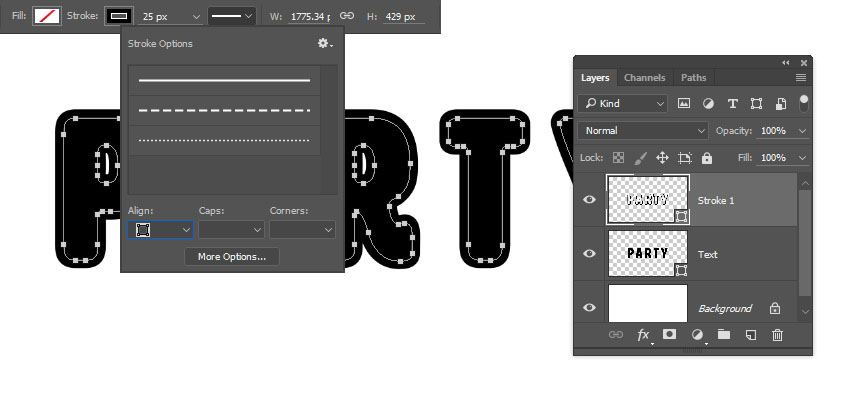
Pick the Direct Selection Tool (A) to get the shape options in the Options bar.
Change the Fill to None, the Stroke Color to Black, and its Size to 25, and then click the Set shape stroke type icon, and change the Align to Outside.
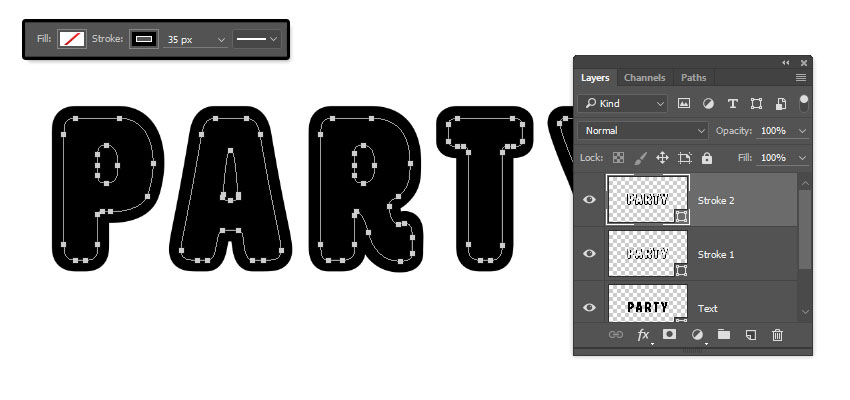
Step 3
Duplicate the Stroke 1 layer, rename the copy to Stroke 2, and change the Stroke Size to 35.
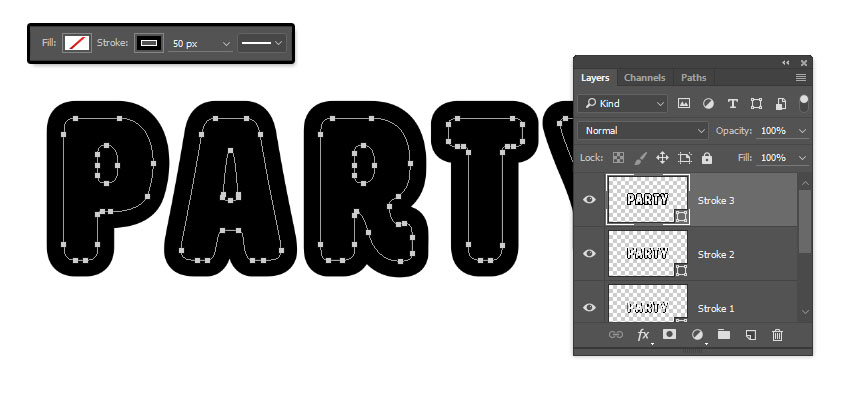
Step 4
Duplicate the Stroke 2 layer, rename the copy to Stroke 3, and change the Stroke Size to 50.
3. How to Create 3D Layers
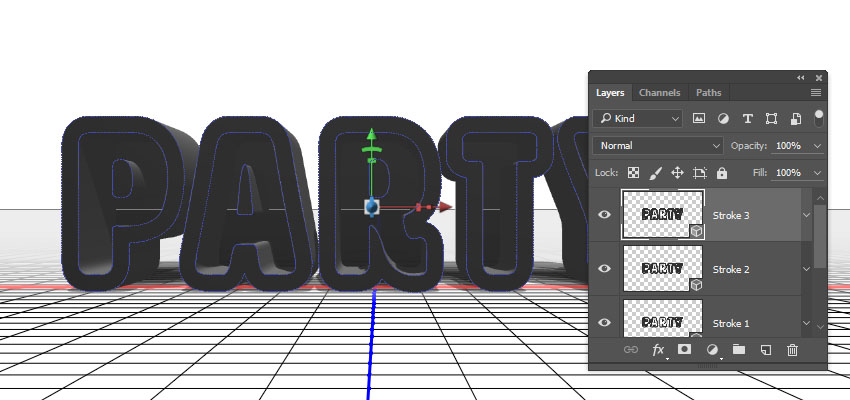
Step 1
For each shape layer you have, select it, and then go to 3D > New 3D Extrusion from Selected Path.
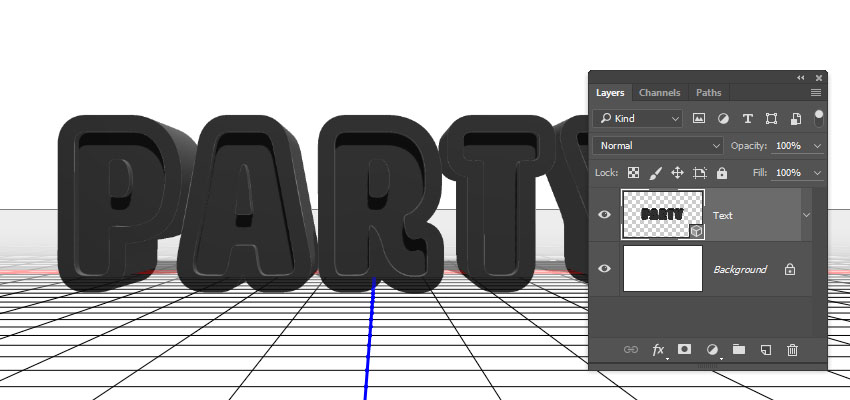
Step 2
Select all 3D layers you have, and go to 3D > Merge 3D Layers.
 情非得已
情非得已
-
 Photoshop制作复古风格的老照片效果【英】2018-04-23
-
 Photoshop合成长着创意大树的长颈鹿【英】2018-04-23
-
 Photoshop合成冰冻特效的金鱼场景【英】2018-02-10
-
 Photoshop合成梦幻风格的森林场景【英】2018-02-10
-
 Photoshop合成正在施法的巫师【英】2018-02-10
-
 Photoshop制作金属质感的3D立体字【英】2018-01-09
-
 Photoshop设计火焰燃烧艺术字教程【英】2018-01-09
-
Photoshop制作复古风格的老照片效果【英】
相关文章11882018-04-23
-
 Photoshop制作惊艳大气的3D立体字
相关文章14682018-02-10
Photoshop制作惊艳大气的3D立体字
相关文章14682018-02-10
-
 Photoshop制作复古双重曝光字体
相关文章6532018-01-09
Photoshop制作复古双重曝光字体
相关文章6532018-01-09
-
 Photoshop制作木地板LOGO刻印效果【英】
相关文章19272018-01-09
Photoshop制作木地板LOGO刻印效果【英】
相关文章19272018-01-09
-
Photoshop制作金属质感的3D立体字【英】
相关文章4612018-01-09
-
 Photoshop制作复古花朵组成的艺术字【英】
相关文章3802018-01-09
Photoshop制作复古花朵组成的艺术字【英】
相关文章3802018-01-09
-
 Photoshop制作可爱的糖果饼干字【英】
相关文章6722017-12-25
Photoshop制作可爱的糖果饼干字【英】
相关文章6722017-12-25
-
 Photoshop制作梦幻耶稣光和高光背景【英】
相关文章6002017-12-16
Photoshop制作梦幻耶稣光和高光背景【英】
相关文章6002017-12-16
