Photoshop合成正在施法的巫师【英】(2)
文章来源于 photoshoptutorials.ws,感谢作者 MARIA SEMELEVICH 给我们带来经精彩的文章!Step 21
Change the brush size that you feel comfortable. Otherwise, you can remove what you need. To change the brush size shout RMB in our document and set the desired size.
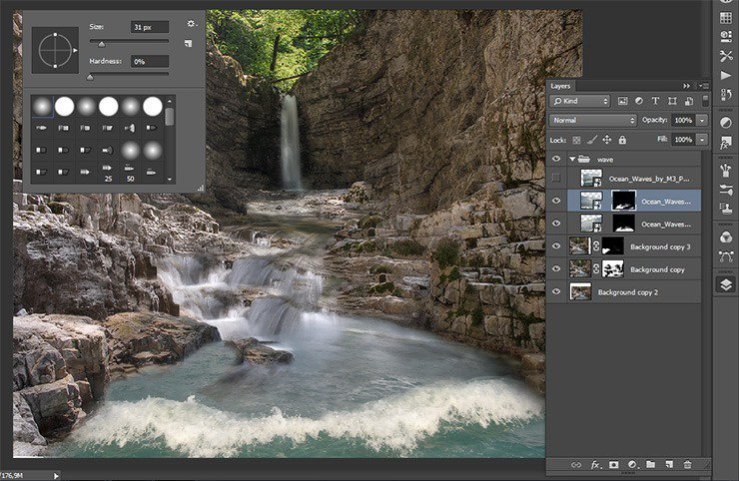
Step 22
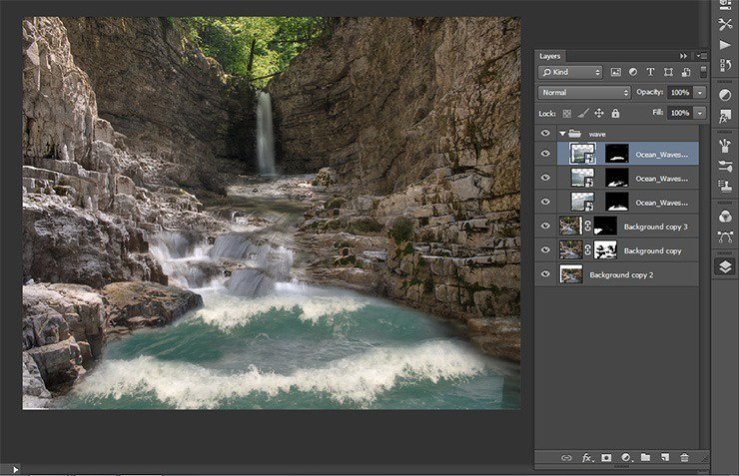
On the first and second layer, remove portions of the image beyond the borders of the river. Most of the sea, so that only stay the wave. The main thing is not to damage the crest of a wave.
Step 23
That’s how I got.
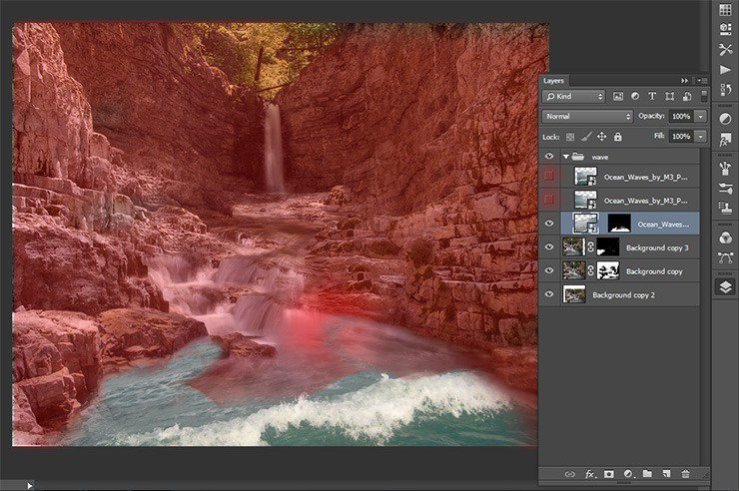
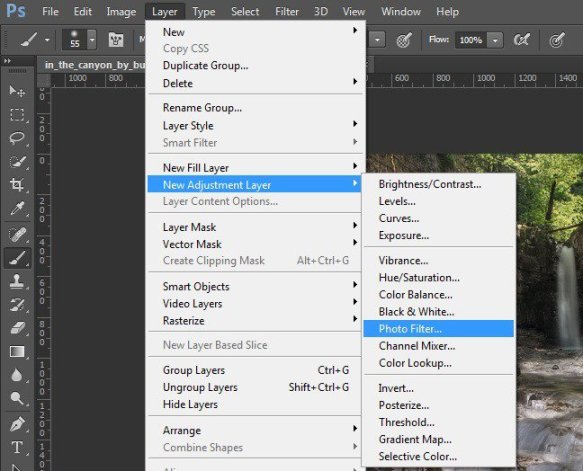
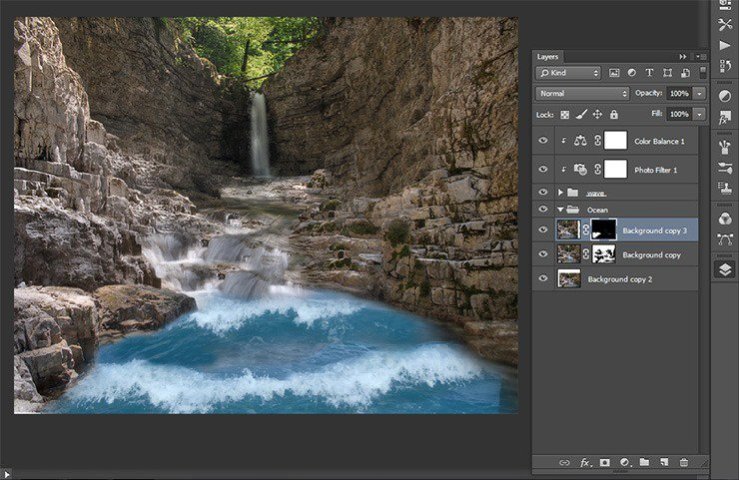
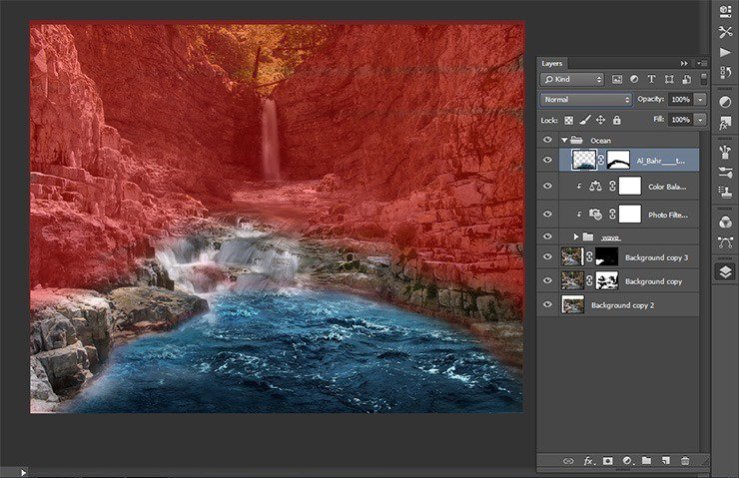
Step 24
I do not like the color of the waves, so I added some adjustment layers to the group with the waves to change their color. The first is a photo filter. Go to Layer> New Adjustment Layer > Photo Filter.
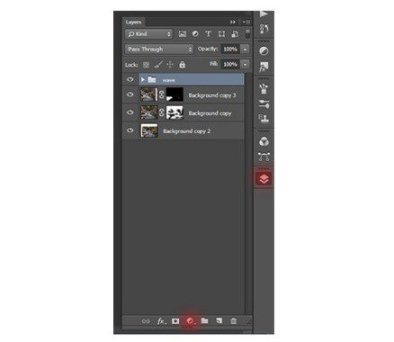
or click on the icon add an adjustment layer in the Layers palette.
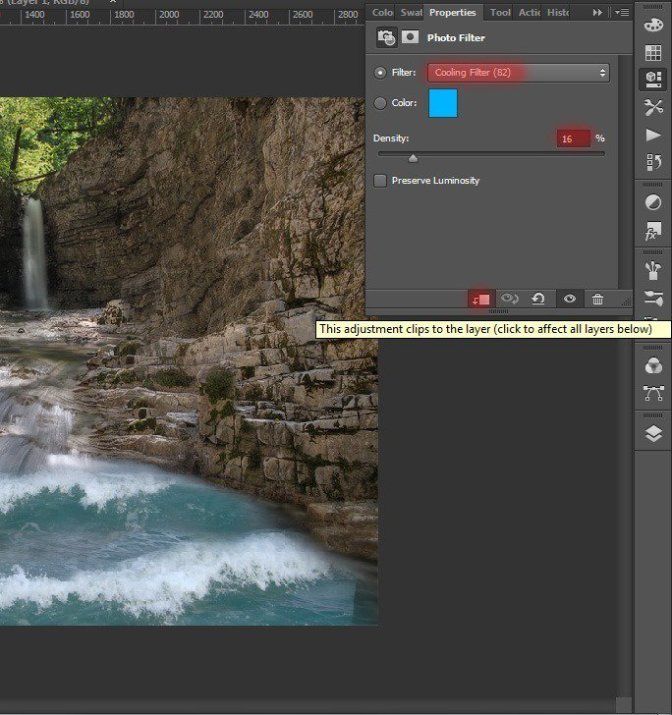
Step 25
In the appeared window, enter the following settings: Filter – Cooling Filter (82), Density -16%.
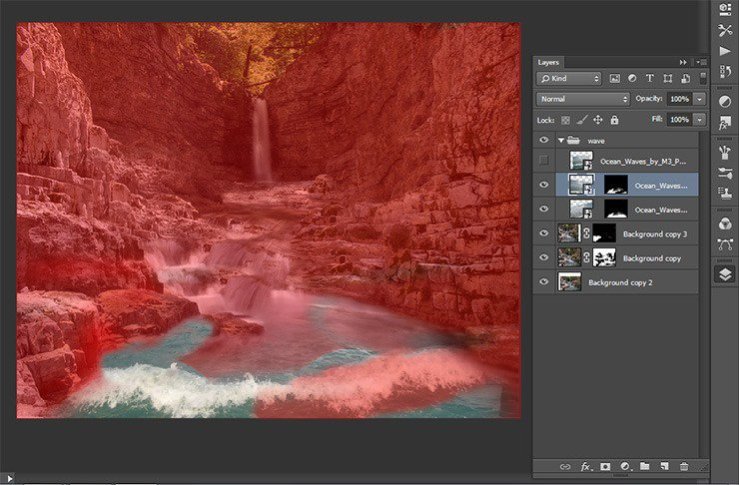
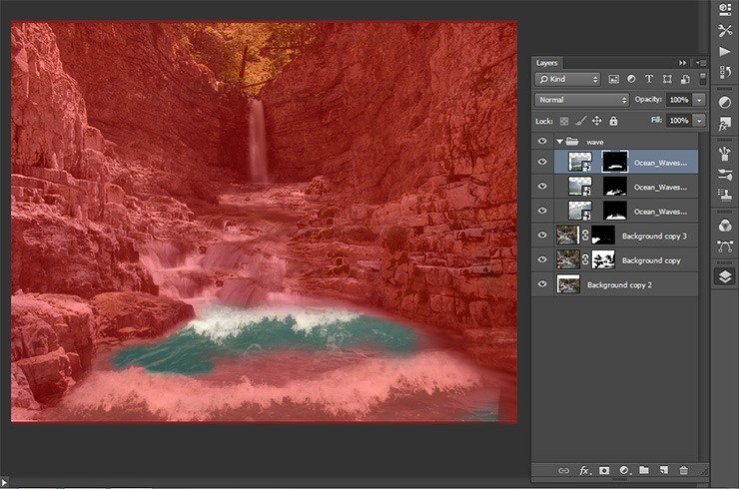
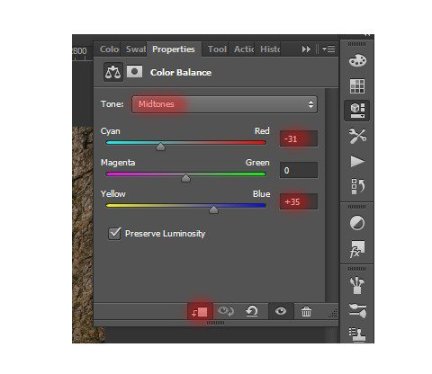
Step 26
Adding a second layer. Go to Layer> New Adjustment Layer > Color Balance. In the appeared window, enter the following settings: Tone – Midtones, Cyan: -31, Yellow +35.
Step 27
Here’s how is it after adding adjustment layers.
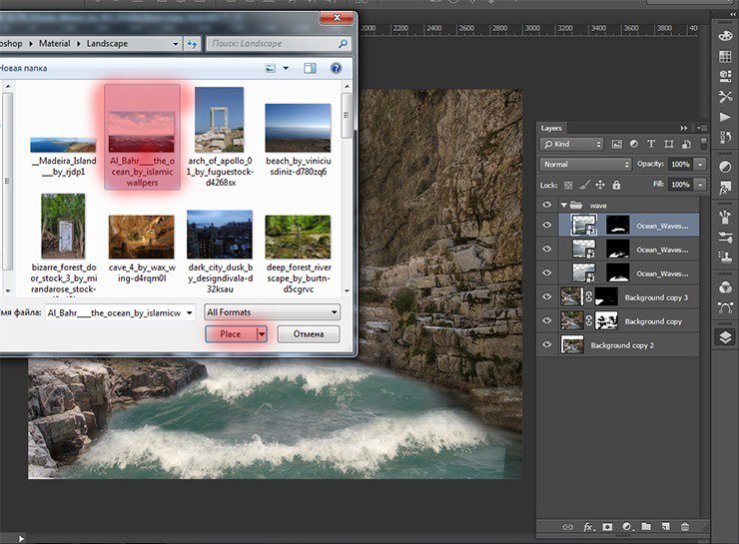
Step 28
I want the image looked more realistic. So, I’ll add little waves. Go to File > Place and select the desired file.
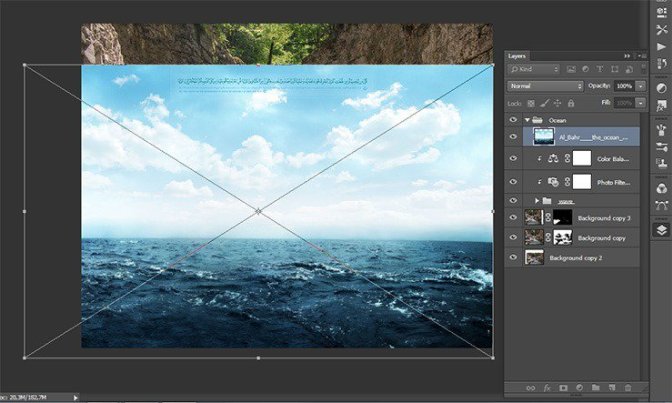
Step 29
Transform file placed so that the edges placed at the edge of the image came shores.
Step 30
Add a mask to this layer and previous Brush (Size: 200px, Hardness: 0% Opacity: 75%, Flow: 70%) and clean the parts of the image, where they not needed. Be sure to remove the waves from the shore and horizon. Not to make such a sharp transition waves near the horizon change brush opacity and size settings.
Step 31
Now change the blending mode for this layer. Click the Advanced tab, click on the layers. In drop-down list, select “Overlay”.
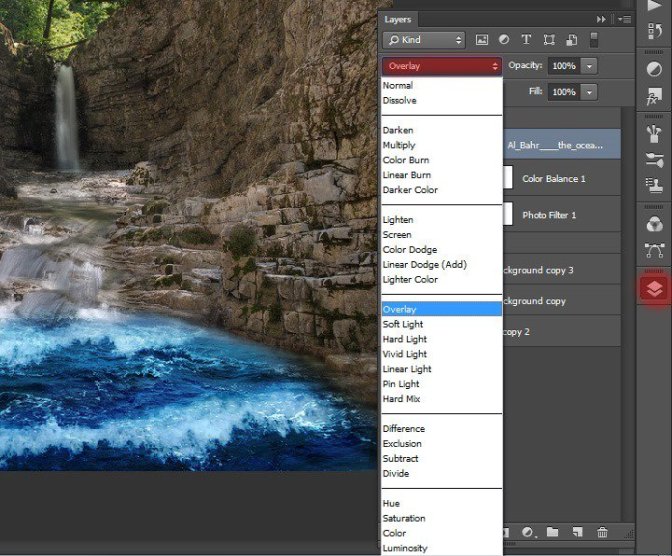
Step 32
Here is the result of the work done.
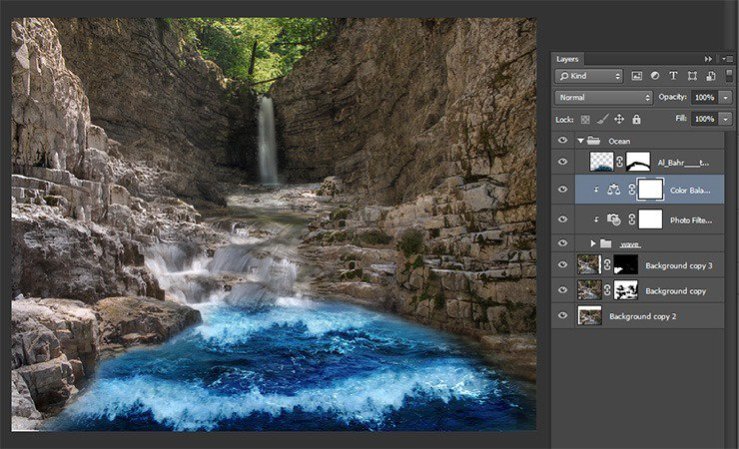
Step 33
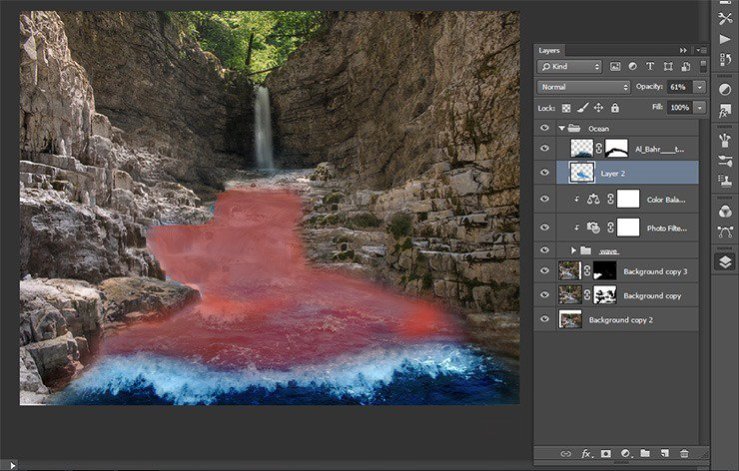
Now I wanted to add brightness and blueness of the water and falls to combine composition. For our work needs bright colored water, it will give liveliness picture. So, create a new layer. Click on the new layer icon in the Layers panel or the short key Shift+ Ctrl+ N. The new layer should be under a layer with small waves.
Step 34
Select a Brush Tool (B) with these settings: Size: 150px, Hardness: 0% Opacity: 100%, Flow: 100%. Set the color # 2c8ed2 and paint on the layer in places where there is water. Be sure to paint the waterfall and place seam texture waves and waterfalls. Change the brush size for more convenience.
Step 35
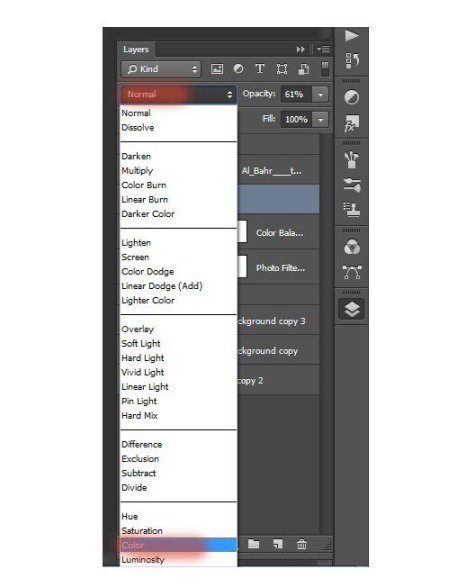
Now change the blending mode for this layer. Click the Advanced tab, click on the layers. Drop-down list, select “Color”.
Step 36
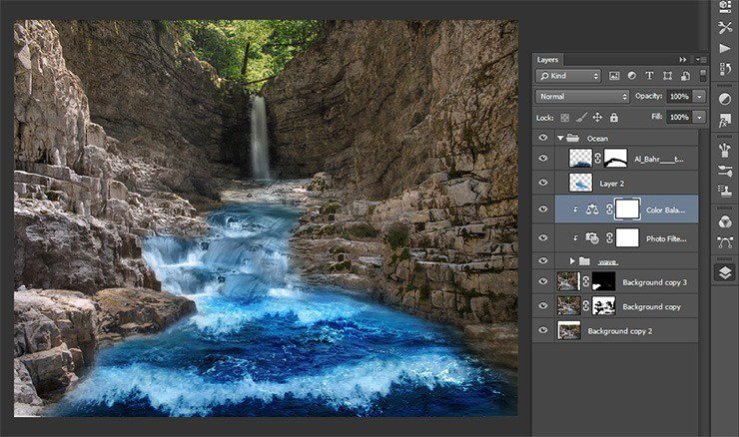
Our amphitheater is ready! Here’s how it has turned out at me. Now we will add a small item and proceed to the most interesting part of our image. Merge all layers in the group and name it “Ocean”.
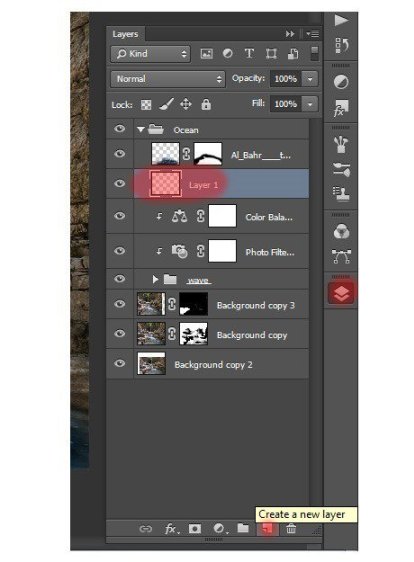
Step 37
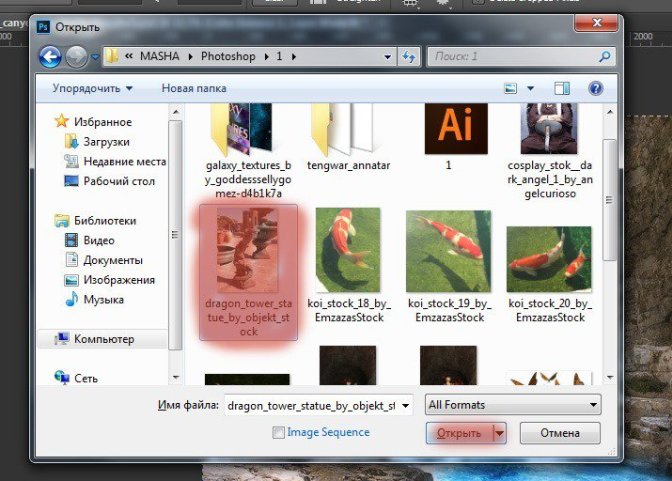
Add Stone lamps to our image. Go to file – Open or the short key Ctrl+ O. Locate the file with torches in the Chinese style, select it and click Open.
Step 38
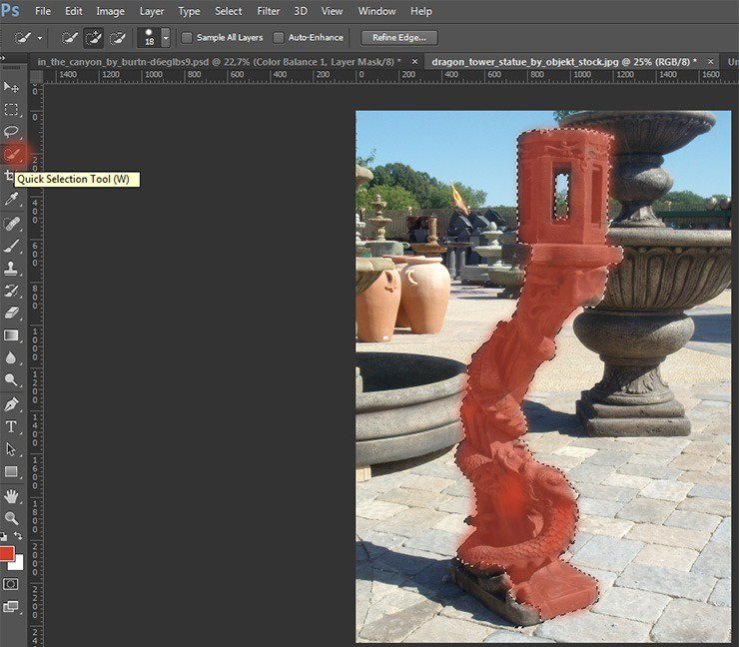
Now select the Quick Selection Tool (W) of the toolbar and draw the lantern. If you need to remove some of the region, which are not included in the selection, hold Alt and remove them.
 情非得已
情非得已
-
 Photoshop制作复古风格的老照片效果【英】2018-04-23
-
 Photoshop合成长着创意大树的长颈鹿【英】2018-04-23
-
 Photoshop合成冰冻特效的金鱼场景【英】2018-02-10
-
 Photoshop合成梦幻风格的森林场景【英】2018-02-10
-
 Photoshop合成正在施法的巫师【英】2018-02-10
-
 Photoshop制作金属质感的3D立体字【英】2018-01-09
-
 Photoshop设计火焰燃烧艺术字教程【英】2018-01-09
-
Photoshop制作复古风格的老照片效果【英】
相关文章11882018-04-23
-
Photoshop合成长着创意大树的长颈鹿【英】
相关文章13832018-04-23
-
Photoshop合成冰冻特效的金鱼场景【英】
相关文章34052018-02-10
-
 Photoshop制作黄金质感立体字【英】
相关文章7422018-02-10
Photoshop制作黄金质感立体字【英】
相关文章7422018-02-10
-
 Photoshop制作惊艳大气的3D立体字
相关文章14682018-02-10
Photoshop制作惊艳大气的3D立体字
相关文章14682018-02-10
-
Photoshop合成梦幻风格的森林场景【英】
相关文章24492018-02-10
-
 Photoshop制作复古双重曝光字体
相关文章6532018-01-09
Photoshop制作复古双重曝光字体
相关文章6532018-01-09
-
 Photoshop制作木地板LOGO刻印效果【英】
相关文章19272018-01-09
Photoshop制作木地板LOGO刻印效果【英】
相关文章19272018-01-09
