Photoshop合成长着创意大树的长颈鹿【英】(5)
文章来源于 Tutsplus.com,感谢作者 Jenny Le 给我们带来经精彩的文章!Step 4
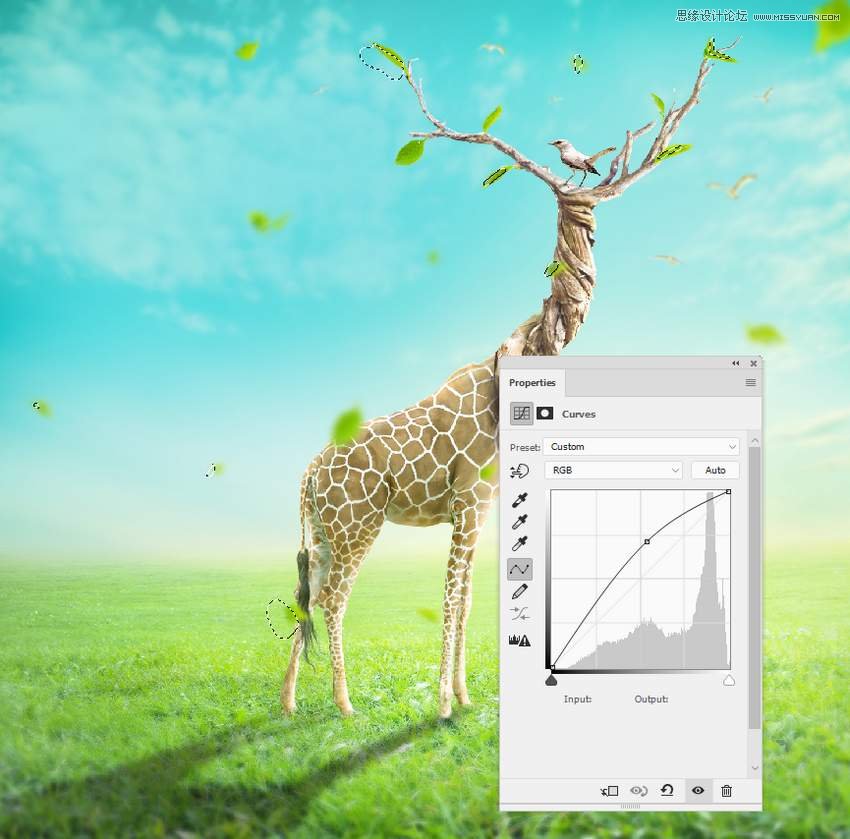
Make another Curves adjustment layer with the same purpose.
Step 5
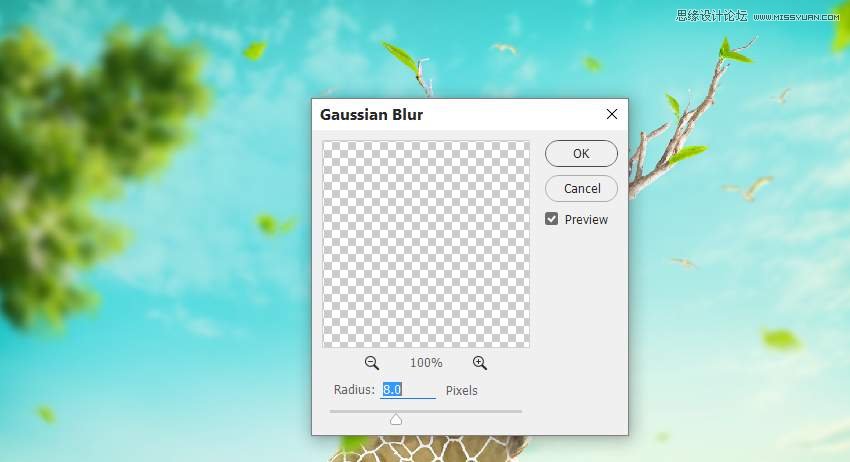
Add the tree 2 image to the top left of the scene and apply a Gaussian Blur of 8 px to this layer.
Step 6
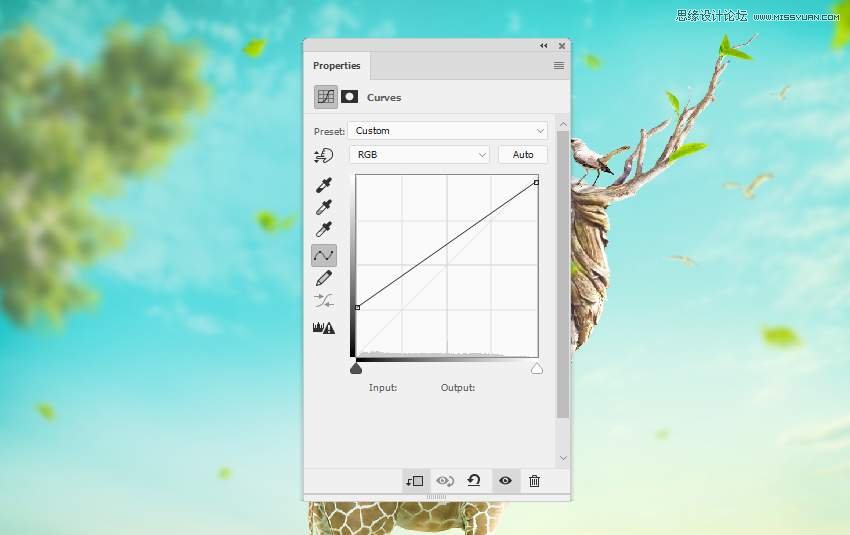
The light of the scene is pretty soft, so use a Curves adjustment layer to reduce the contrast of tree 2.
Step 7
Use the Dodge Tool on a new layer to decrease the shadow areas on tree 2.

Step 8
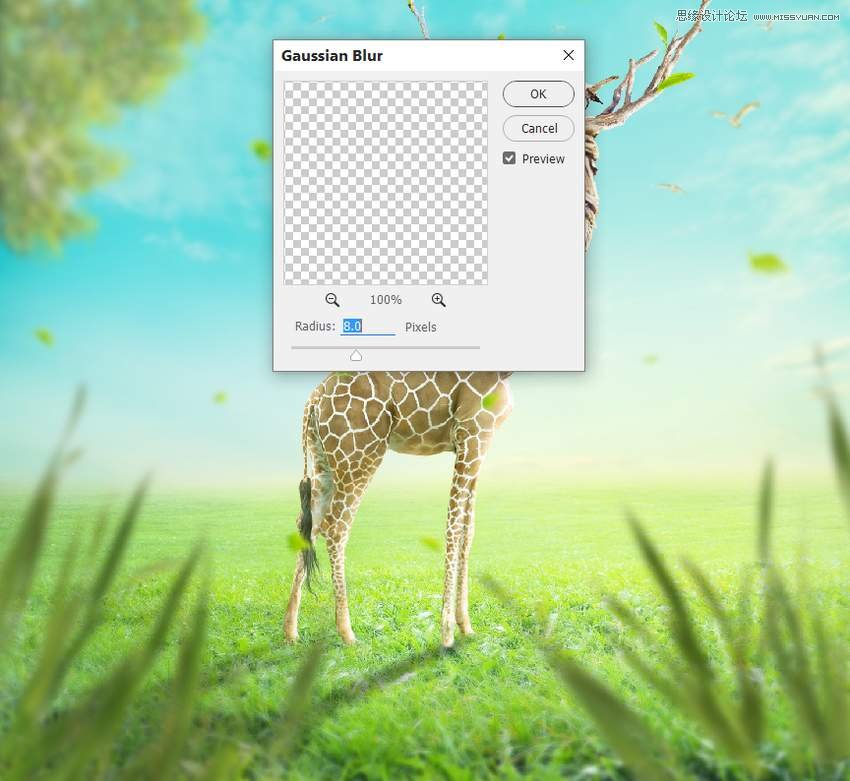
Open the grass image pack. Take different grass blades to add to the foreground of the main scene. You can duplicate, resize, and rotate so they appear different. Apply a Gaussian Blur of 8 px to each of the grass layers.
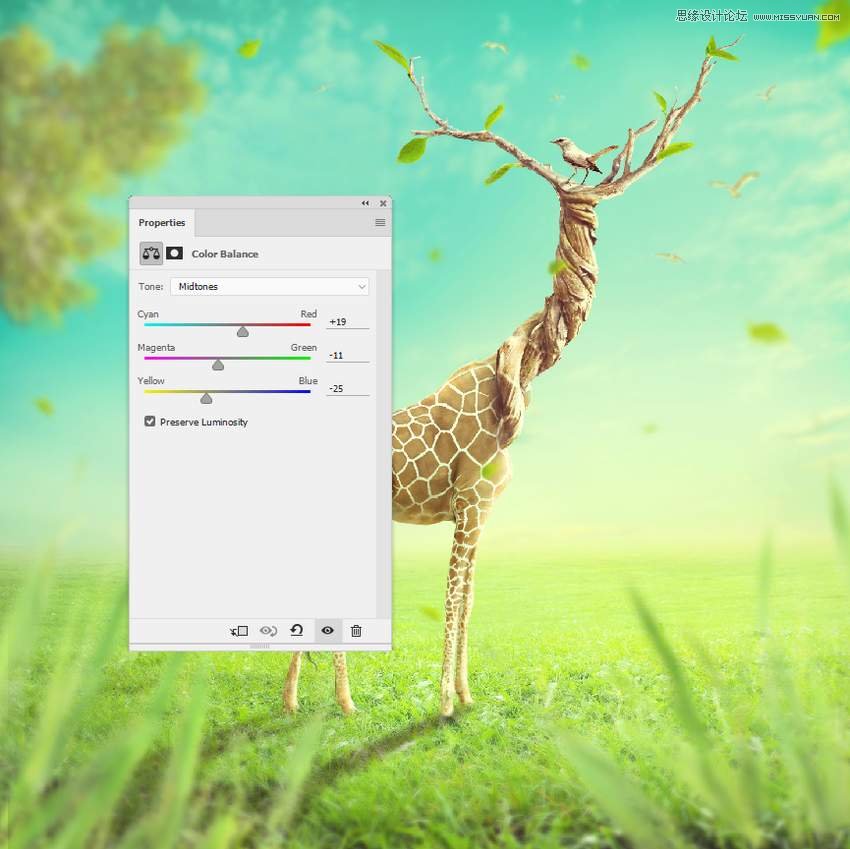
Step 9
Make a group for the grass layer and add a Color Balance adjustment layer to change the grass's color a bit.
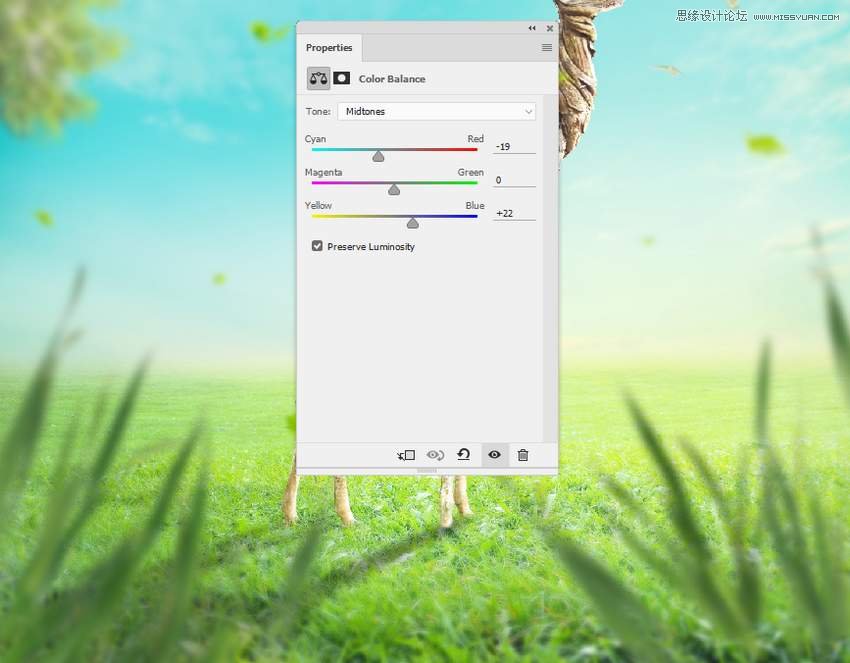
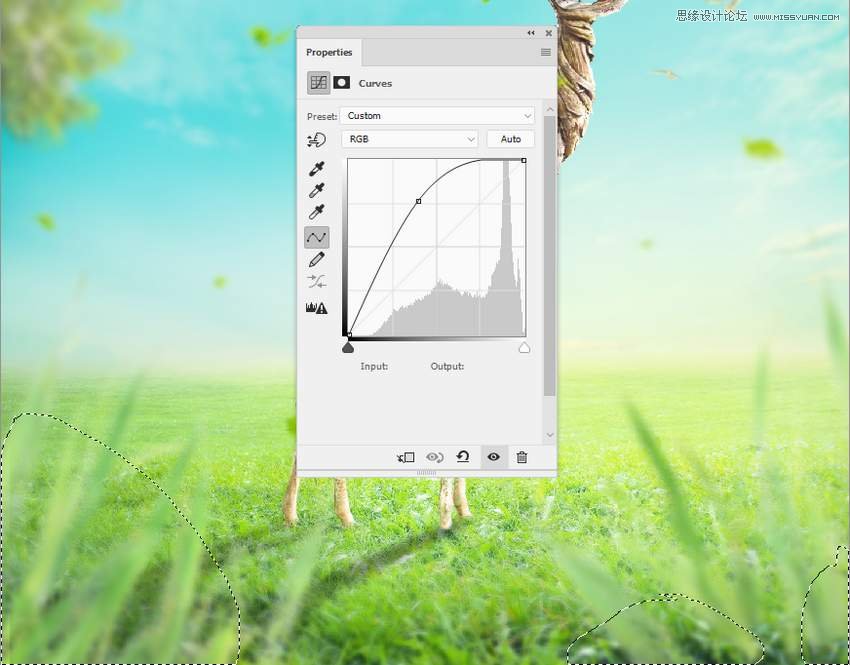
Step 10
Use a Curves adjustment layer to bring more light to the top of the grass's blades.
7. How to Make the Final Adjustments
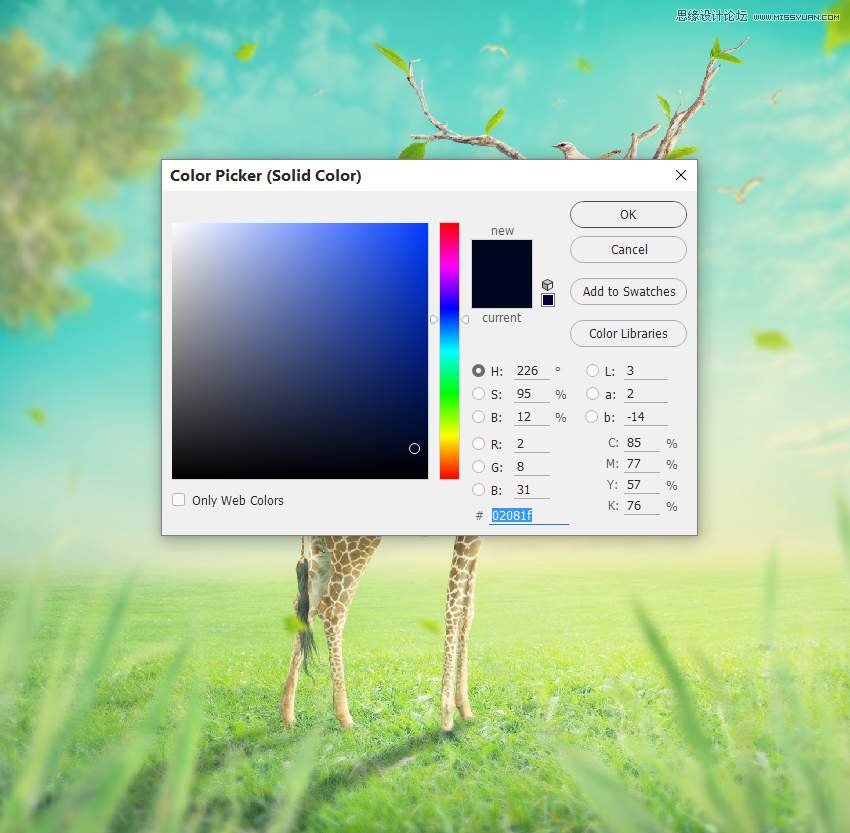
Step 1
Create a Color Fill layer on top of the layers and pick the color #02081f. Change this layer to Exclusion 100%.
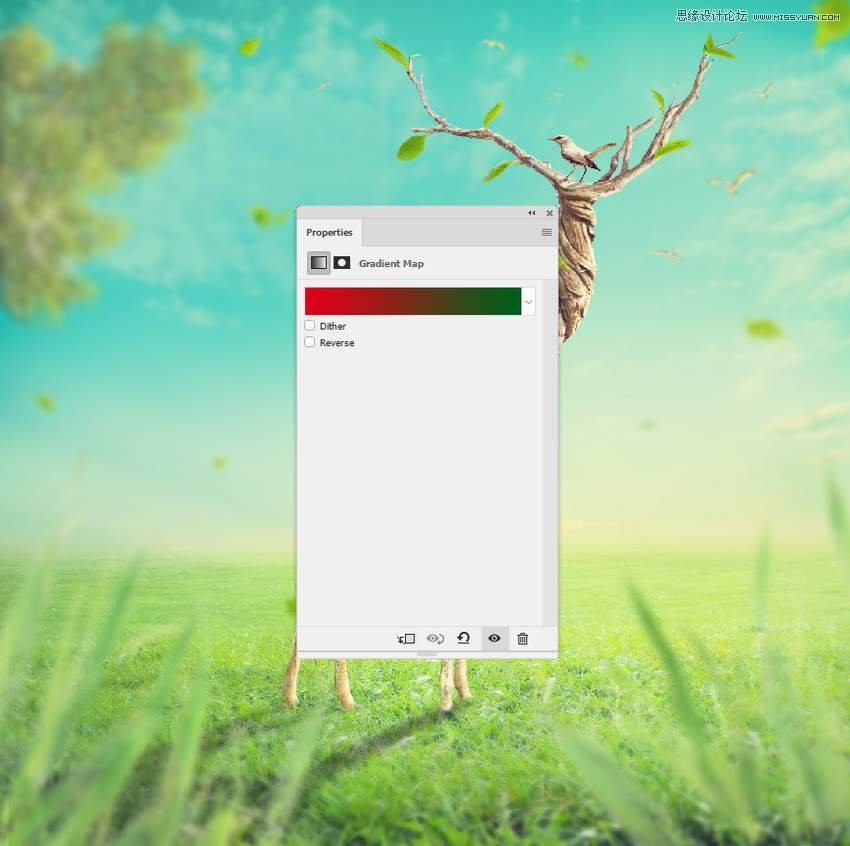
Step 2
Make a Gradient Map adjustment layer and pick the colors #e10019 and #00601b. Alter this layer mode to Soft Light 20%.
Step 3
Add a Color Balance adjustment layer to give some vibrance to the whole scene.

 情非得已
情非得已
-
 Photoshop制作复古风格的老照片效果【英】2018-04-23
-
 Photoshop合成长着创意大树的长颈鹿【英】2018-04-23
-
 Photoshop合成冰冻特效的金鱼场景【英】2018-02-10
-
 Photoshop合成梦幻风格的森林场景【英】2018-02-10
-
 Photoshop合成正在施法的巫师【英】2018-02-10
-
 Photoshop制作金属质感的3D立体字【英】2018-01-09
-
 Photoshop设计火焰燃烧艺术字教程【英】2018-01-09
-
Photoshop制作复古风格的老照片效果【英】
相关文章11882018-04-23
-
Photoshop合成冰冻特效的金鱼场景【英】
相关文章34052018-02-10
-
 Photoshop制作黄金质感立体字【英】
相关文章7422018-02-10
Photoshop制作黄金质感立体字【英】
相关文章7422018-02-10
-
 Photoshop制作惊艳大气的3D立体字
相关文章14682018-02-10
Photoshop制作惊艳大气的3D立体字
相关文章14682018-02-10
-
Photoshop合成梦幻风格的森林场景【英】
相关文章24492018-02-10
-
Photoshop合成正在施法的巫师【英】
相关文章8372018-02-10
-
 Photoshop制作复古双重曝光字体
相关文章6532018-01-09
Photoshop制作复古双重曝光字体
相关文章6532018-01-09
-
 Photoshop制作木地板LOGO刻印效果【英】
相关文章19272018-01-09
Photoshop制作木地板LOGO刻印效果【英】
相关文章19272018-01-09
