Photoshop合成长着创意大树的长颈鹿【英】(3)
文章来源于 Tutsplus.com,感谢作者 Jenny Le 给我们带来经精彩的文章!Step 7
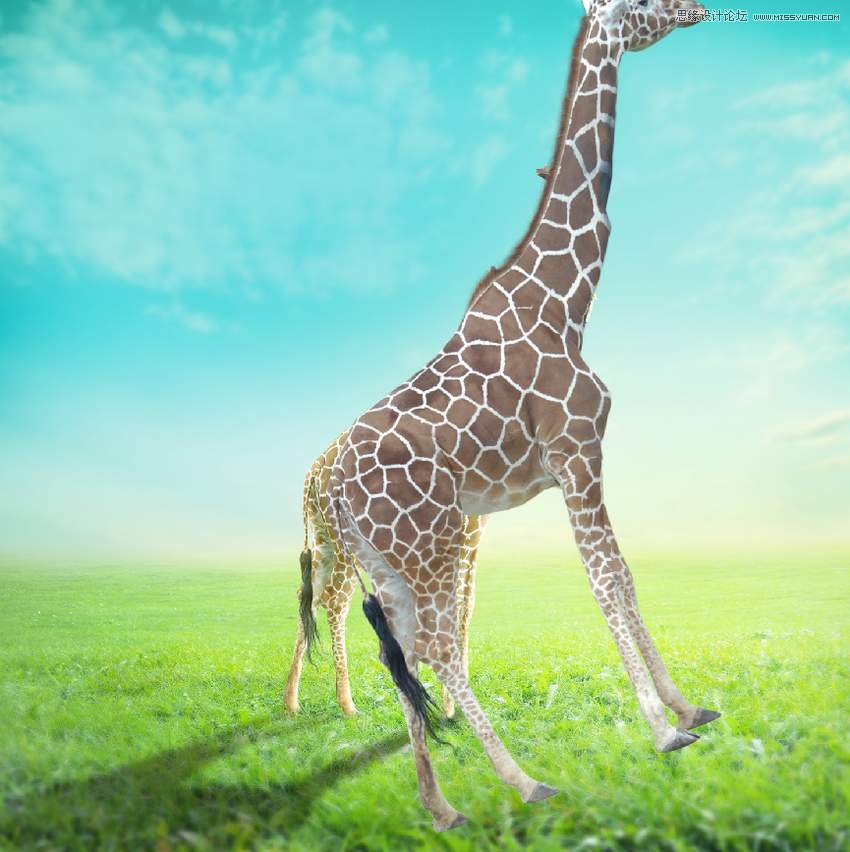
To make a shadow for the giraffe, create a new layer below the giraffe one. Hold Control and click the thumbnail of the giraffe layer to load its selection.
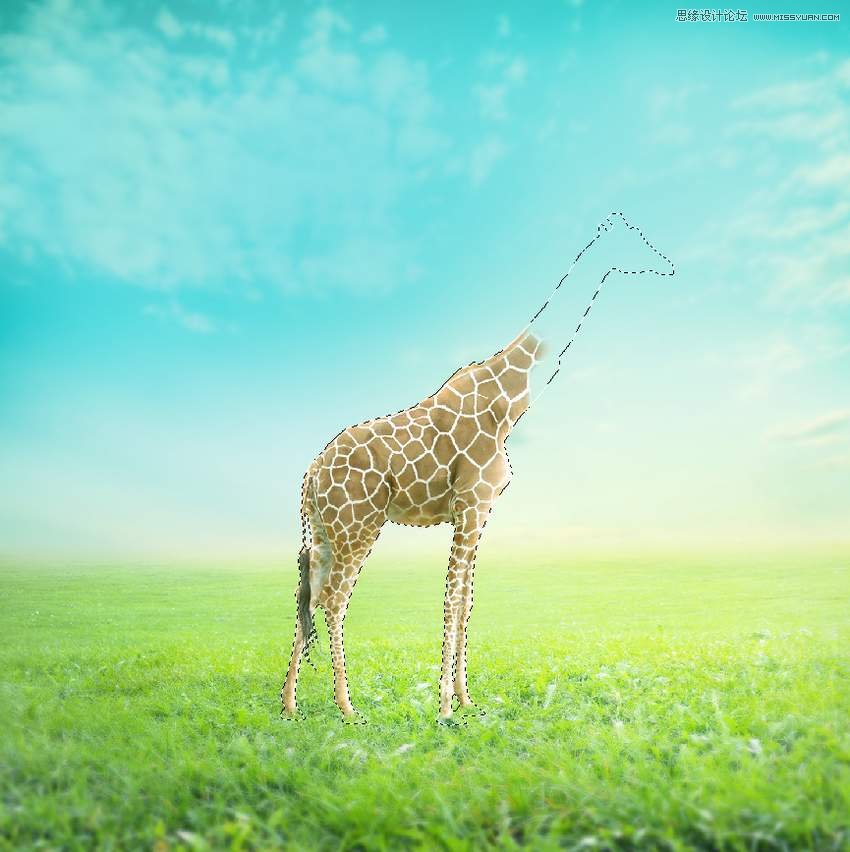
Fill this selection with the color #070101 and flip it vertically (Edit > Transform > Flip Vertical). Use Control-T with the Warp mode to distort the shadow to fit the direction of the light source.
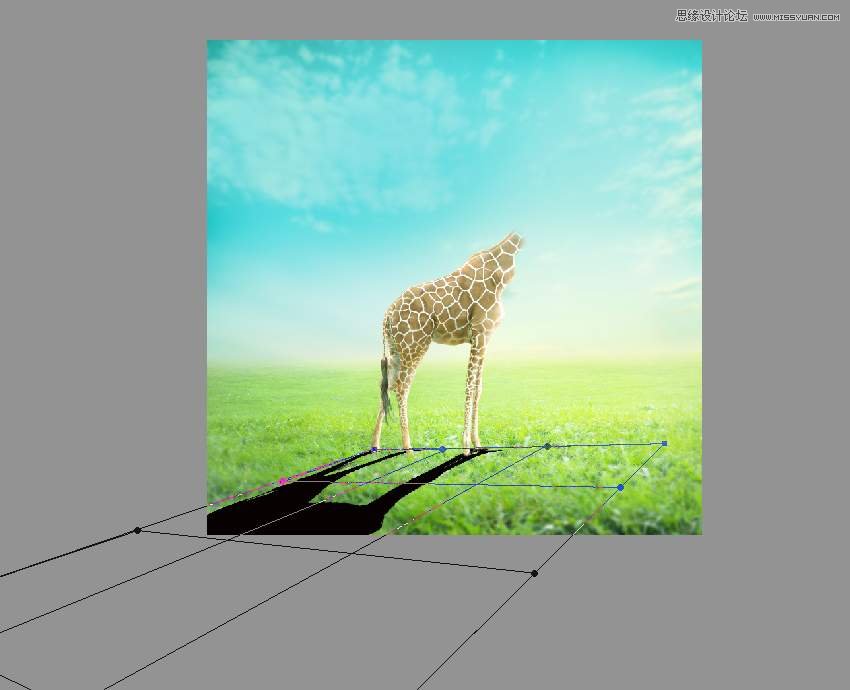
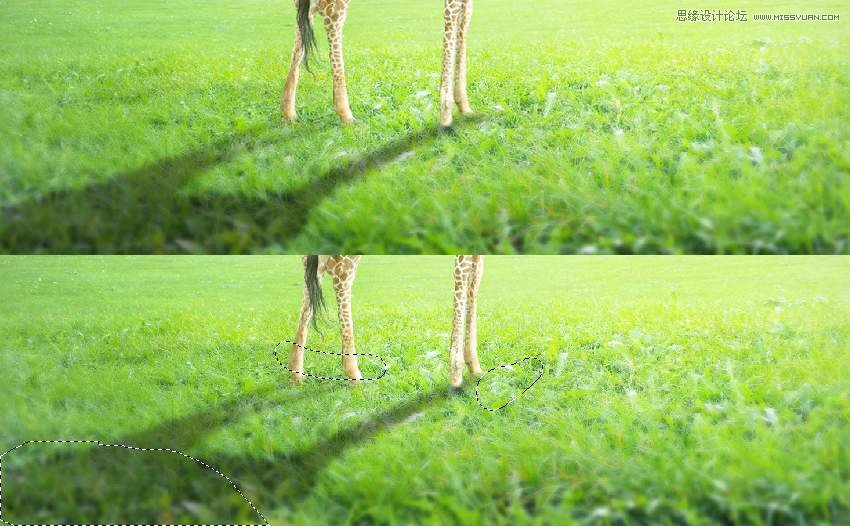
Lower the Opacity of the shadow to 40% and apply a Gaussian Blur of 6 px to this shadow layer. Use a layer mask to erase unwanted details of the shadow, and also reduce the visibility of the shadow on the top.
3. How to Create the Neck of a Tree
Step 1
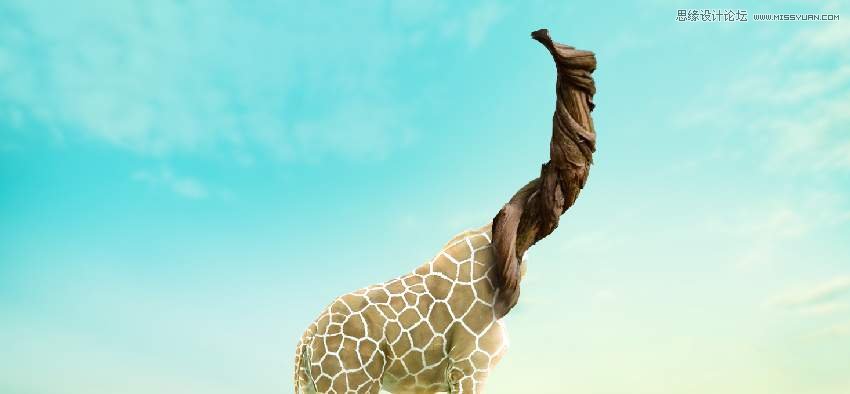
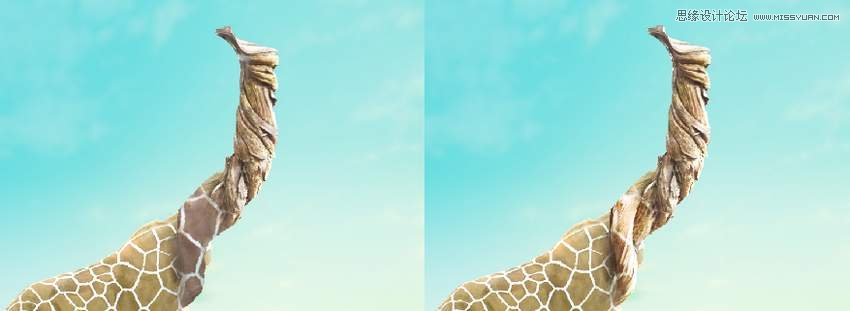
Open the tree 1 image and isolate the twisted tree from the background. Place it onto the neck of the giraffe and use Control-T with the Warp mode to bend it following the original form of the giraffe.
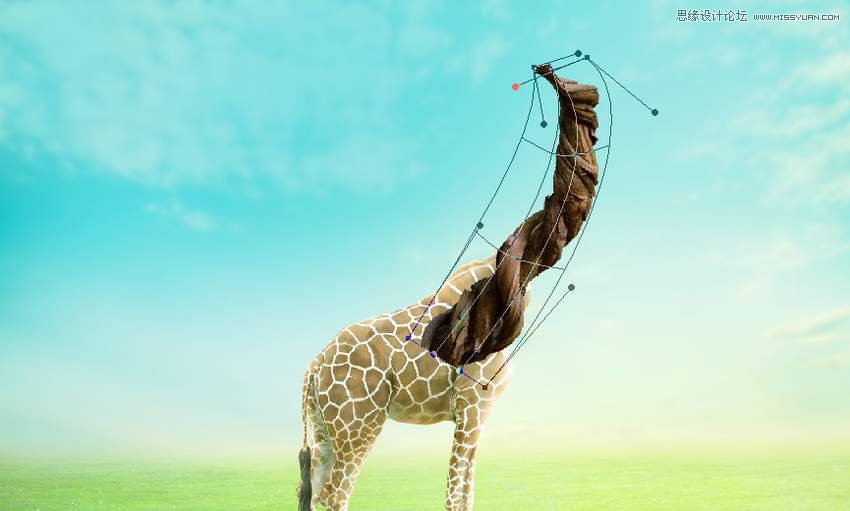
Add a mask to this layer and use a medium-soft black brush to blend the bottom of this tree part with the body of the giraffe. Lower the brush's opacity if needed to make the blended result look better and more natural.
Step 2
Make a new layer, change the mode to Overlay 100%, and fill with 50% gray. Use the Dodge and Burn Toolto refine the light and shadow on this twisted tree.

Step 3
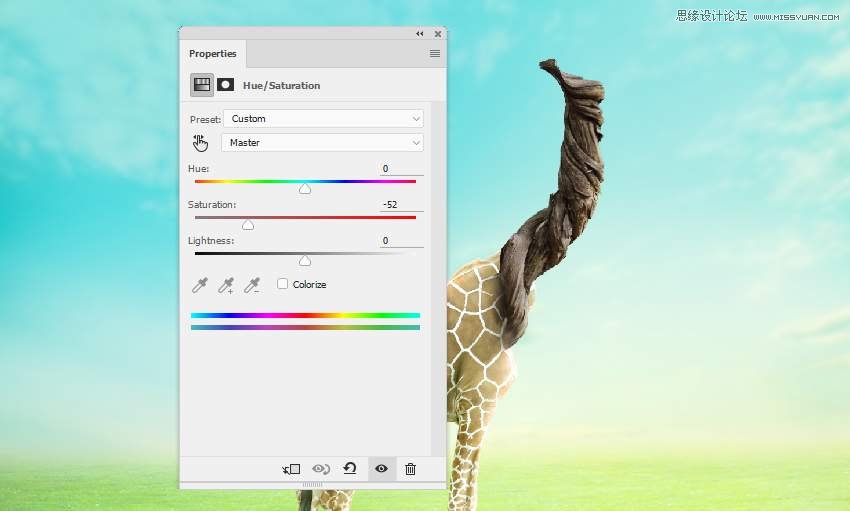
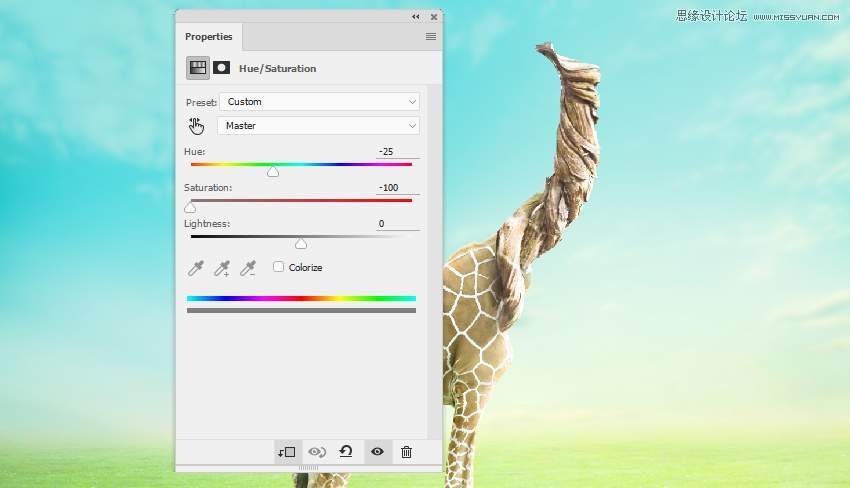
Create a Hue/Saturation adjustment layer to desaturate the tree. On the layer mask, use a soft black brush with a lowered Opacity (about 30-35%) to reveal some yellow on the tree.
Step 4
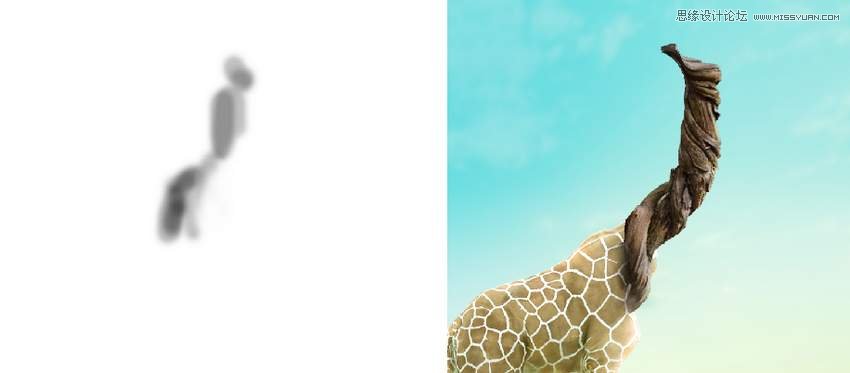
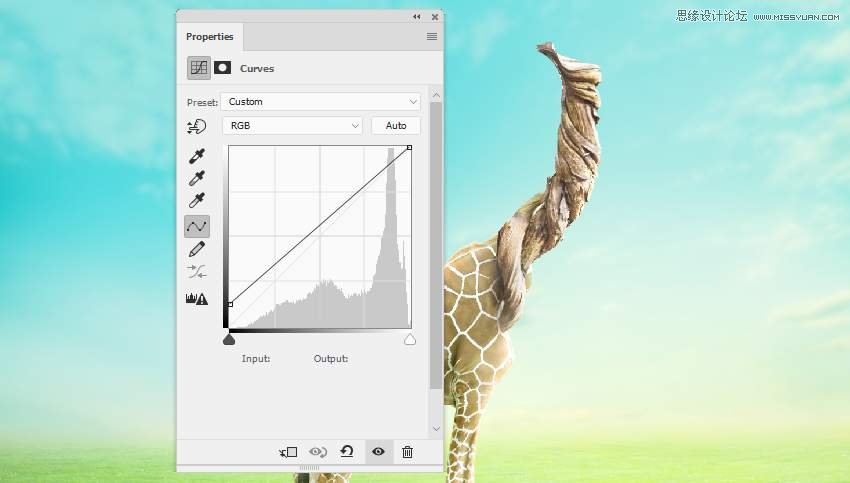
Make a Curves adjustment layer to brighten the tree as it looks too dark now. Paint on the shadow areas to reduce the lightness there using this layer mask.

Step 5
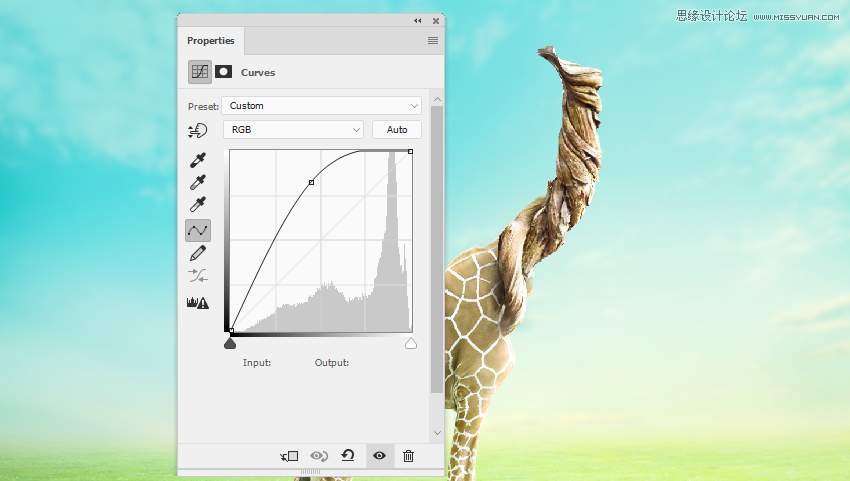
Use another Curves adjustment layer to decrease the contrast of this tree part.
Step 6
Open the giraffe image again. Drag the isolated giraffe onto the existing giraffe, making him bigger than that one, and use Control-T to rotate this one a bit.
Add a mask to this layer and remove most of the big giraffe, leaving some skin texture visible only on the bottom of the tree neck. Change this layer mode to Overlay 100%.
Step 7
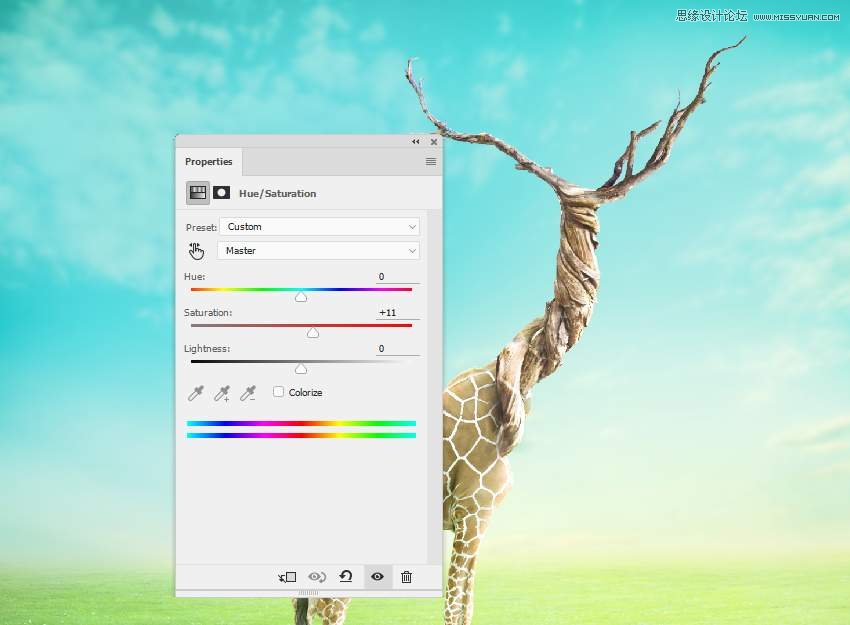
Make a Hue/Saturation adjustment layer to desaturate the skin texture.
4. How to Add the Branches
Step 1
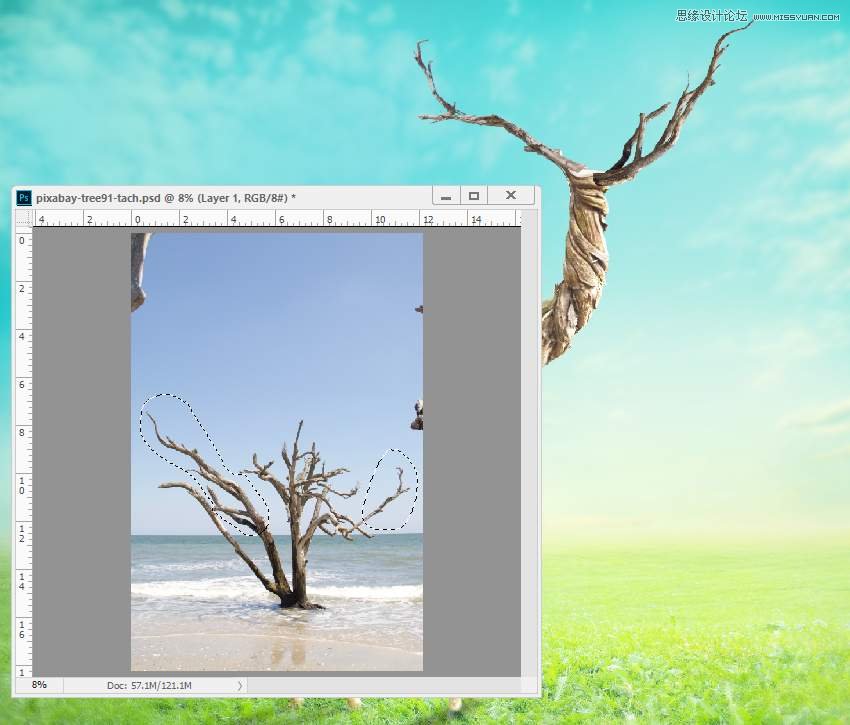
Cut out the branches from the original image. Use the Lasso Tool (L) to select two branches on both sides and place them on the top of the neck.

Step 2
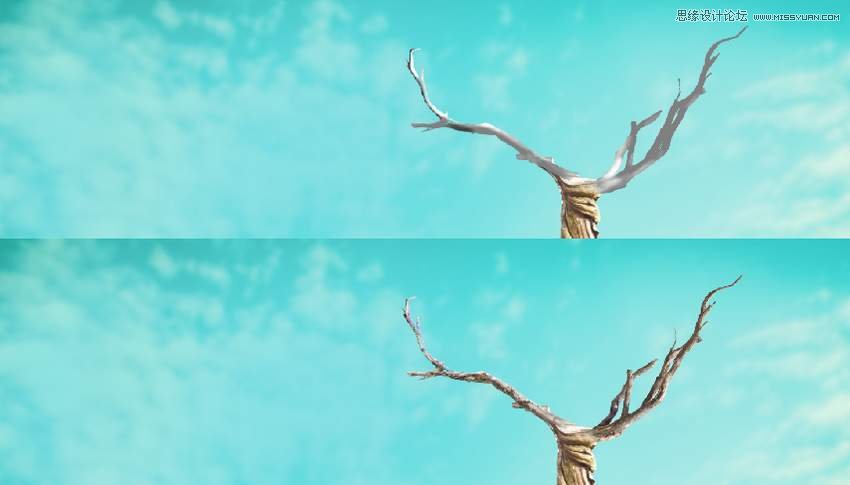
On each of the branch layers, create a new layer, change the mode to Overlay 100%, and fill with 100%gray. Use the Dodge and Burn Tool to enhance the light and shadow on the branches.
Step 3
Make a group for the branch layers and add a Hue/Saturation adjustment layer within this group. Increase the Saturation value a bit.
 情非得已
情非得已
-
 Photoshop制作复古风格的老照片效果【英】2018-04-23
-
 Photoshop合成长着创意大树的长颈鹿【英】2018-04-23
-
 Photoshop合成冰冻特效的金鱼场景【英】2018-02-10
-
 Photoshop合成梦幻风格的森林场景【英】2018-02-10
-
 Photoshop合成正在施法的巫师【英】2018-02-10
-
 Photoshop制作金属质感的3D立体字【英】2018-01-09
-
 Photoshop设计火焰燃烧艺术字教程【英】2018-01-09
-
Photoshop制作复古风格的老照片效果【英】
相关文章11882018-04-23
-
Photoshop合成冰冻特效的金鱼场景【英】
相关文章34052018-02-10
-
 Photoshop制作黄金质感立体字【英】
相关文章7422018-02-10
Photoshop制作黄金质感立体字【英】
相关文章7422018-02-10
-
 Photoshop制作惊艳大气的3D立体字
相关文章14682018-02-10
Photoshop制作惊艳大气的3D立体字
相关文章14682018-02-10
-
Photoshop合成梦幻风格的森林场景【英】
相关文章24492018-02-10
-
Photoshop合成正在施法的巫师【英】
相关文章8372018-02-10
-
 Photoshop制作复古双重曝光字体
相关文章6532018-01-09
Photoshop制作复古双重曝光字体
相关文章6532018-01-09
-
 Photoshop制作木地板LOGO刻印效果【英】
相关文章19272018-01-09
Photoshop制作木地板LOGO刻印效果【英】
相关文章19272018-01-09
