Photoshop合成梦幻风格的森林场景【英】(5)
文章来源于 Tutsplus.com,感谢作者 Jenny Le 给我们带来经精彩的文章!设计教程/国外教程/国外教程2018-02-10
Step 4 Add a new layer, change the mode to Overlay 100%, and fill with 50% gray. Use the Burn Tool to darken the rocks more. 4. How to Add the Bird Step 1 Isolate the bird from the background and add
Step 4
Add a new layer, change the mode to Overlay 100%, and fill with 50% gray. Use the Burn Tool to darken the rocks more.
4. How to Add the Bird
Step 1
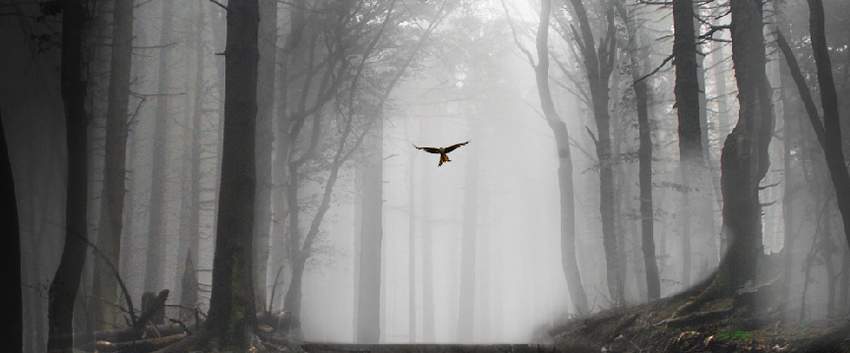
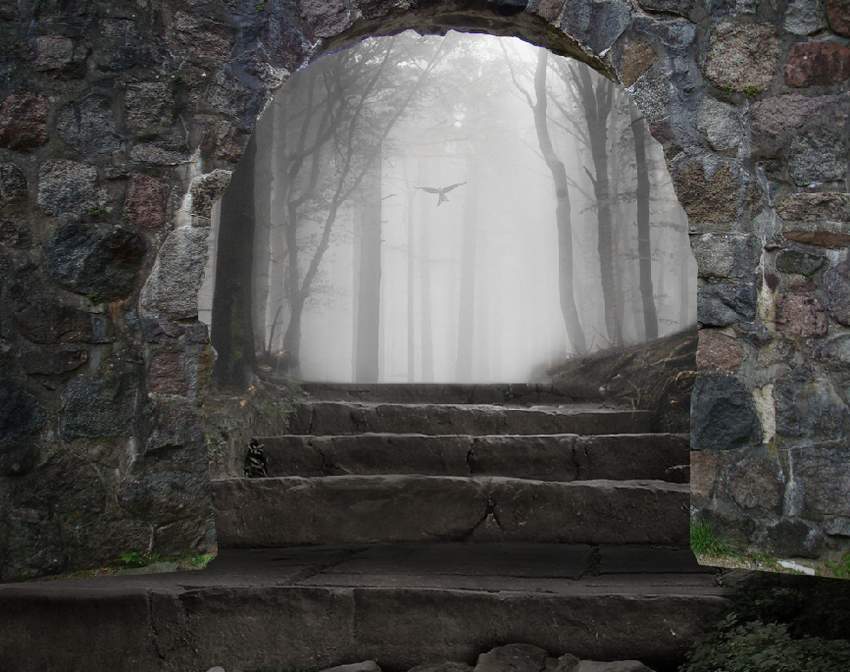
Isolate the bird from the background and add it to the upper middle section. Use the Free Transform Tool (Control-T) to make it much smaller to create an impression of distance.
Step 2
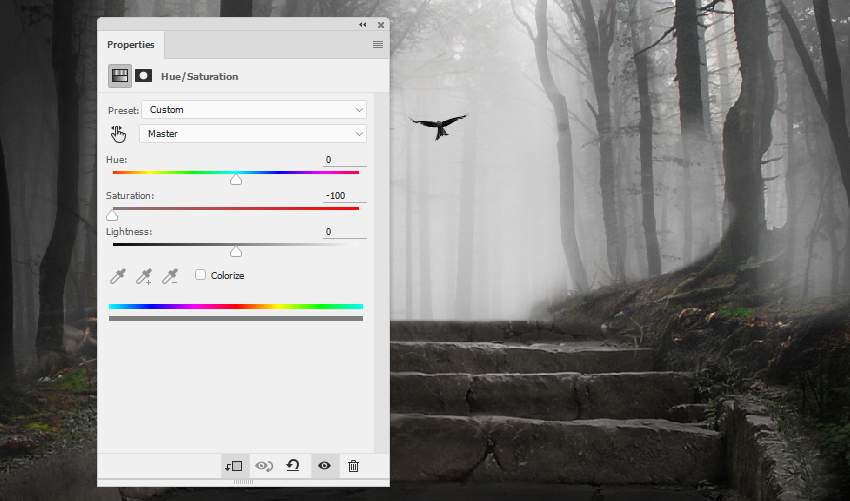
Create a Hue/Saturation adjustment layer to desaturate the bird.
Step 3
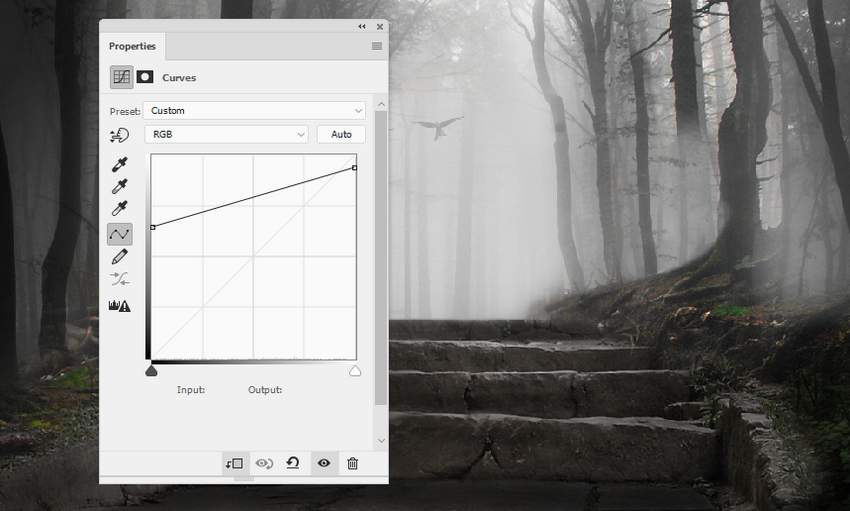
Use a Curves adjustment layer to reduce the bird's visibility, making it fade out into the foggy background.
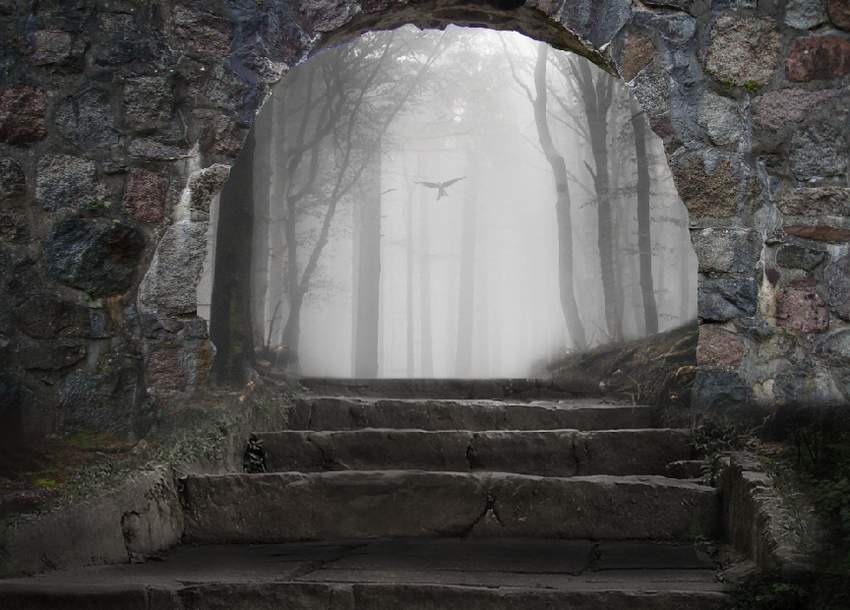
5. How to Retouch the Arch
Step 1
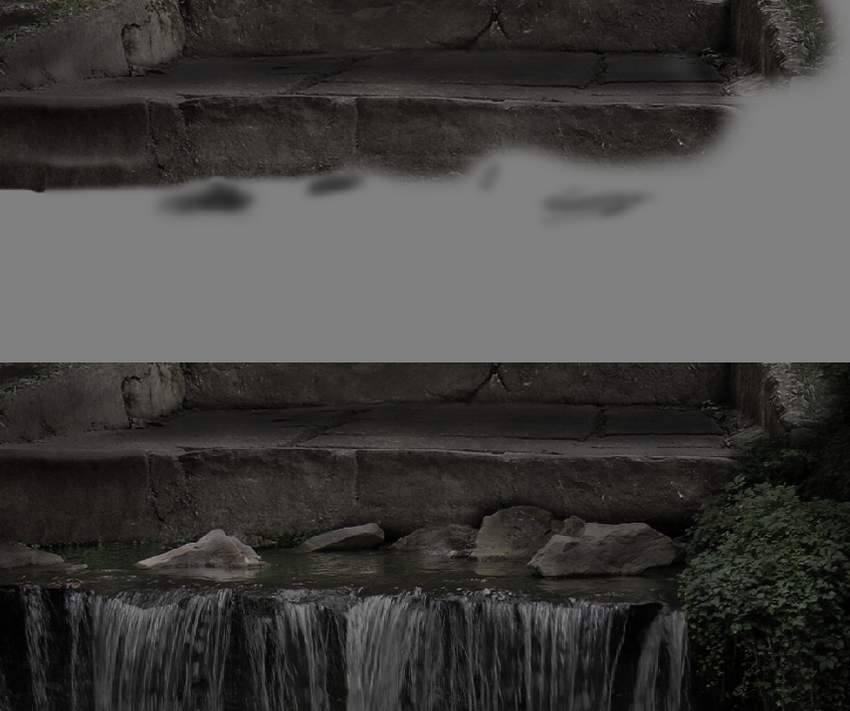
Cut out the arch from the original image and place it above the stairs. Use a layer mask to erase the bottom and blend it with the existing ground.
 情非得已
情非得已
推荐文章
-
 Photoshop制作复古风格的老照片效果【英】2018-04-23
-
 Photoshop合成长着创意大树的长颈鹿【英】2018-04-23
-
 Photoshop合成冰冻特效的金鱼场景【英】2018-02-10
-
 Photoshop合成梦幻风格的森林场景【英】2018-02-10
-
 Photoshop合成正在施法的巫师【英】2018-02-10
-
 Photoshop制作金属质感的3D立体字【英】2018-01-09
-
 Photoshop设计火焰燃烧艺术字教程【英】2018-01-09
热门文章
-
Photoshop制作复古风格的老照片效果【英】
相关文章11882018-04-23
-
Photoshop合成冰冻特效的金鱼场景【英】
相关文章34052018-02-10
-
 Photoshop合成城市被流星攻击场景【英】
相关文章7142017-12-12
Photoshop合成城市被流星攻击场景【英】
相关文章7142017-12-12
-
 Photoshop合成创意的英雄战斗场景教程【英】
相关文章5802017-12-12
Photoshop合成创意的英雄战斗场景教程【英】
相关文章5802017-12-12
