Photoshop合成创意的英雄战斗场景教程【英】
文章来源于 photoshoptutorials,感谢作者 photoshoptutorials 给我们带来经精彩的文章!教程素材和源文件:为国家战斗的英雄场景PS教程素材
Learn how to create this intense photo manipulation of a guy shooting lightning from his hands. In this tutorial you will learn various blending and lightning techniques.
You will create an intense photo manipulation depicting a guy who has the power of lightning at his fingertips.You will need Photoshop CS5 or newer in order to follow this tutorial.

Step 1
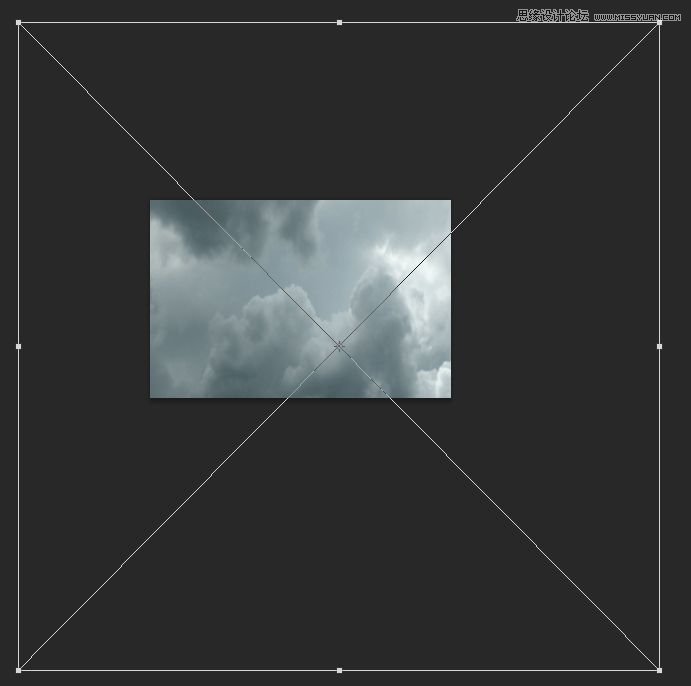
Create a new file 1823×100 pixels. Open the resource “Clouds”. Select all (Ctrl + A) and copy (Ctrl + C). Paste into the newly created file (Ctrl + V). Convert the pasted clouds to a Smart Object by choosing Layer > Smart Objects > Convert To Smart Objects. Resize and place the clouds layer by applying a Free Transform (Ctrl + T).

Step 2
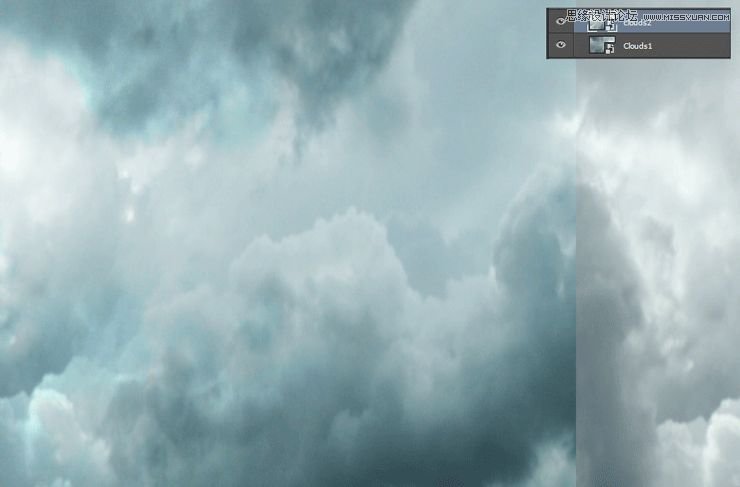
Duplicate the clouds layer (Ctrl + J) and move it to the left. Change the blending mode of the clouds layer to Overlay.
Step 3
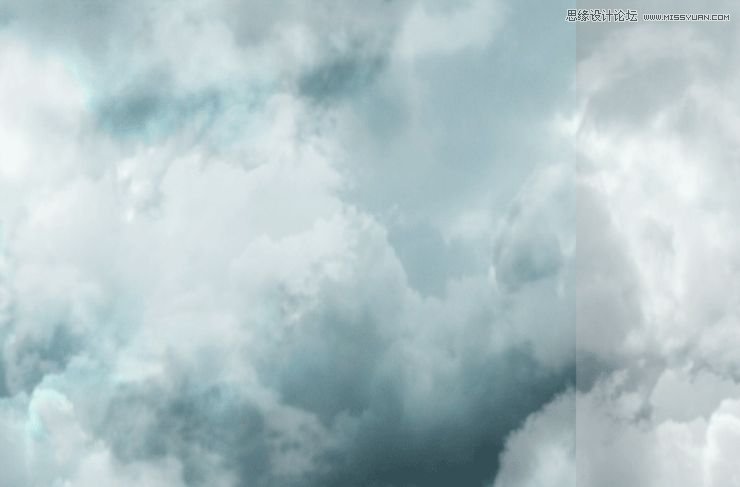
Import the clouds brush (Edit > Presets > Import/Export Presets). Create a new layer (Ctrl + Alt + N) and paint some white clouds on top of our existing clouds.
Step 4
Import the birds brush. On a new layer paint some black birds.
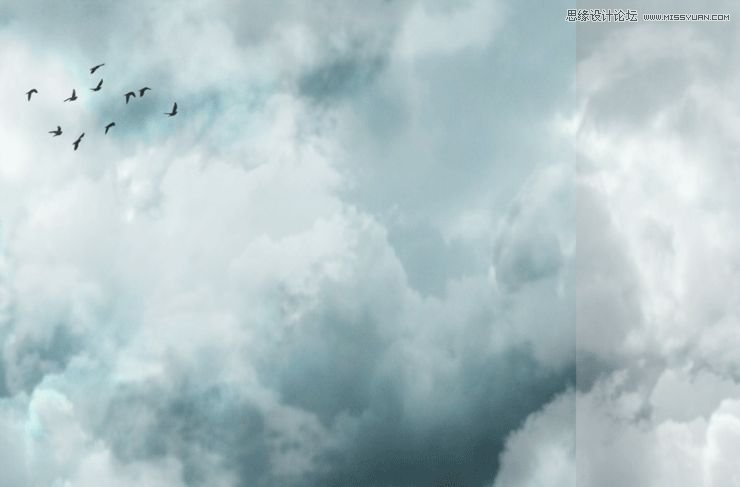
Step 5
Open the resource “Glitter”. Select all, copy and paste into our working document. Change the blending mode to Screen.
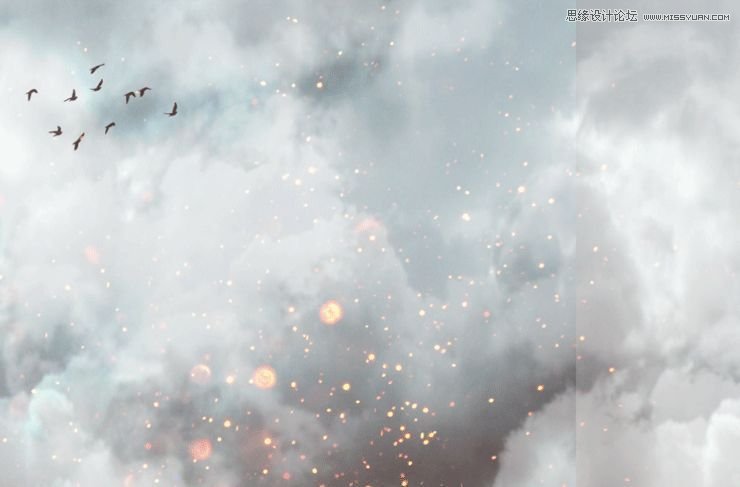
Step 6
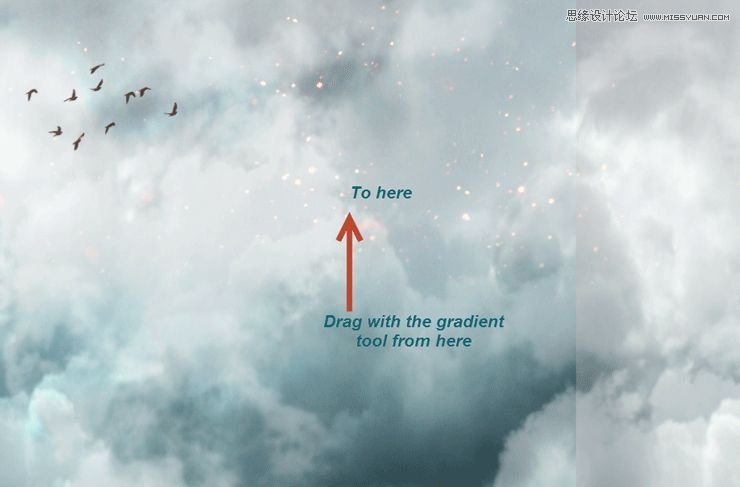
Add a layer mask to the “Glitter” layer. You can do that by choosing Layer > Layer Mask > Reveal All. Select the gradient tool (G) and press D to automatically switch to the default colors (black and white). Now click on the layer mask and with the gradient tool drag from the indicated areas while holding shift. By doing this we will hide the lower area of the glitter effect but because we are using the gradient tool there will be no hard edges. Also, painting with black in a layer mask will hide that portion of the layer.
Step 7
Open the resource “Flag”. Make a selection of the flag using whatever selection tools you’re comfortable with (I mainly use Quick Selection Tool for fast selections). Copy the selection and paste it into our working document. After you’ve converted it to a smart object place is as indicated below.

Step 8
In order to make the flag look shredded add a layer mask and with the standard Chalk Brush paint with black on the right side of the flag. You can see my result indicated below.

 爱你不要你
爱你不要你
-
 Photoshop制作复古风格的老照片效果【英】2018-04-23
-
 Photoshop合成长着创意大树的长颈鹿【英】2018-04-23
-
 Photoshop合成冰冻特效的金鱼场景【英】2018-02-10
-
 Photoshop合成梦幻风格的森林场景【英】2018-02-10
-
 Photoshop合成正在施法的巫师【英】2018-02-10
-
 Photoshop制作金属质感的3D立体字【英】2018-01-09
-
 Photoshop设计火焰燃烧艺术字教程【英】2018-01-09
-
 Photoshop合成冰冻特效的金鱼场景【英】
相关文章34052018-02-10
-
 Photoshop合成梦幻风格的森林场景【英】
相关文章24492018-02-10
-
 Photoshop设计火焰燃烧艺术字教程【英】
相关文章7612018-01-09
-
 Photoshop合成城市被流星攻击场景【英】
相关文章7142017-12-12
