Photoshop合成创意的英雄战斗场景教程【英】(3)
文章来源于 photoshoptutorials,感谢作者 photoshoptutorials 给我们带来经精彩的文章!Step 18
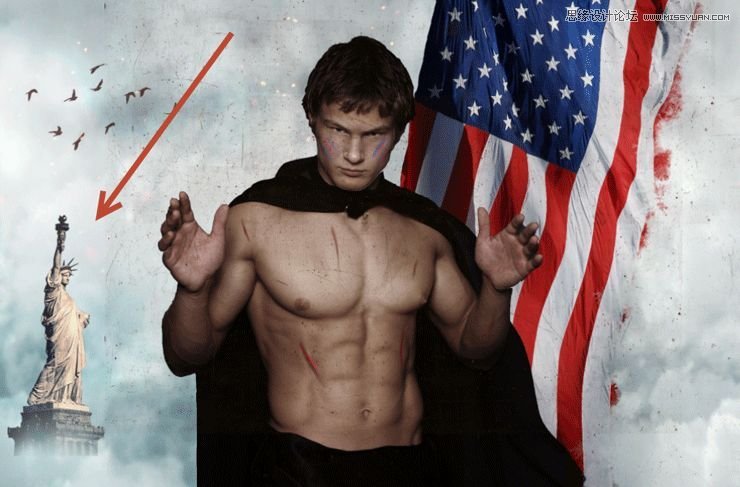
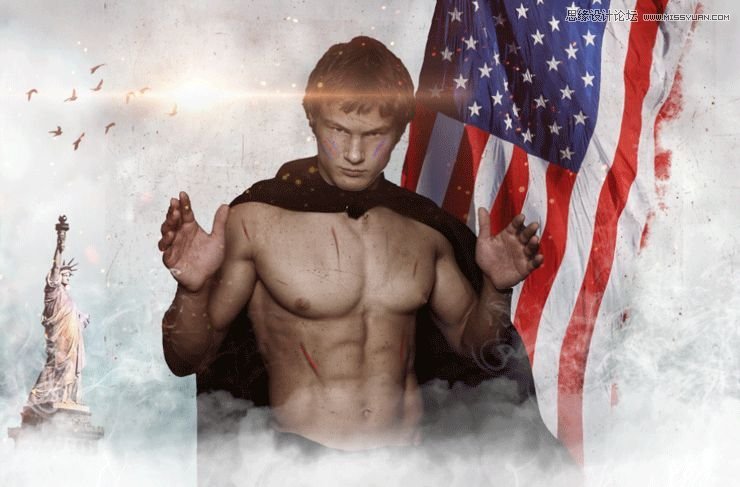
Open the resource “Statue of Liberty”. Copy and paste the statue into our working document. After you’ve converted the statue layer into a smart object add a layer mask and using a round soft brush paint over the layer mask to hide some of the bottom parts of the statue. This will make the statue blend nicely with the background sky.
Step 19
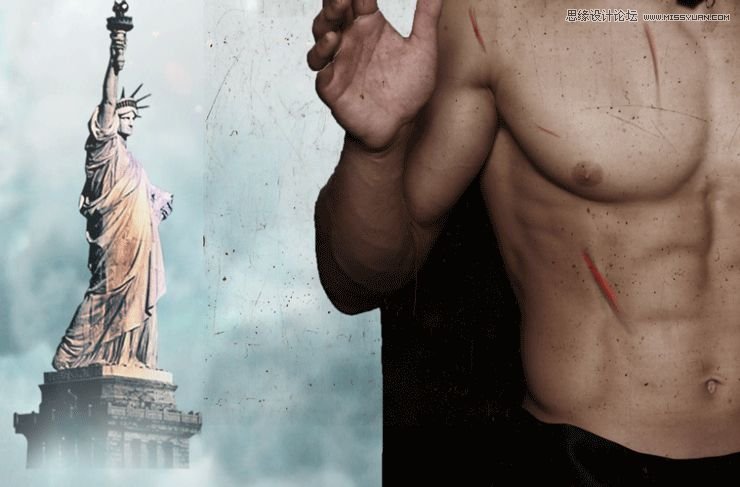
Make a new layer and clip it to the statue layer. Change the blending mode to Overlay. Paint with some blue sampled from the flag the right side of the statue and with some red paint the left side.
Step 20
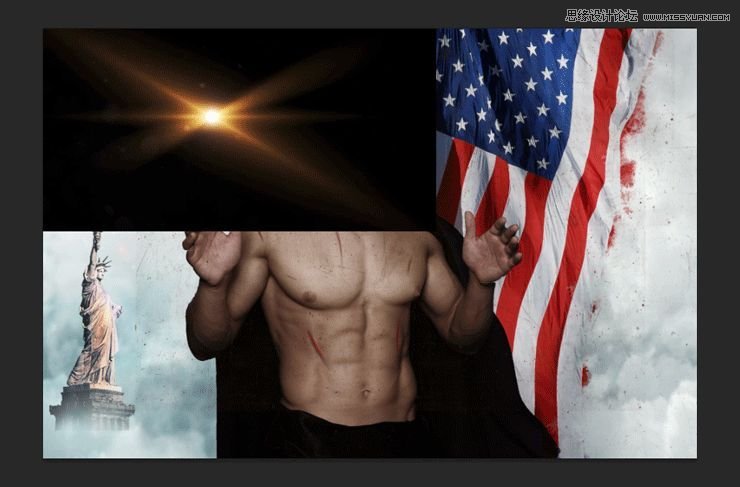
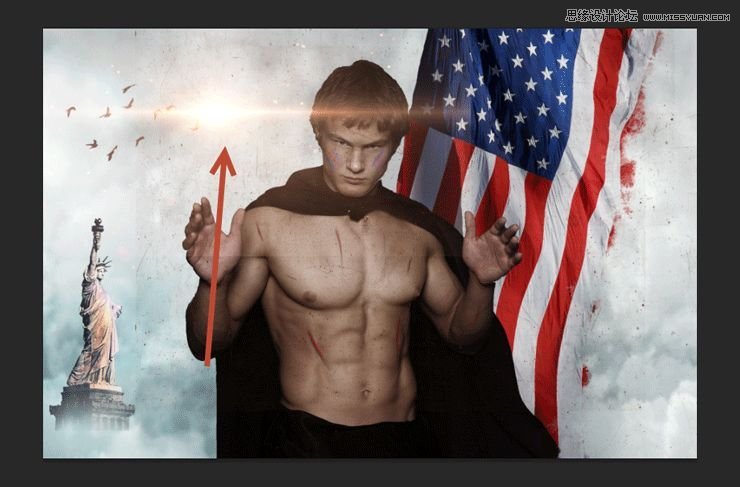
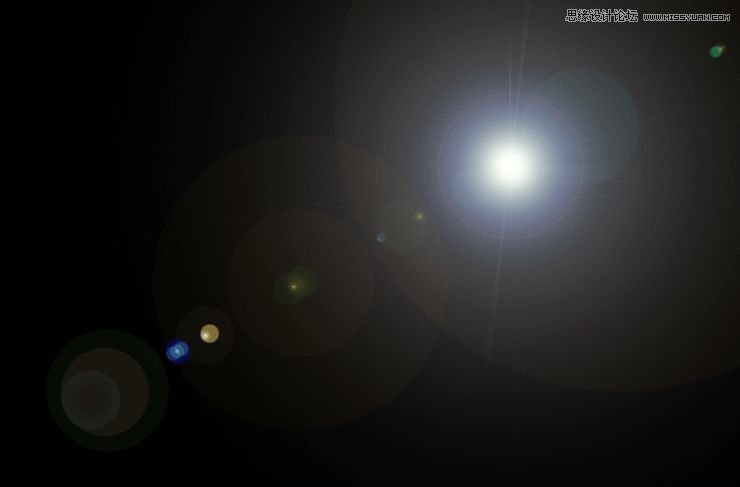
Open the resource “Flare1”. Select the upper left lens flare using the Rectangular Marquee Tool. Copy and paste the flare into our working document and convert it to a smart object. Place it as indicated below.
Step 21
Change the blending mode of the lens flare to screen.
Step 22
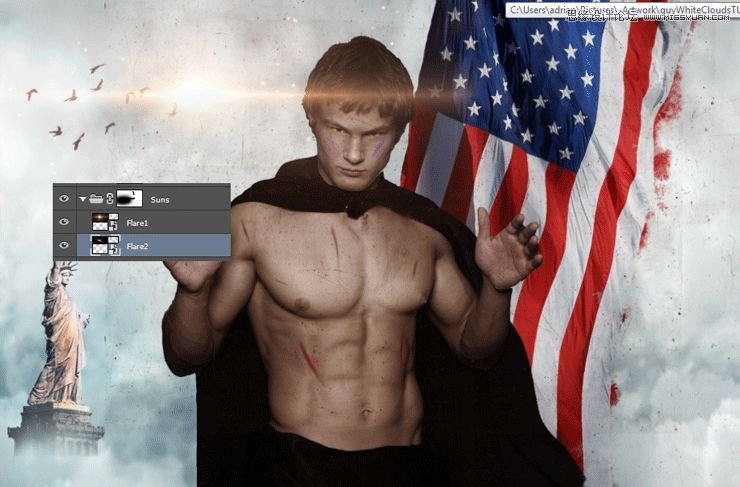
Open the resource “Lens Flare2”. Unpack the archive somewhere on your disk. You will see that there are 130 lens flares. Choose lens flare 059 and open it in Photoshop. Copy all and paste into our working document over the already existing flare. Convert the lens flare into a smart object and change the blending mode to screen.
Step 23
You will notice some subtle but visible hard lines around our lens flare. Group the two lens flares together (Shift-click on each and press Ctrl + G). Add a layer mask to the group and using a round soft brush hide the hard edges by painting over them in the layer mask with black.
Step 24
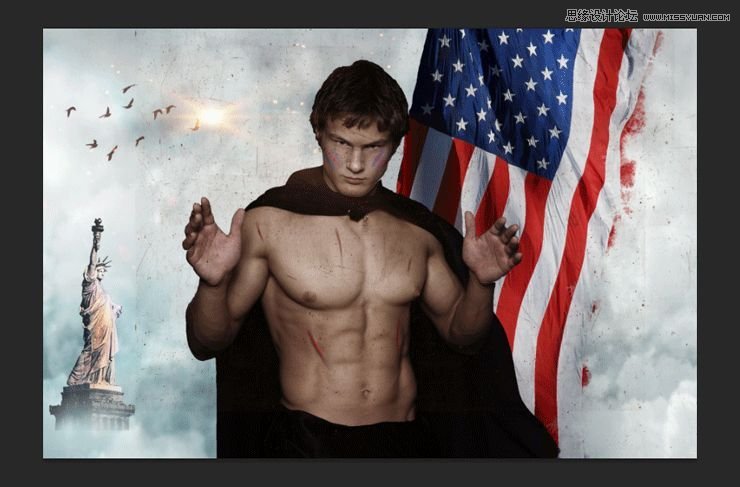
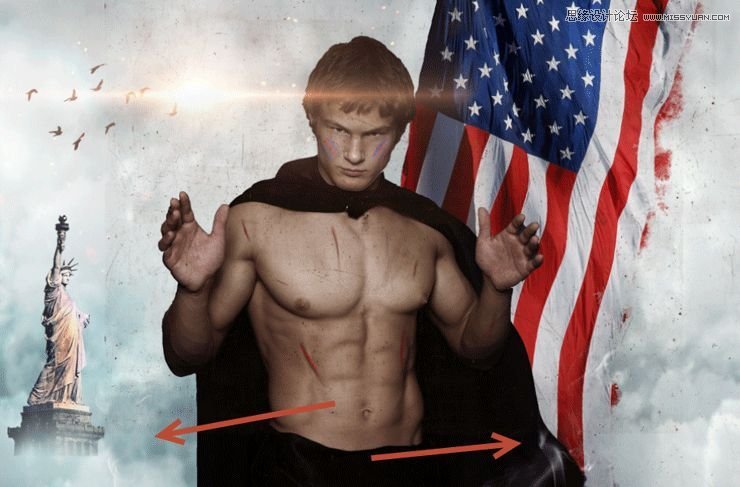
Import the smoke brush. On two new layers create two wisps of smoke rising from below.
Step 25
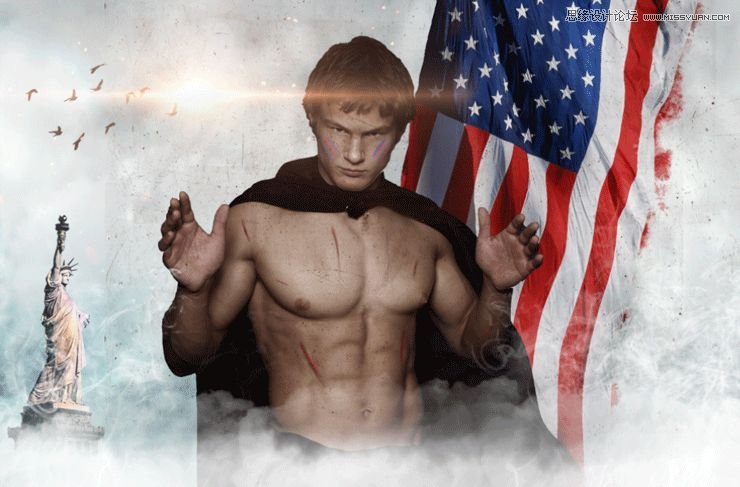
Import the clouds brush. On a new layer paint some white clouds covering most of the bottom part of the working document. If you have exaggerated a little with your clouds or smoke (as I did) you can group them together, add a layer mask to the group and hide away the unwanted parts.
Step 26
Open the resource “Glitter” again. Copy and paste it into our working document and after you’ve converted it into a smart object change the blending mode to Screen. Add a layer mask and hide the area that falls over our guy.
Step 27
Create a new layer and fill it with black (press D first to switch to default colors and Alt + backspace afterwards). Render some flares by going to Filter > Render > Lens Flare. Use the 105mm Prime type of lens flare.
Step 28
Now change the lens flare blending mode to Screen and all the black disappears leaving us only with the lens flare. Add a layer mask and hide away all the bright areas leaving only the lower left part of the lens flare.

 爱你不要你
爱你不要你
-
 Photoshop制作复古风格的老照片效果【英】2018-04-23
-
 Photoshop合成长着创意大树的长颈鹿【英】2018-04-23
-
 Photoshop合成冰冻特效的金鱼场景【英】2018-02-10
-
 Photoshop合成梦幻风格的森林场景【英】2018-02-10
-
 Photoshop合成正在施法的巫师【英】2018-02-10
-
 Photoshop制作金属质感的3D立体字【英】2018-01-09
-
 Photoshop设计火焰燃烧艺术字教程【英】2018-01-09
-
Photoshop合成冰冻特效的金鱼场景【英】
相关文章34052018-02-10
-
Photoshop合成梦幻风格的森林场景【英】
相关文章24492018-02-10
-
Photoshop设计火焰燃烧艺术字教程【英】
相关文章7612018-01-09
-
 Photoshop合成城市被流星攻击场景【英】
相关文章7142017-12-12
Photoshop合成城市被流星攻击场景【英】
相关文章7142017-12-12
