Photoshop合成城市被流星攻击场景【英】
文章来源于 Photoshoptutorials,感谢作者 Jarka Hrnčárko 给我们带来经精彩的文章!教程素材和源文件:流星袭击的末日城市PS教程素材
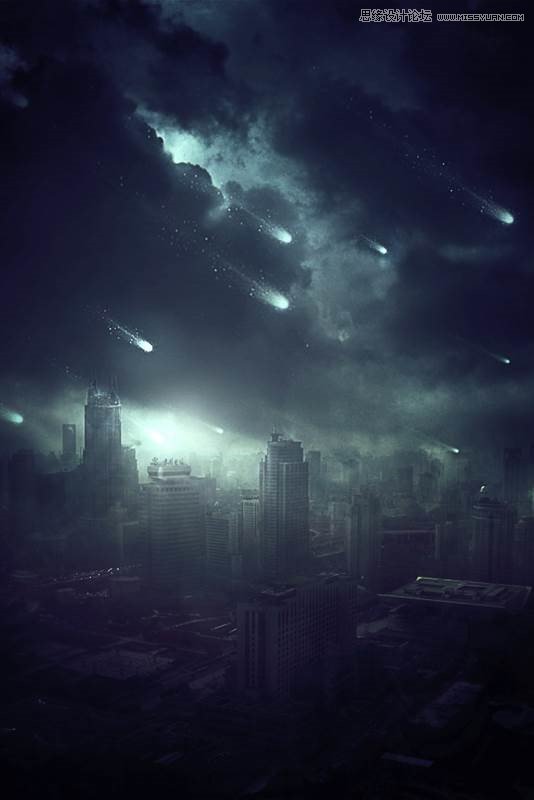
Learn how to create this cinematic scene in quick and easy steps! This Photoshop tutorial will show you how to blend images to create an apocalyptic scene and add flying meteors with premade Photoshop brushes. You’ll also learn several different ways to add lighting effects and create a strong atmosphere.
Preview of Final Results
Step 1 – Creating Background
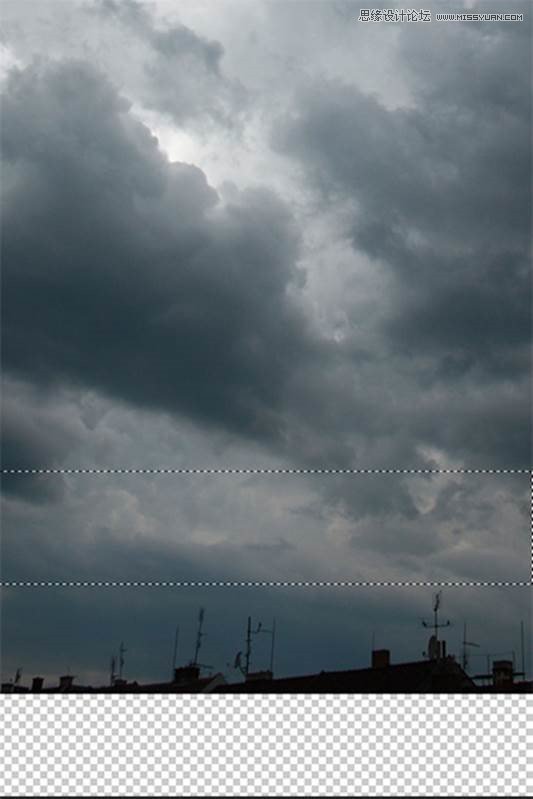
Create new document in Photoshop. Download photo of the sky listed in the beginning of the tutorial and drag it into your new Photoshop document. Name this new layer SKY. It’s a great habit to name all your layers because once you create something more complicated it saves you lot of time finding some layer you want to adjust.
Grab the Marquee Tool (M) and select down part of the sky without the rooftops. Press Ctrl+C to copy the selection and then Ctrl+V to paste it.
Place this new layer under SKY and name it BACKGROUND. Go to Edit > Free Transform or press Ctrl+T on your keyboard to activate the Free Transform Tool. Drag the bottom part of BACKGROUND to the bottom part of the image. On the photo below you can see what I mean.
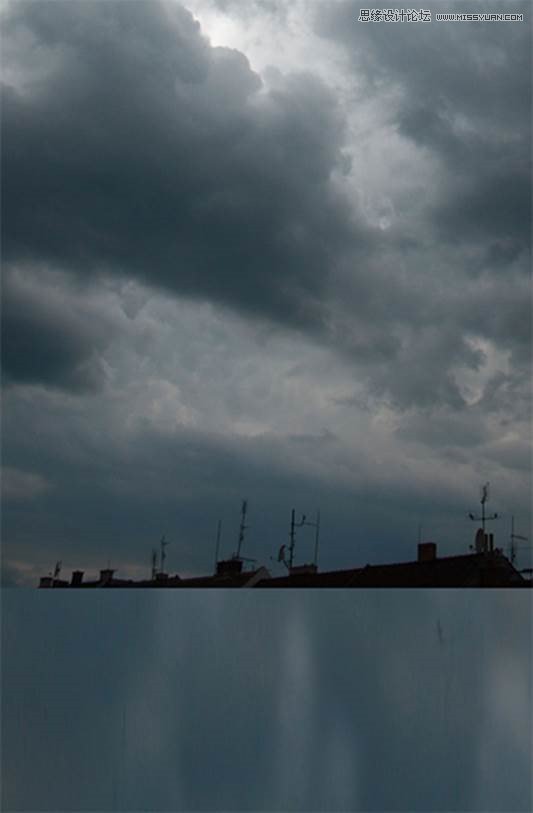
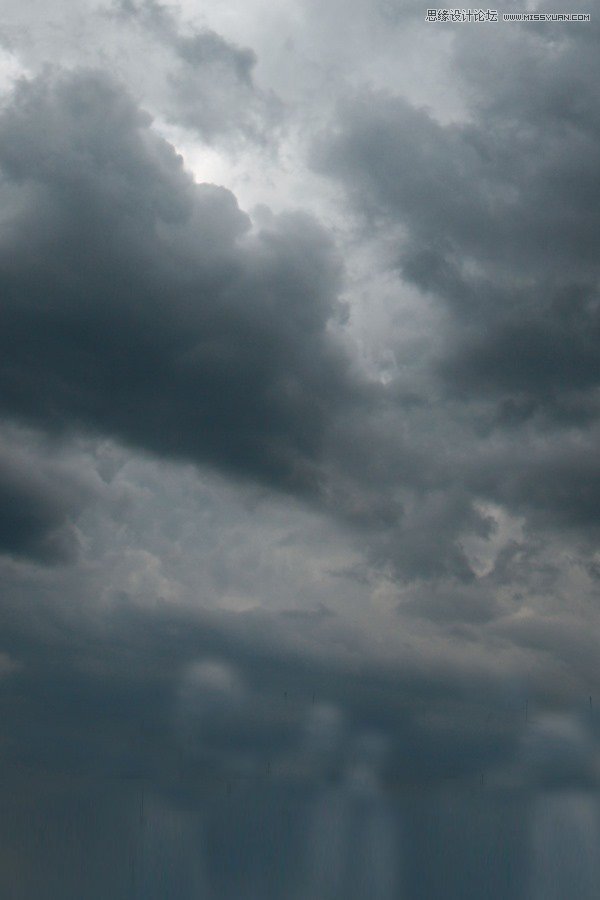
It’s just a base over which you put the skyscrapers so you don’t need to worry that it looks weird. Add new empty layer on the top of all layers and name it RETOUCH. Grab the Stamp Tool (S) and clone out the rooftops. After this step your image should look similar like the one below.
Step 2 – Adding City
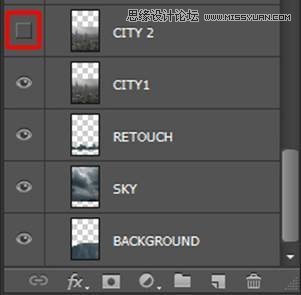
In this step I’ll show you little trick how to add photo of a city to this photo manipulation very easily and seamlessly without some complicated and time consuming masking. Download picture of the city listed in the beginning of the tutorial and drag it into your photo manipulation. Place it on the top of all layers and name it CITY 1. Right click on this layer and select option Duplicate layer. Name this new layer CITY 2 and place it on the top of all layers. Now let’s move on blending. You created two layers of the city because each one of them you’ll blend bit differently to achieve the best effect. Make CITY 2 invisible to be able to see only CITY 1 (click on the eye icon left to the layer name).
Click on the layer CITY 1 and lower its Opacity on 50%. You can find this option in top right corner of Layers palette.

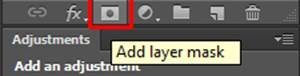
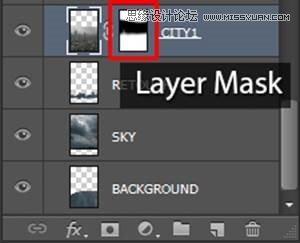
As you can see there is harsh transition between CITY 1 and rest of the image. To blend it better add layer mask to CITY 1. You can find the button Add layer mask on the bottom part of the Layers palette.
Grab the Brush Tool (B), select some soft round brush and lower its Opacity on about 70%. Pick black color. Make sure the layer mask is activated (click on it) and paint over the upper part of CITY 1 to create smooth transition between this layer and the rest of the image.
You should blend the layer similarly as on the following picture.
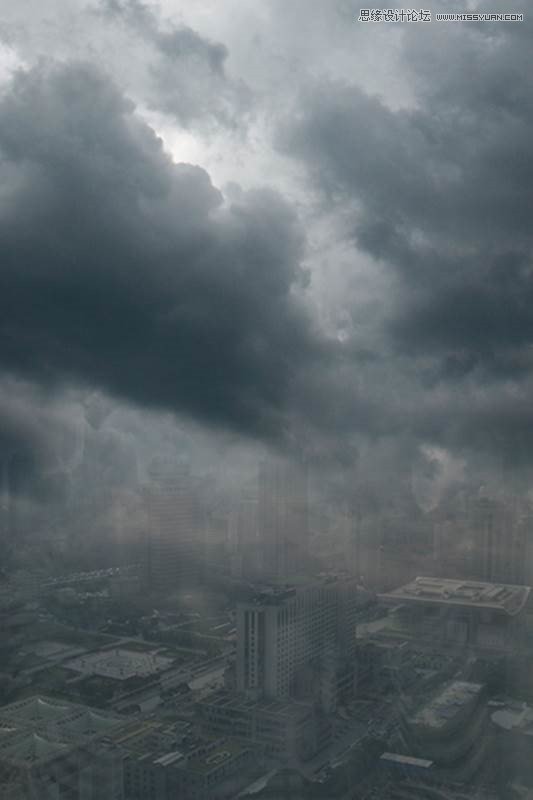
As you can see the city is barely visible right now. Here comes the second layer with city in play. Make CITY 2 visible again and change its Blending Mode on Overlay. Below you can see how this additional layer affects the photo manipulation.
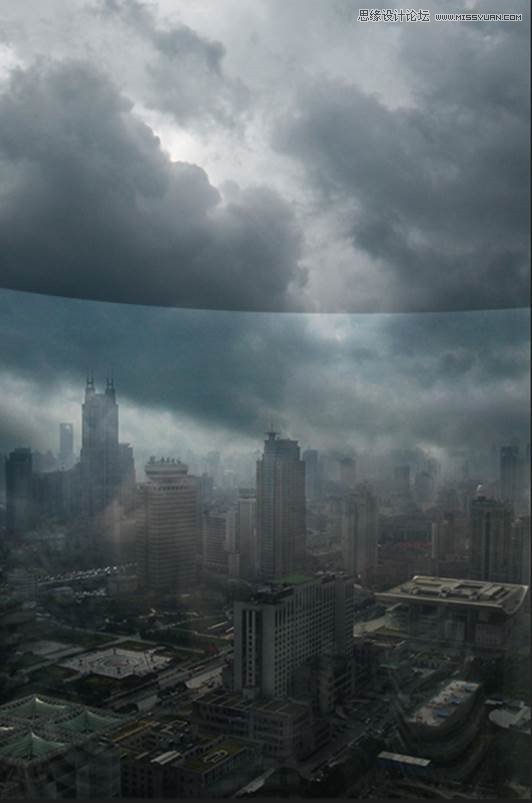
There is the harsh transition between CITY 2 and the rest of the layers. Add new layer mask to CITY 2, grab the Brush Tool (B) with the same settings as before and blend it properly.
 爱你不要你
爱你不要你
-
 Photoshop制作复古风格的老照片效果【英】2018-04-23
-
 Photoshop合成长着创意大树的长颈鹿【英】2018-04-23
-
 Photoshop合成冰冻特效的金鱼场景【英】2018-02-10
-
 Photoshop合成梦幻风格的森林场景【英】2018-02-10
-
 Photoshop合成正在施法的巫师【英】2018-02-10
-
 Photoshop制作金属质感的3D立体字【英】2018-01-09
-
 Photoshop设计火焰燃烧艺术字教程【英】2018-01-09
-
Photoshop合成冰冻特效的金鱼场景【英】
相关文章34052018-02-10
-
Photoshop合成梦幻风格的森林场景【英】
相关文章24492018-02-10
-
 Photoshop合成创意的英雄战斗场景教程【英】
相关文章5802017-12-12
Photoshop合成创意的英雄战斗场景教程【英】
相关文章5802017-12-12
