Photoshop合成城市被流星攻击场景【英】(2)
文章来源于 Photoshoptutorials,感谢作者 Jarka Hrnčárko 给我们带来经精彩的文章!Step 3 – Darkening City
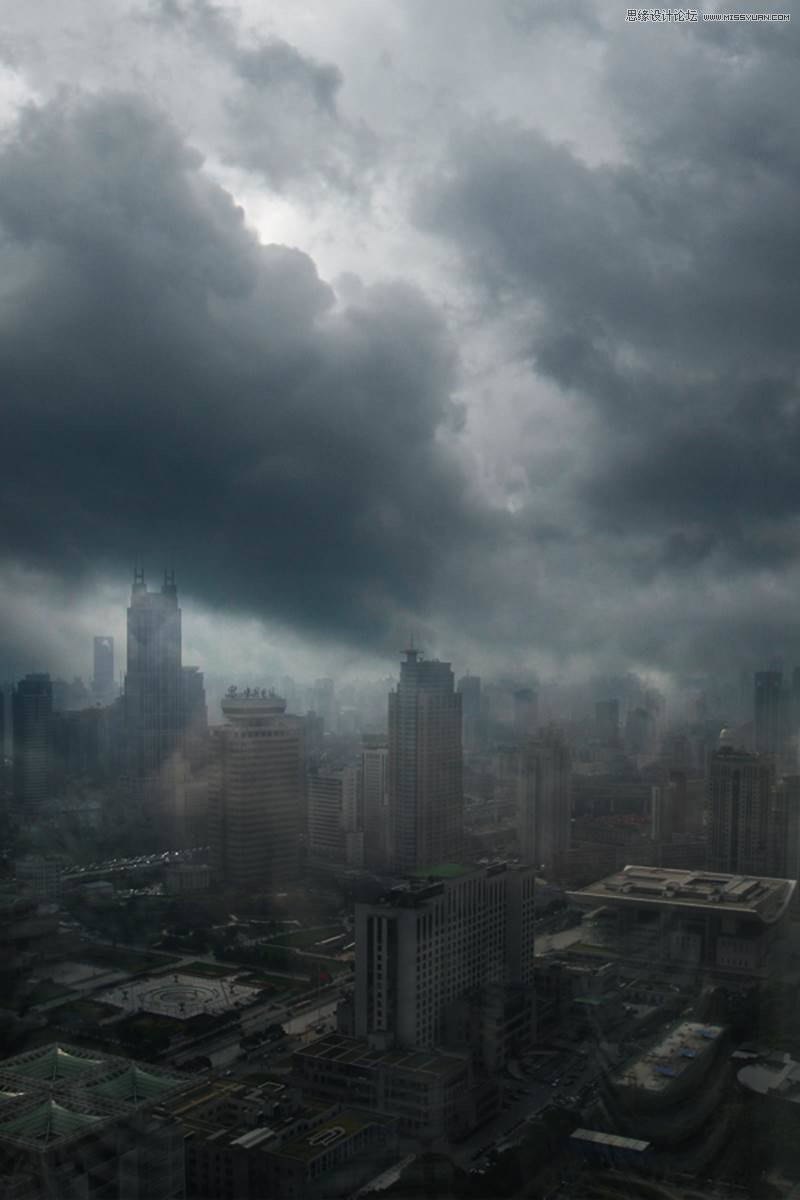
In this quick step you’ll make city little bit darker. Add new adjustment layer Curves above the layer CITY 1 and set it as on the following image.
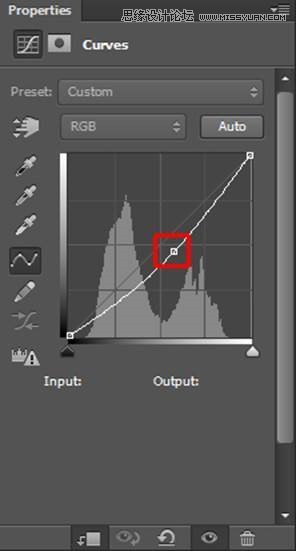
To affect only CITY 1 and not all layers under this adjustment you need to create Clipping Mask from it. Right click on the adjustment layer you’ve just created and simply select the option Create Clipping Mask. You can see result of this step on the following image.
Step 4 – Adding Meteors
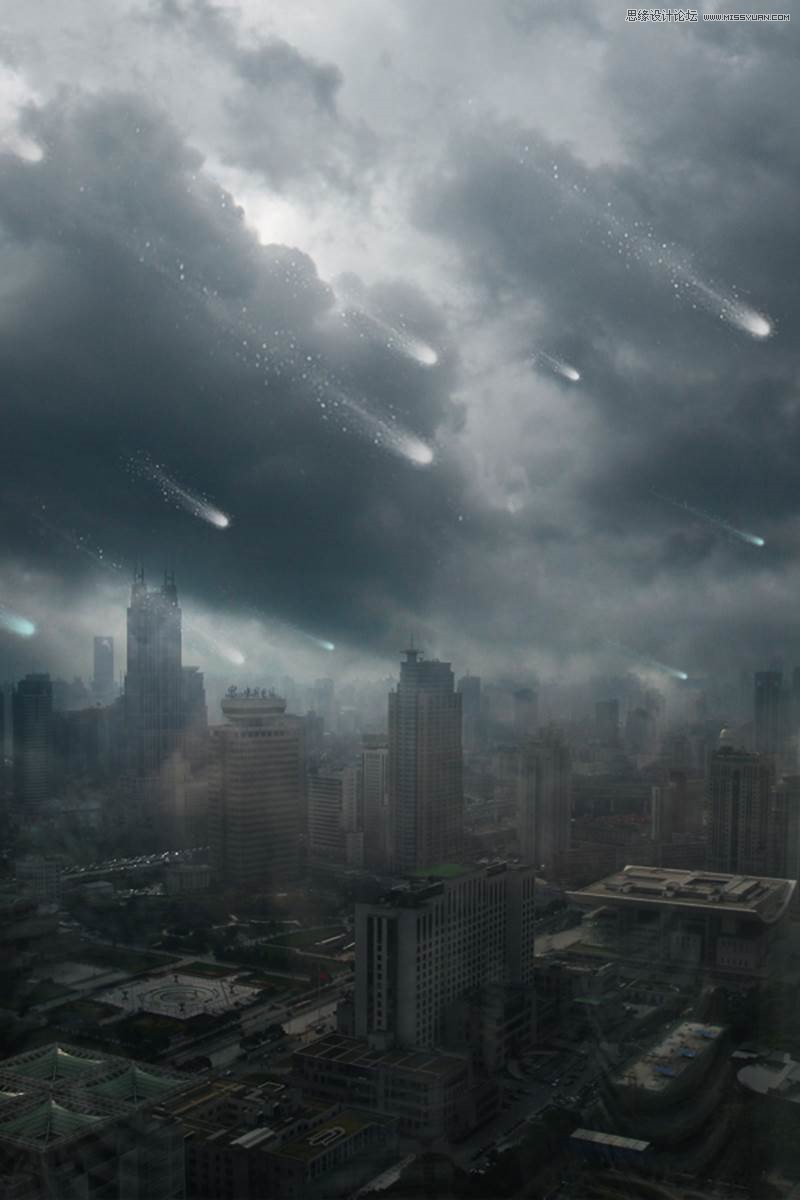
Download Meteor brushes listed in the beginning of the tutorial and install them into Photoshop. Create a new layer on the top of all layers and name it METEORS. Grab the Brush Tool (B) and pick meteor brush from the set of brushes you’ve just installed. Let me give you three tips to make the meteors realistic looking:
All meteors should be in the same or very similar direction.
Make some meteors bigger and some smaller to create an illusion of space.
Don’t use white color. Pick some light cyanish color instead to get more realistic result.
On the following picture you can get the inspiration where you should paint the meteors.
Step 5 – Adding Lights and Shadows
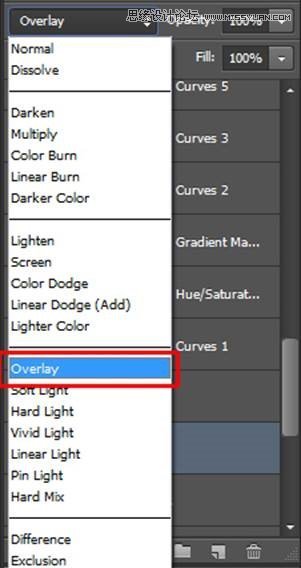
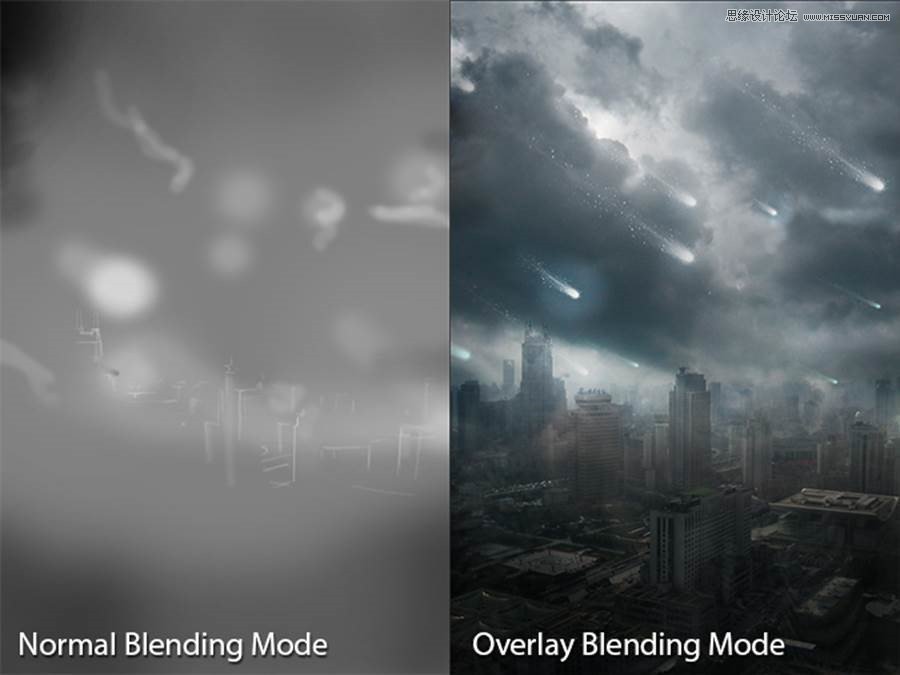
In this step you’ll start creating more interesting lights and shadows to create more dramatic atmosphere. You’ll continue with this process in some of the following steps. Add new empty layer on the top of all layers and name it e.g. LIGHTS 1. Grab the Paint Bucket Tool (G). Pick mid grey color (#808080) and fill the layer with it. To blend it well with the rest of the image change its Blending Mode from Normal to Overlay.
Grab the Brush Tool (B), select some soft round brush and lower its Opacity on 15%. Pick white color and start painting over the areas which should be lighter:
clouds around meteors,
clouds from the side where the sun shines,
parts of building which are facing to sun.
After you’re done pick black color and darken bottom part of the image and top left corner to make the image more balanced looking. If you’re not sure where to paint look at the picture below for inspiration.
Step 6 – Adding Vignette
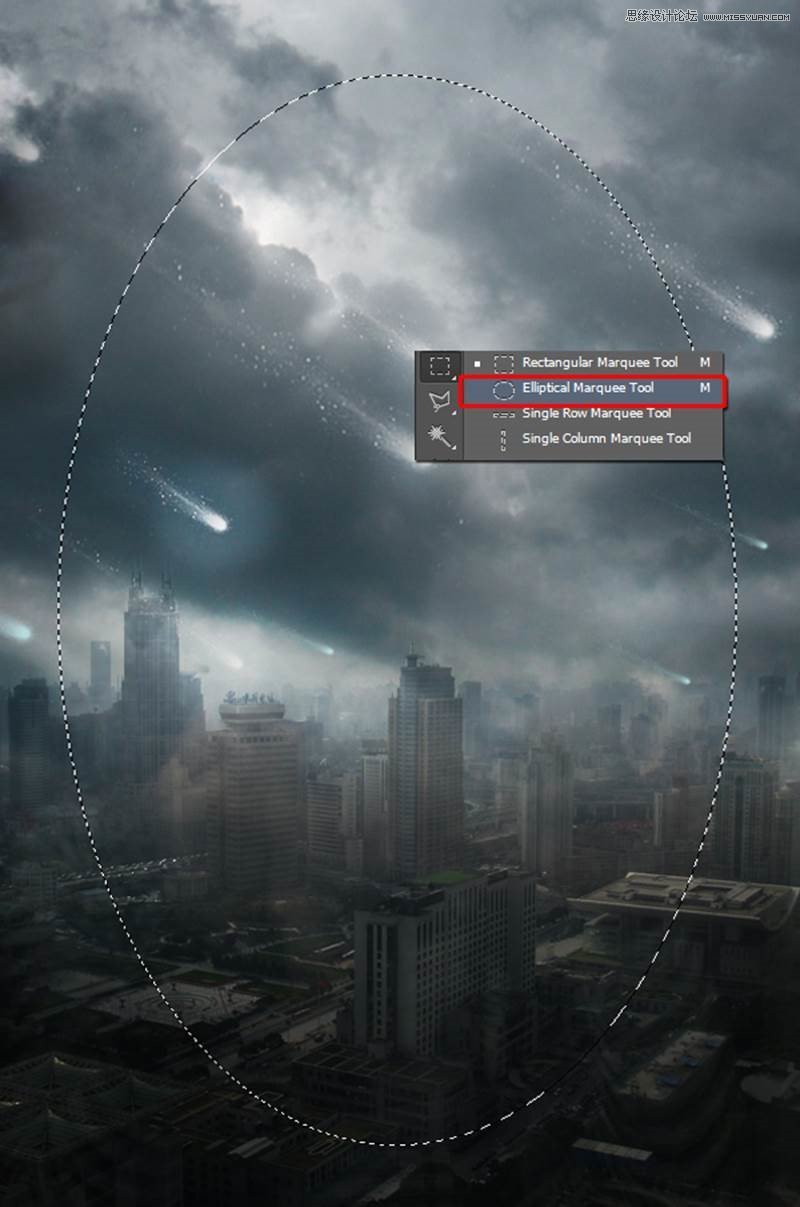
In this and some of the following steps you’ll focus on color adjustments. Let’s start with adding gentle vignette. I really like adding vignette to my pictures because it’s a great way how you can lead viewer’s eye in the center of the image. Grab the Elliptical Marquee Tool (M) and select center of the image.
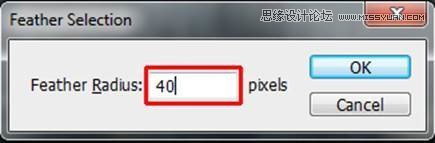
Now you want to make the selection smoother. To do that you need to feather it. Go to Select > Modify > Feather… (path may differ in different versions of Photoshop, this one is for CS6) or press Shift+F6 to activate the Feather Selection window. As Feather Radius set about 40pixels and press OK.
Go to Selection > Inverse or press Ctrl+Shift+I to invert the selection you created. With the mask active add new adjustment layer Curves on the top of all layers and set it as on the following picture.
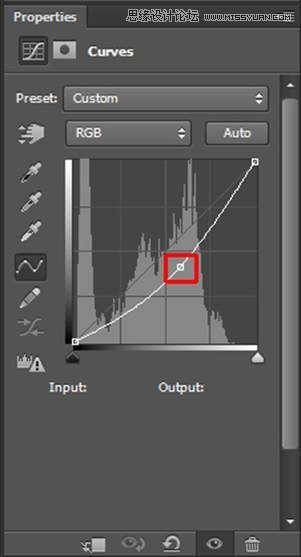
Because of the active mask the adjustment layer makes only the edges of the picture darker and the center remains same as before.
 爱你不要你
爱你不要你
-
 Photoshop制作复古风格的老照片效果【英】2018-04-23
-
 Photoshop合成长着创意大树的长颈鹿【英】2018-04-23
-
 Photoshop合成冰冻特效的金鱼场景【英】2018-02-10
-
 Photoshop合成梦幻风格的森林场景【英】2018-02-10
-
 Photoshop合成正在施法的巫师【英】2018-02-10
-
 Photoshop制作金属质感的3D立体字【英】2018-01-09
-
 Photoshop设计火焰燃烧艺术字教程【英】2018-01-09
-
Photoshop合成冰冻特效的金鱼场景【英】
相关文章34052018-02-10
-
Photoshop合成梦幻风格的森林场景【英】
相关文章24492018-02-10
-
 Photoshop合成创意的英雄战斗场景教程【英】
相关文章5802017-12-12
Photoshop合成创意的英雄战斗场景教程【英】
相关文章5802017-12-12
