Photoshop合成梦幻风格的森林场景【英】(3)
文章来源于 Tutsplus.com,感谢作者 Jenny Le 给我们带来经精彩的文章!Step 8
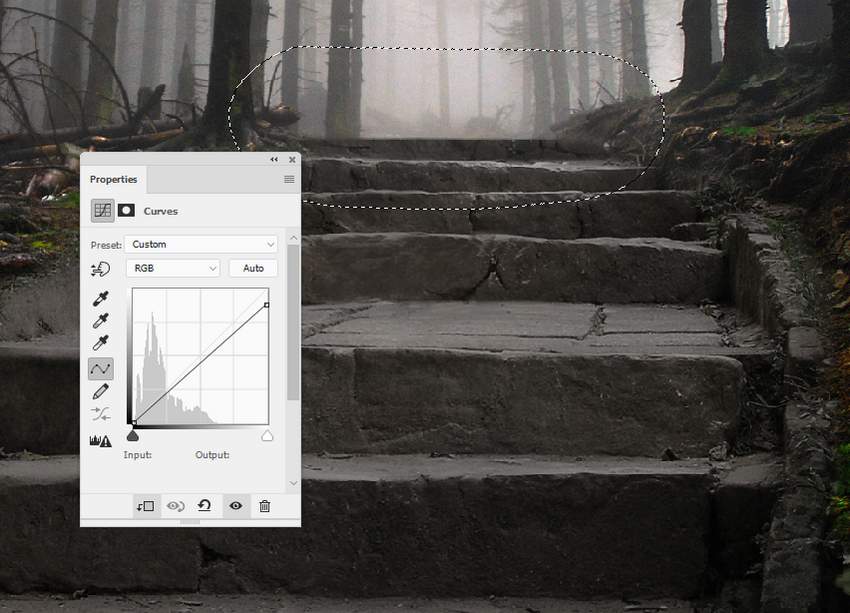
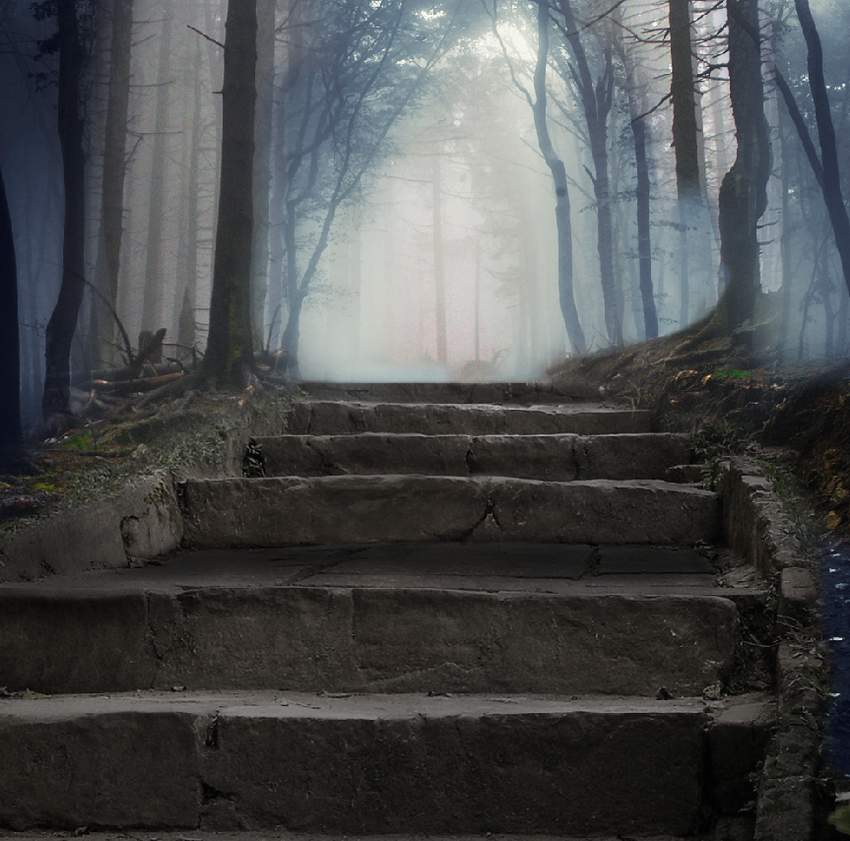
Create another Curves adjustment layer to reduce the light on the stairs again. On the layer mask, paint on the upper steps as they get more light from the background than the lower so should be a bit brighter.
Step 9
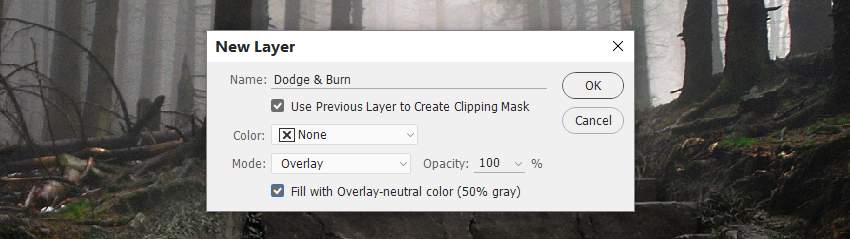
Add a new layer, change the mode to Overlay 100%, and fill with 50% gray.
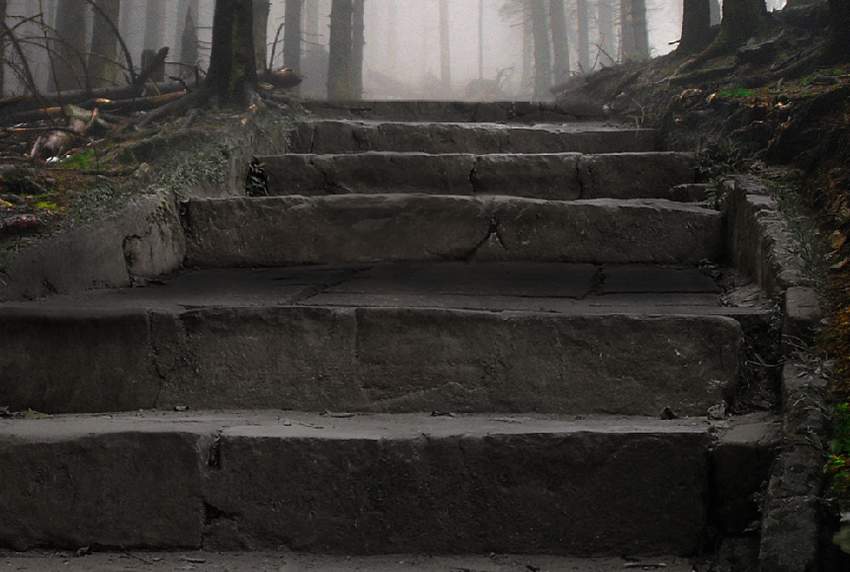
Activate the Dodge and Burn Tool (O) with Midtones Range, Exposure about 15-20% to brighten the highest step and darken the shadow area of the lower ones. Also paint the shadow for one of the lower steps. You can see how I did it with Normal mode and the result with Overlay mode.

2. How to Complete the Forest Background
Step 1
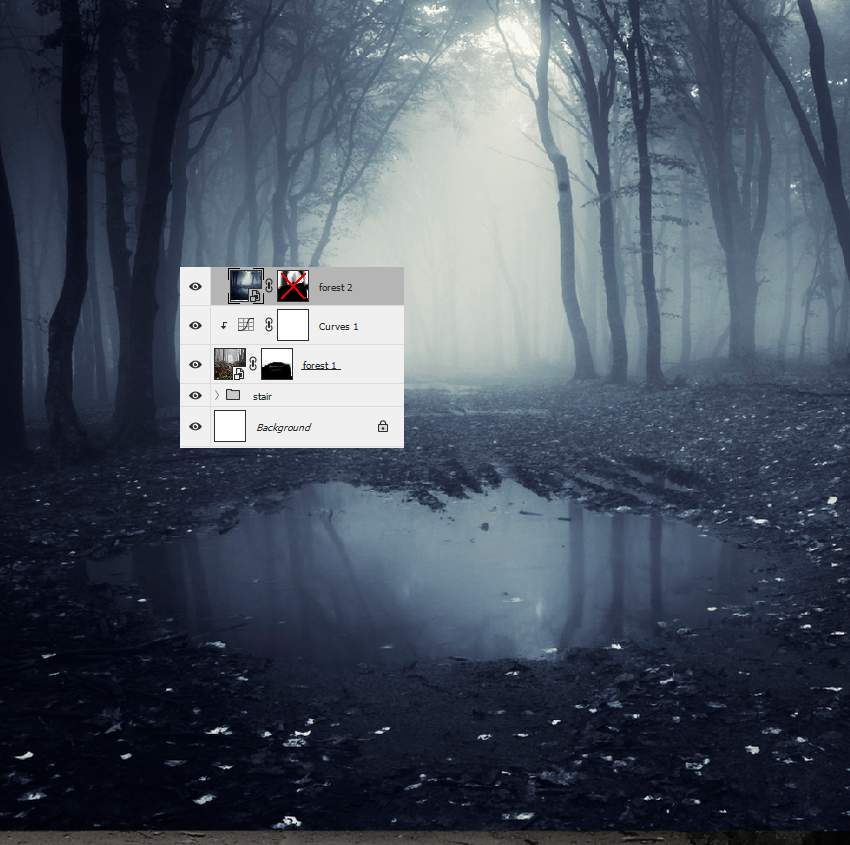
Move the forest 2 image into our main document and add a mask to this layer. Use a soft black brush to remove the lower half, both sides, and the foggy middle area to leave a blended result like below:
 情非得已
情非得已
-
 Photoshop制作复古风格的老照片效果【英】2018-04-23
-
 Photoshop合成长着创意大树的长颈鹿【英】2018-04-23
-
 Photoshop合成冰冻特效的金鱼场景【英】2018-02-10
-
 Photoshop合成梦幻风格的森林场景【英】2018-02-10
-
 Photoshop合成正在施法的巫师【英】2018-02-10
-
 Photoshop制作金属质感的3D立体字【英】2018-01-09
-
 Photoshop设计火焰燃烧艺术字教程【英】2018-01-09
-
Photoshop制作复古风格的老照片效果【英】
相关文章11882018-04-23
-
Photoshop合成冰冻特效的金鱼场景【英】
相关文章34052018-02-10
-
 Photoshop合成城市被流星攻击场景【英】
相关文章7142017-12-12
Photoshop合成城市被流星攻击场景【英】
相关文章7142017-12-12
-
 Photoshop合成创意的英雄战斗场景教程【英】
相关文章5802017-12-12
Photoshop合成创意的英雄战斗场景教程【英】
相关文章5802017-12-12
