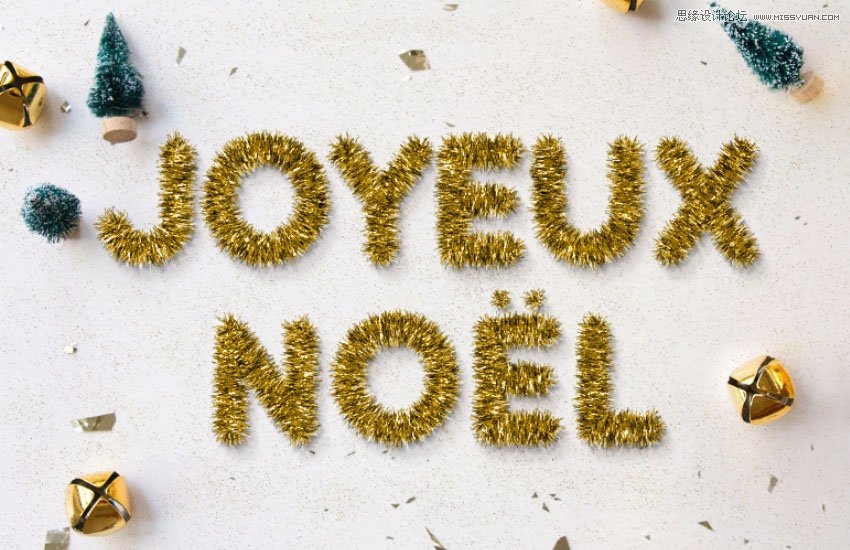
Photoshop制作毛茸茸的圣诞节字体【英】(10)
文章来源于 Tutsplus.com,感谢作者 Rose 给我们带来经精彩的文章!12. How to Modify a Background Image
Step 1
Double-click the Background Image Smart Object's thumbnail to open its file.
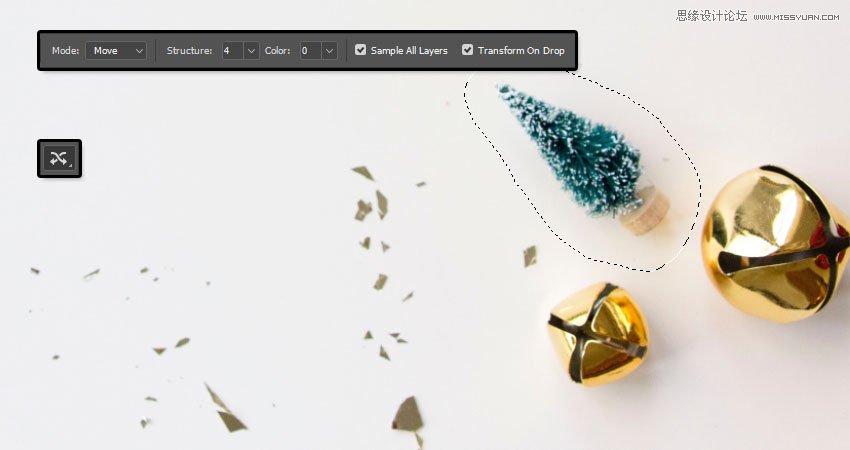
Pick the Content-Aware Move Tool, and set the Mode to Move in the Options bar.
Select the object you want to move and place somewhere else, and make sure to include some empty space around it within the selection.
You can check the Transform on Drop box if you want to transform the object after moving it.
Step 2
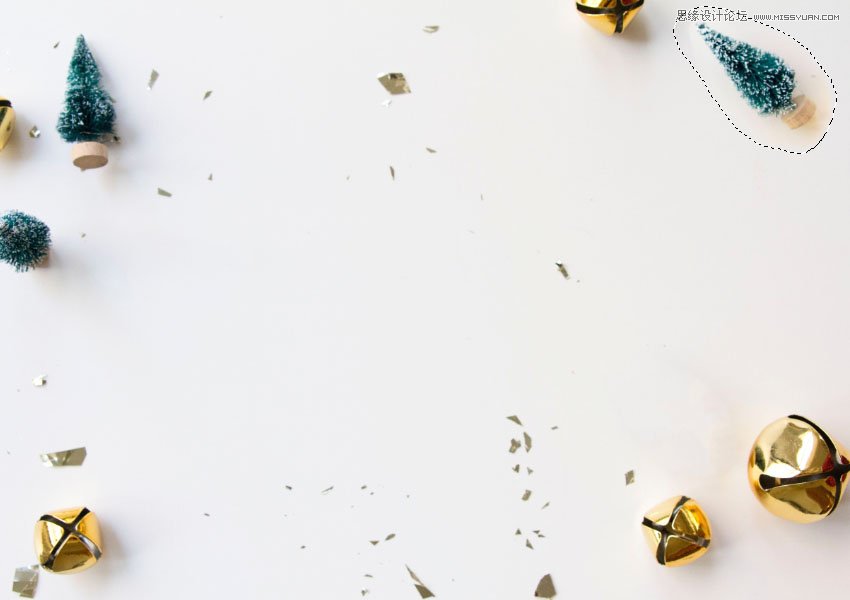
Move the selected object to its new position, transform it if needed, and then hit Return.
Step 3
After that, you can use any of the other Healing Tools to better blend the object's edges with the new background.
You can also use the Dodge, Burn, and Sponge Tools wherever needed.

Step 4
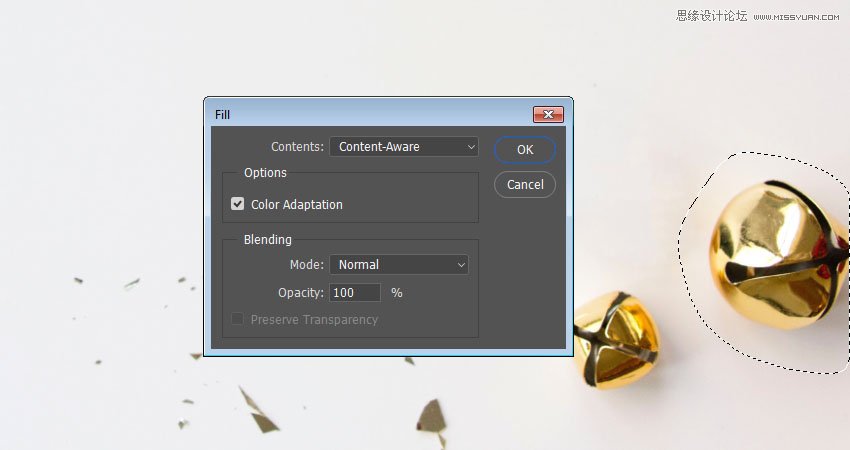
If there are any parts you want to remove completely, select them using any selection tool, and go to Edit > Fill and choose Content-Aware from the Content menu.
Step 5
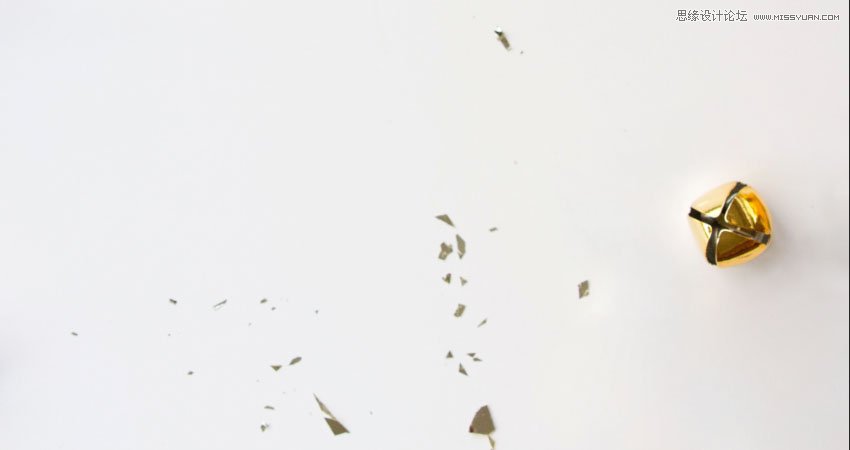
Again, use the Healing Tools to make any further adjustment to the area after removing the object.
Step 6
Make any other adjustment needed to the background using the same tools.

Step 7
You can save the file and go back to the original document to see the changes there and make any necessary adjustments.
 爱你不要你
爱你不要你
-
 Photoshop制作复古风格的老照片效果【英】2018-04-23
-
 Photoshop合成长着创意大树的长颈鹿【英】2018-04-23
-
 Photoshop合成冰冻特效的金鱼场景【英】2018-02-10
-
 Photoshop合成梦幻风格的森林场景【英】2018-02-10
-
 Photoshop合成正在施法的巫师【英】2018-02-10
-
 Photoshop制作金属质感的3D立体字【英】2018-01-09
-
 Photoshop设计火焰燃烧艺术字教程【英】2018-01-09
-
Photoshop制作复古风格的老照片效果【英】
相关文章11882018-04-23
-
 Photoshop制作黄金质感立体字【英】
相关文章7422018-02-10
Photoshop制作黄金质感立体字【英】
相关文章7422018-02-10
-
 Photoshop制作惊艳大气的3D立体字
相关文章14682018-02-10
Photoshop制作惊艳大气的3D立体字
相关文章14682018-02-10
-
 Photoshop制作复古双重曝光字体
相关文章6532018-01-09
Photoshop制作复古双重曝光字体
相关文章6532018-01-09
-
 Photoshop制作木地板LOGO刻印效果【英】
相关文章19272018-01-09
Photoshop制作木地板LOGO刻印效果【英】
相关文章19272018-01-09
-
Photoshop制作金属质感的3D立体字【英】
相关文章4612018-01-09
-
Photoshop设计火焰燃烧艺术字教程【英】
相关文章7612018-01-09
-
 Photoshop制作复古花朵组成的艺术字【英】
相关文章3802018-01-09
Photoshop制作复古花朵组成的艺术字【英】
相关文章3802018-01-09
