Photoshop制作复古风格的老照片效果【英】(5)
文章来源于 站酷,感谢作者 Melody Nieves 给我们带来经精彩的文章!Step 3
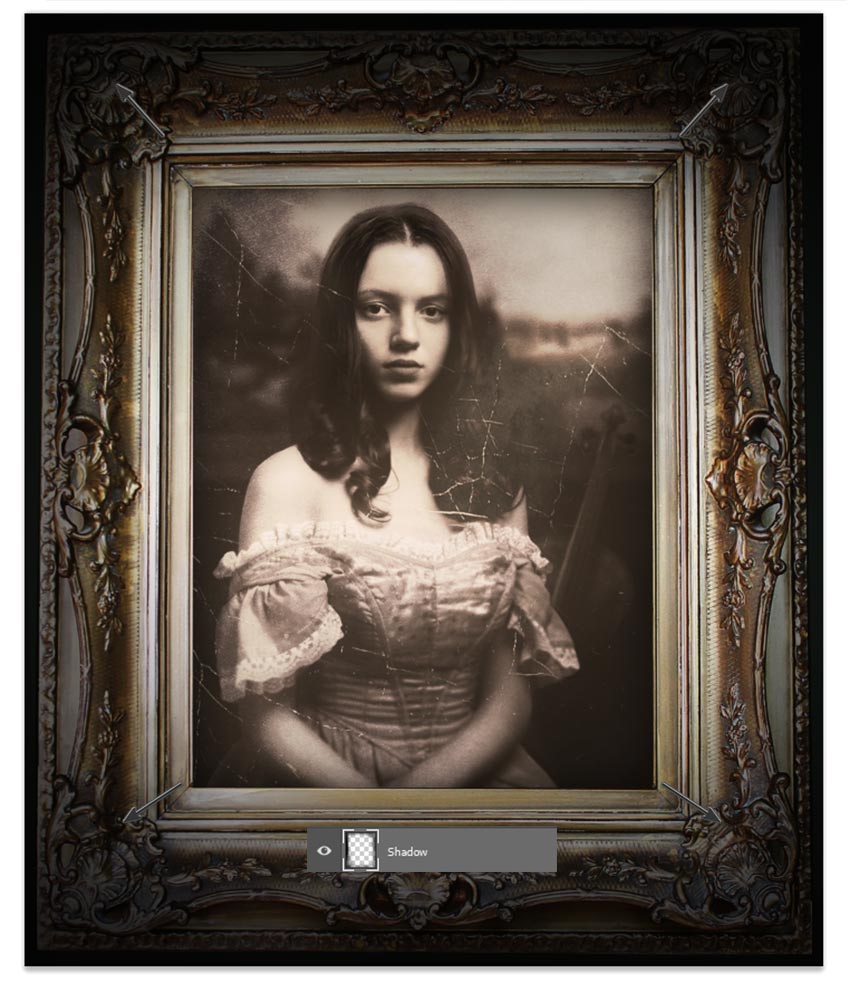
Before we add the vignette, let's create a shadow for the picture frame.
Right-click the picture frame layer and go to Blending Options. Create a Drop Shadow with the following settings.

Advertisement
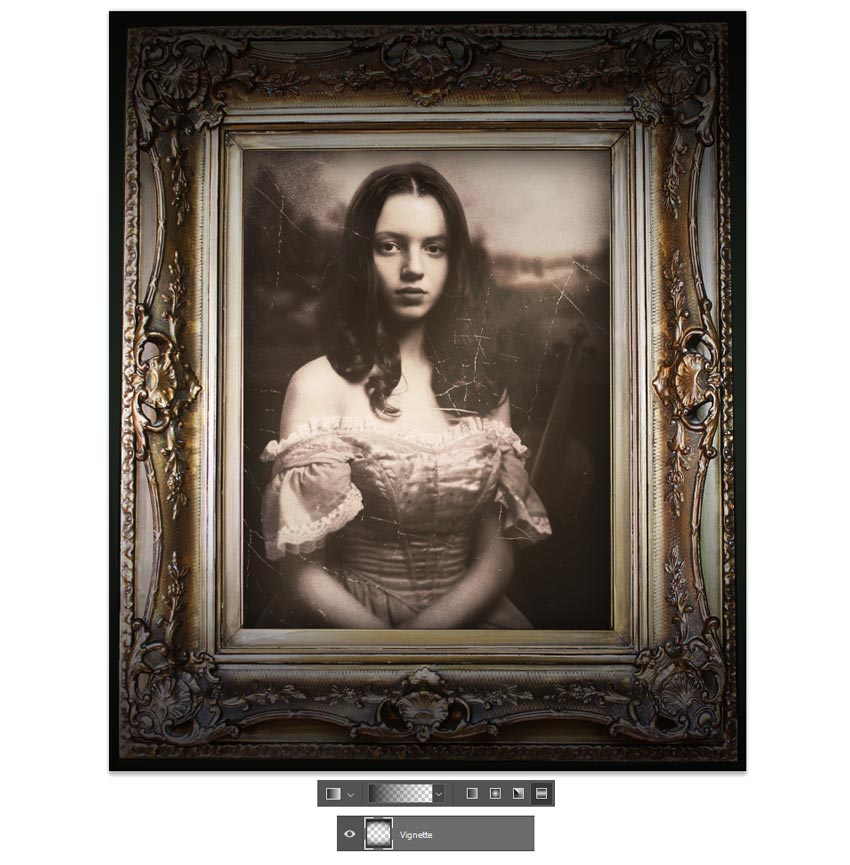
Step 4
Let's finish with a vignette effect for more drama. This will help blend the overall picture frame with the original green background.
Create a New Layer above all the others.
Select the Gradient Tool (G) and set it to the Foreground Color to Transparent option. Now create a Reflected Linear Gradient using a dark gray color #282828. Set the Layer Blend Mode to Multiply and lower the Opacity to 88%.
Feel free to add even more shadow on another New Layer. Use a Soft Round Brush (0% Hardness/10-30% Opacity) to paint more dark shadow along the edges for a rounder appearance.
I've also used this layer to paint subtle white scratches onto the picture for even more aging.
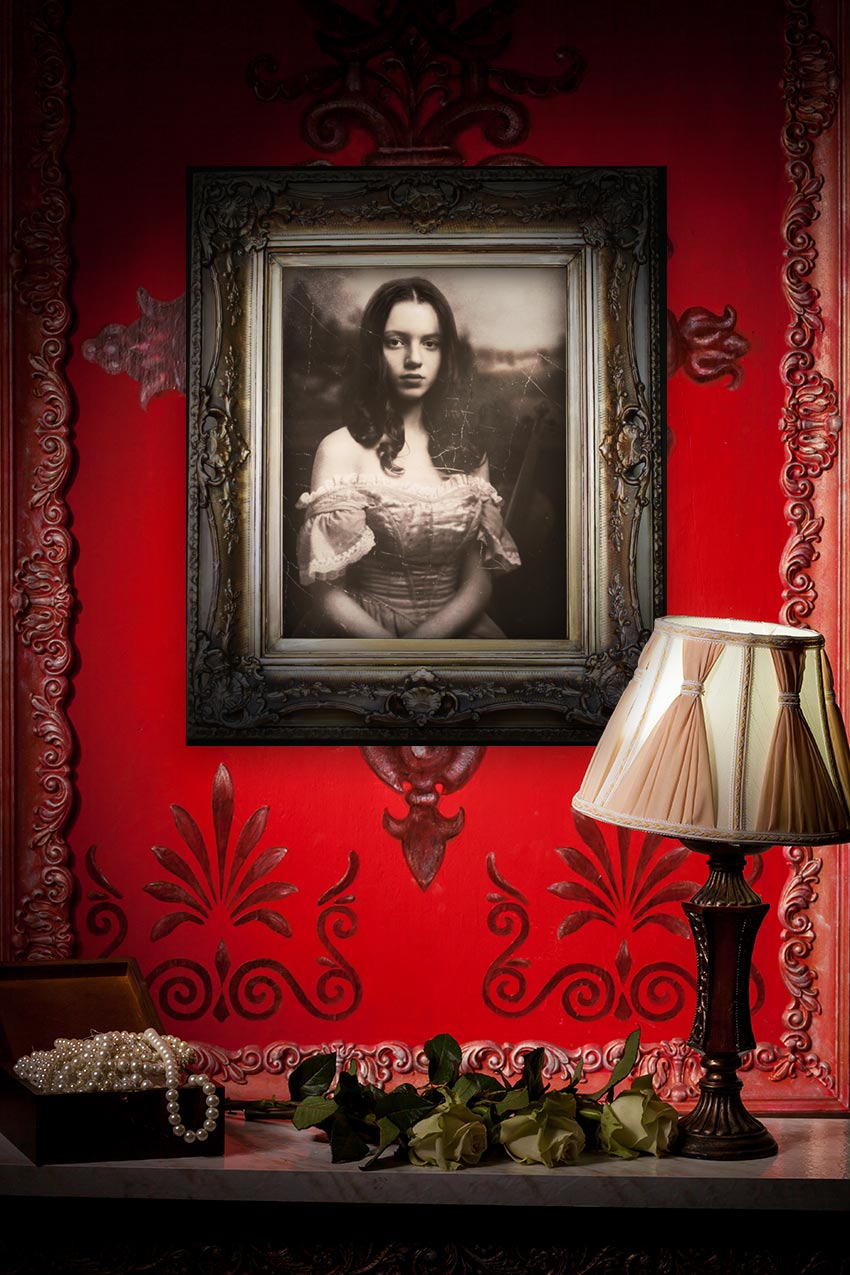
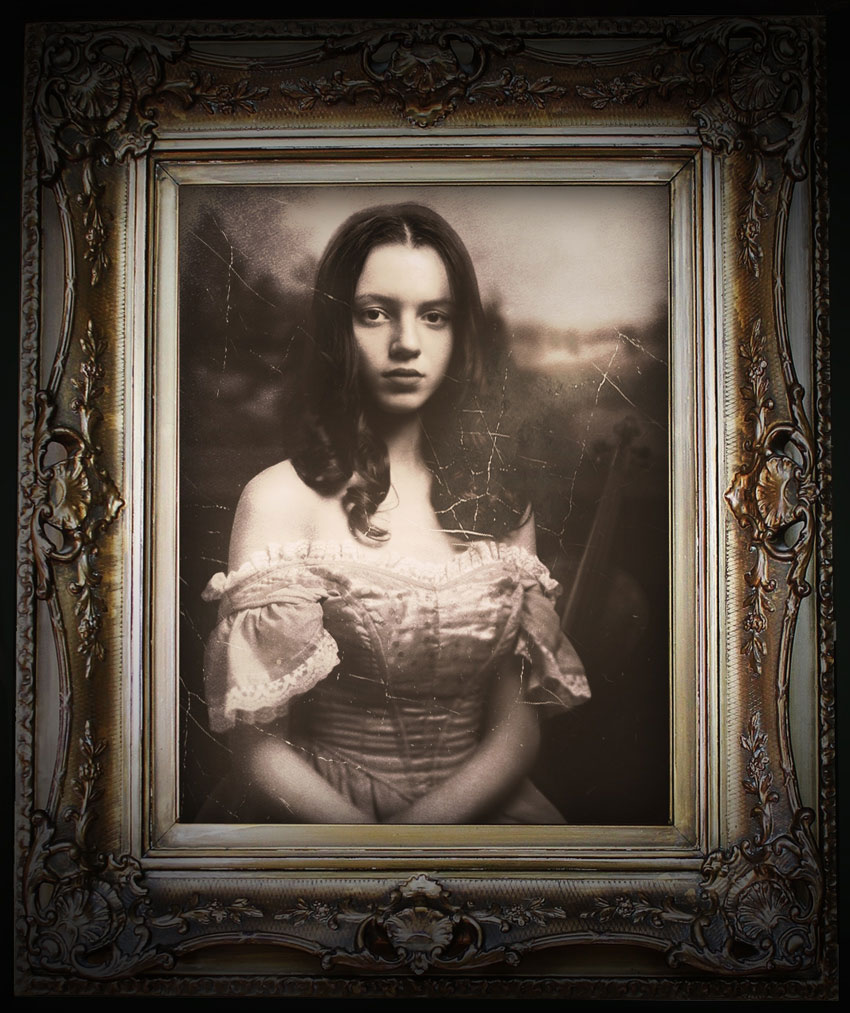
Be sure to check out the final result below!
And for more even fun, see how your manipulation would look hanging up on the wall. Here I used this Interior Room image from Envato Elements to try this look out.
Melody Nieves
 情非得已
情非得已
-
 Photoshop制作复古风格的老照片效果【英】2018-04-23
-
 Photoshop合成长着创意大树的长颈鹿【英】2018-04-23
-
 Photoshop合成冰冻特效的金鱼场景【英】2018-02-10
-
 Photoshop合成梦幻风格的森林场景【英】2018-02-10
-
 Photoshop合成正在施法的巫师【英】2018-02-10
-
 Photoshop制作金属质感的3D立体字【英】2018-01-09
-
 Photoshop设计火焰燃烧艺术字教程【英】2018-01-09
-
 Photoshop制作黄金质感立体字【英】
相关文章7422018-02-10
Photoshop制作黄金质感立体字【英】
相关文章7422018-02-10
-
 Photoshop制作惊艳大气的3D立体字
相关文章14682018-02-10
Photoshop制作惊艳大气的3D立体字
相关文章14682018-02-10
-
Photoshop合成梦幻风格的森林场景【英】
相关文章24492018-02-10
-
 Photoshop制作复古双重曝光字体
相关文章6532018-01-09
Photoshop制作复古双重曝光字体
相关文章6532018-01-09
-
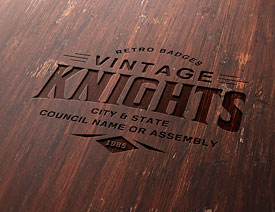 Photoshop制作木地板LOGO刻印效果【英】
相关文章19272018-01-09
Photoshop制作木地板LOGO刻印效果【英】
相关文章19272018-01-09
-
Photoshop制作金属质感的3D立体字【英】
相关文章4612018-01-09
-
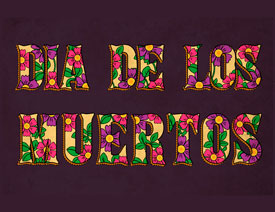 Photoshop制作复古花朵组成的艺术字【英】
相关文章3802018-01-09
Photoshop制作复古花朵组成的艺术字【英】
相关文章3802018-01-09
-
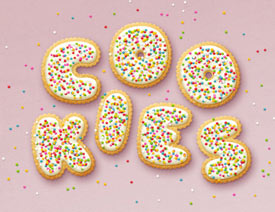 Photoshop制作可爱的糖果饼干字【英】
相关文章6722017-12-25
Photoshop制作可爱的糖果饼干字【英】
相关文章6722017-12-25
