Photoshop合成冰冻特效的金鱼场景【英】(5)
文章来源于 Tutsplus.com,感谢作者 Jenny Le 给我们带来经精彩的文章!Step 2
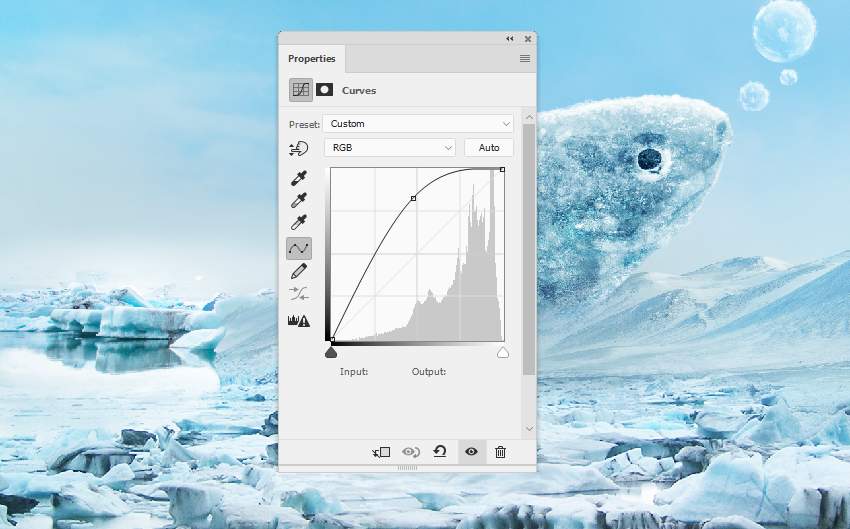
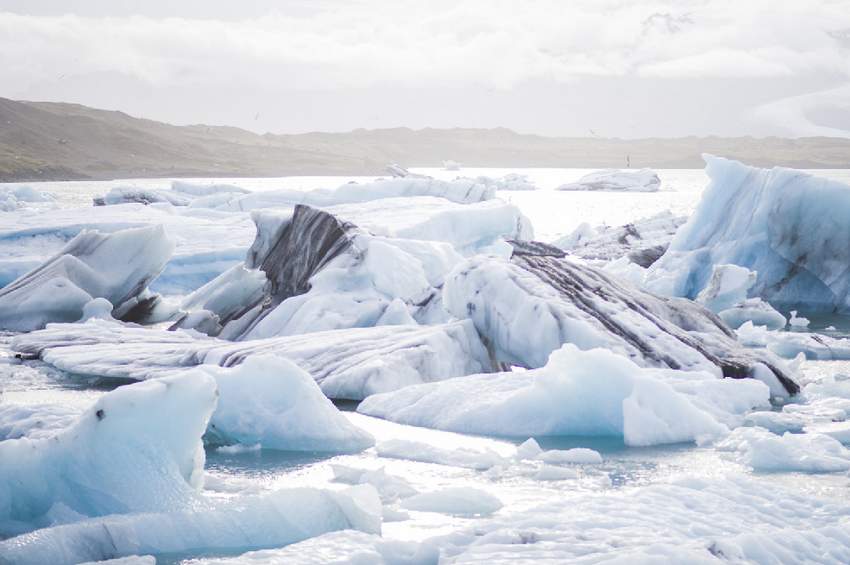
Use a Curves adjustment layer to bring more light to this area.
Step 3
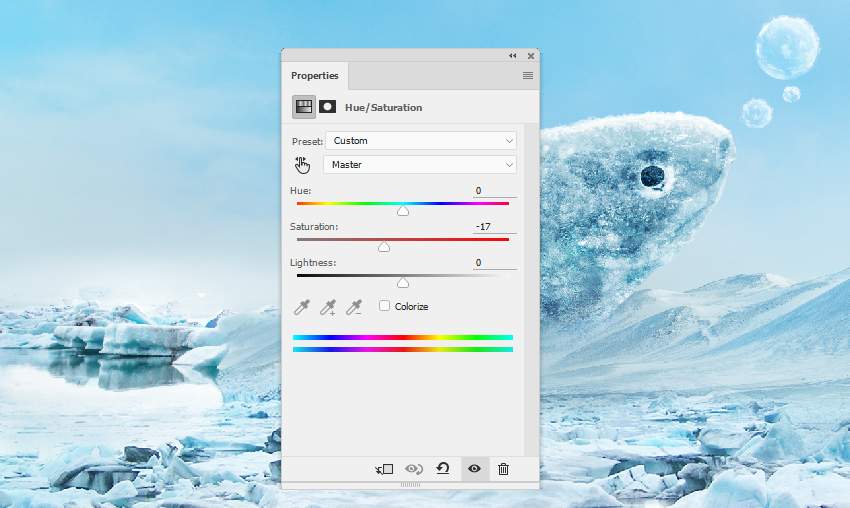
Add a Hue/Saturation adjustment layer to desaturate the ice's color a little.
Step 4
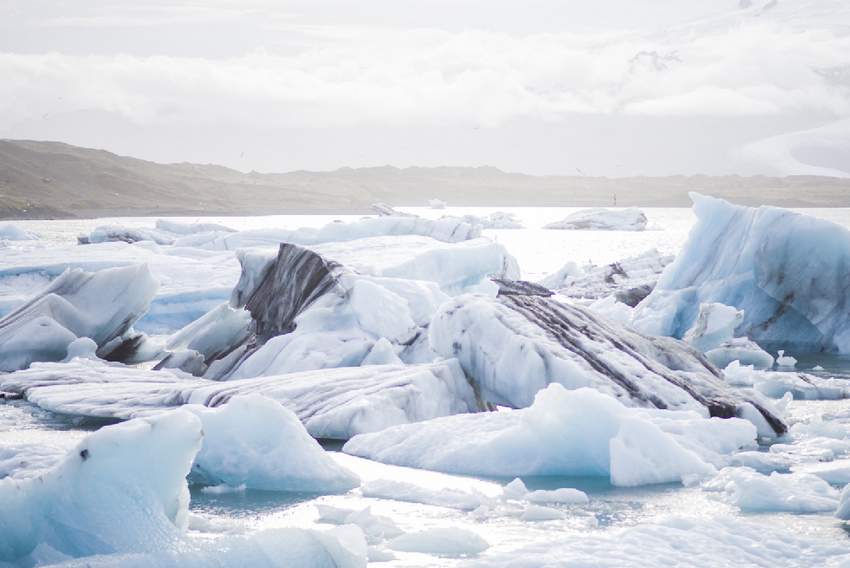
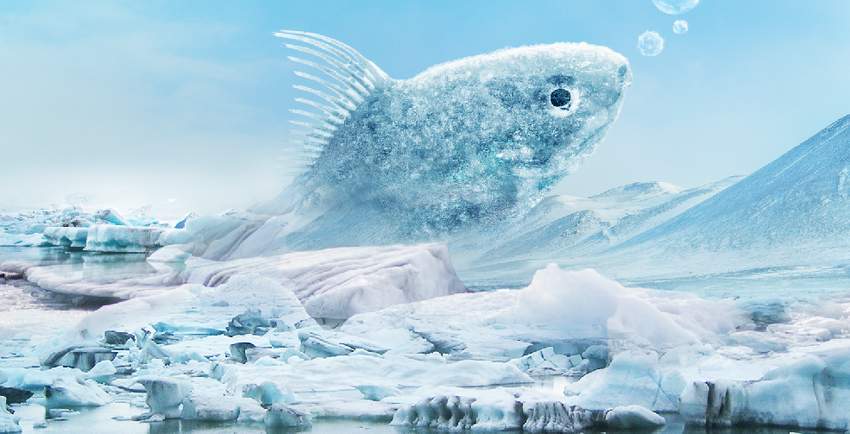
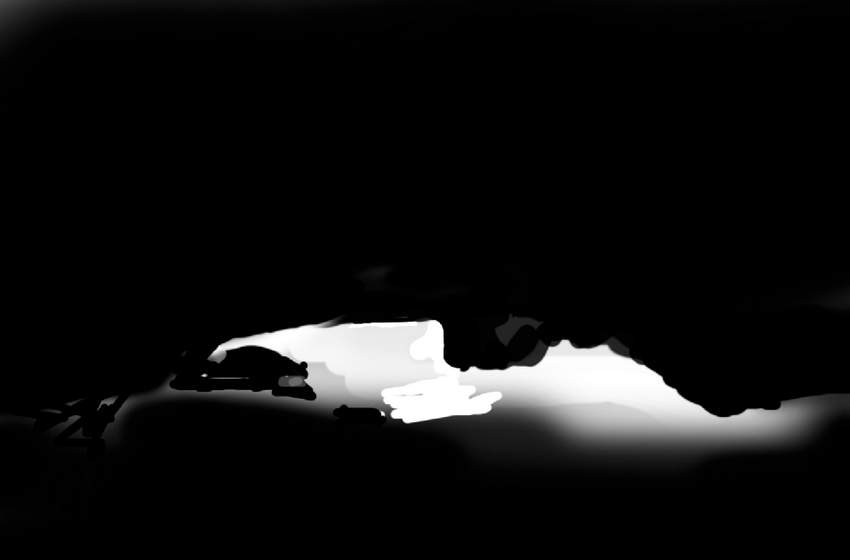
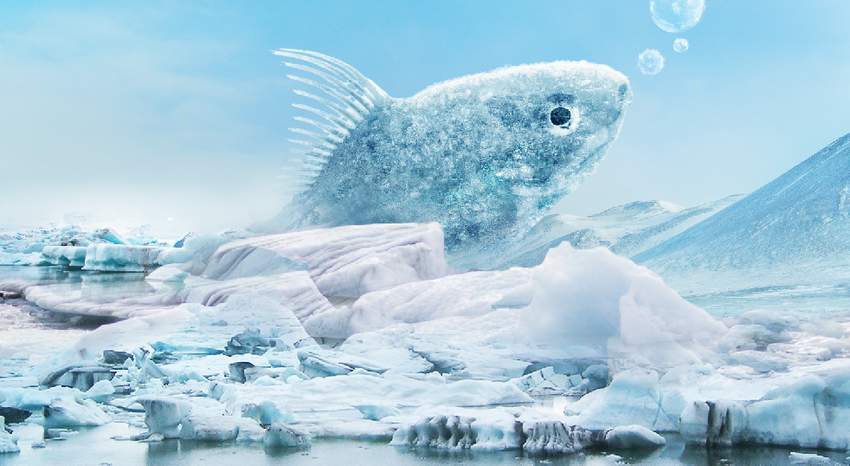
Place the ice 3 image over the main document and use a layer mask with a medium-hard black brush to remove the foreground and background, leaving some ice visible around the fish and the midground.
Step 5
Duplicate this layer and resize it to be larger. Move it up a bit and use a layer mask to show some bigger ice around the fish.
Step 6
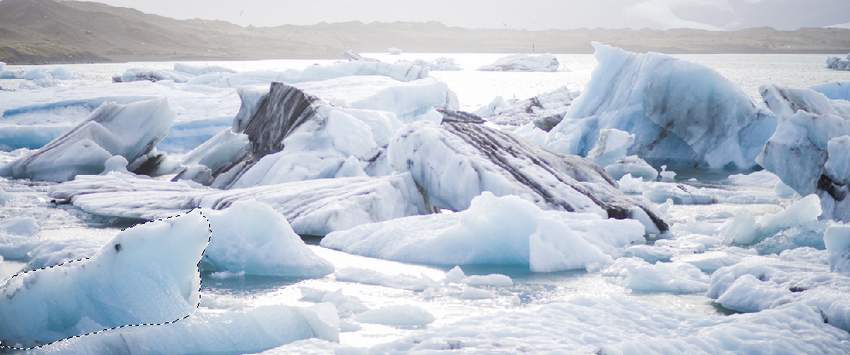
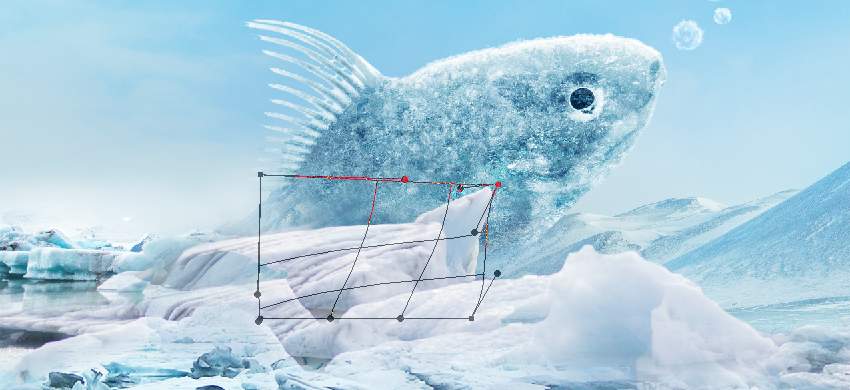
Select an ice part from the original image and add it near the fish. Use the Free Transform Tool (Control-T)with the Warp mode to tweak it a little. Set this layer below the two previous ones.
Step 7
Take other ice parts to add around the fish. Use a layer mask for each of these layers to remove the hard edges and blend them with the existing ground. Mask off the one on the fish's tail so it appears behind the fish.


 情非得已
情非得已
-
 Photoshop制作复古风格的老照片效果【英】2018-04-23
-
 Photoshop合成长着创意大树的长颈鹿【英】2018-04-23
-
 Photoshop合成冰冻特效的金鱼场景【英】2018-02-10
-
 Photoshop合成梦幻风格的森林场景【英】2018-02-10
-
 Photoshop合成正在施法的巫师【英】2018-02-10
-
 Photoshop制作金属质感的3D立体字【英】2018-01-09
-
 Photoshop设计火焰燃烧艺术字教程【英】2018-01-09
-
 Photoshop合成长着创意大树的长颈鹿【英】
相关文章13832018-04-23
-
 Photoshop合成梦幻风格的森林场景【英】
相关文章24492018-02-10
-
 Photoshop合成正在施法的巫师【英】
相关文章8372018-02-10
-
 Photoshop合成绚丽空中翱翔的仙子【英】
相关文章7412018-01-05
-
 Photoshop合成恐怖特效的万圣节人像【英】
相关文章6702018-01-05
-
 Photoshop合成被树妖困住的女孩【英】
相关文章7152018-01-05
-
 Photoshop合成在天空中飞行的天使【英】
相关文章4622017-12-25
-
 Photoshop合成城市被流星攻击场景【英】
相关文章7142017-12-12
