Photoshop合成冰冻特效的金鱼场景【英】(3)
文章来源于 Tutsplus.com,感谢作者 Jenny Le 给我们带来经精彩的文章!Step 4
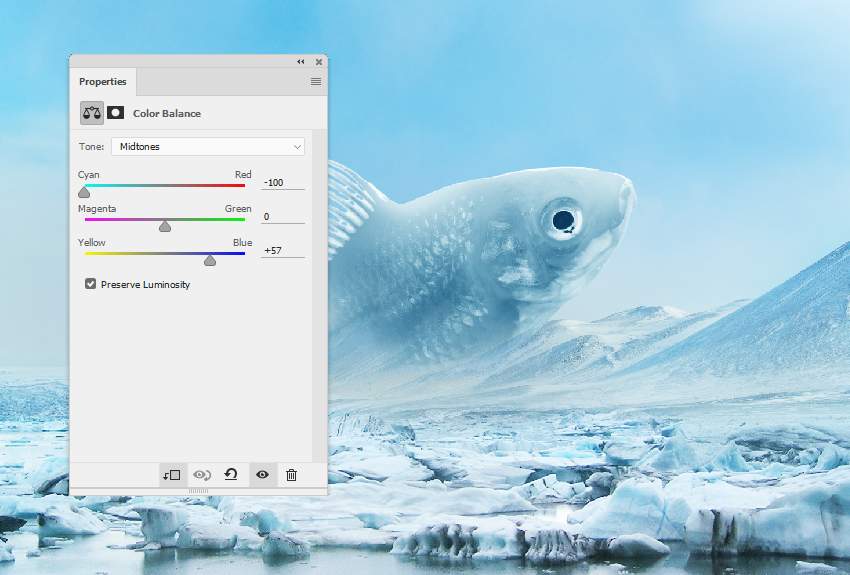
Create a Color Balance adjustment layer to make the fish's color fit the background.
Step 5
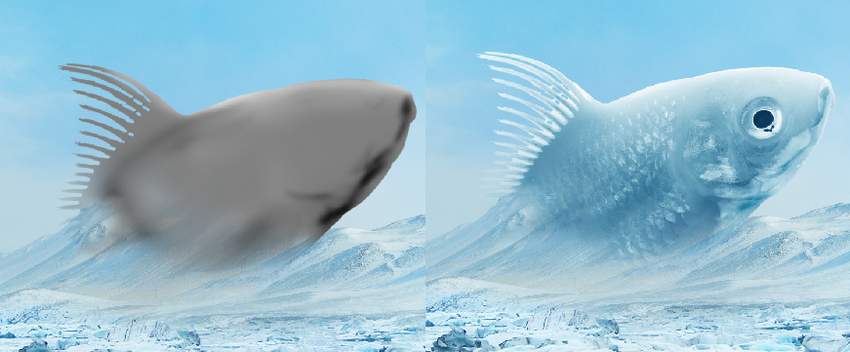
Make a new layer, change the mode to Overlay 100%, and fill with 50% gray.

Activate the Dodge and Burn Tool (O) with Midtones Range, Exposure about 10-20% to refine some light and shadow on the fish. You can see how I did it with Normal mode and the result with Overlay mode.
3. How to Make the Frozen Effect
Step 1
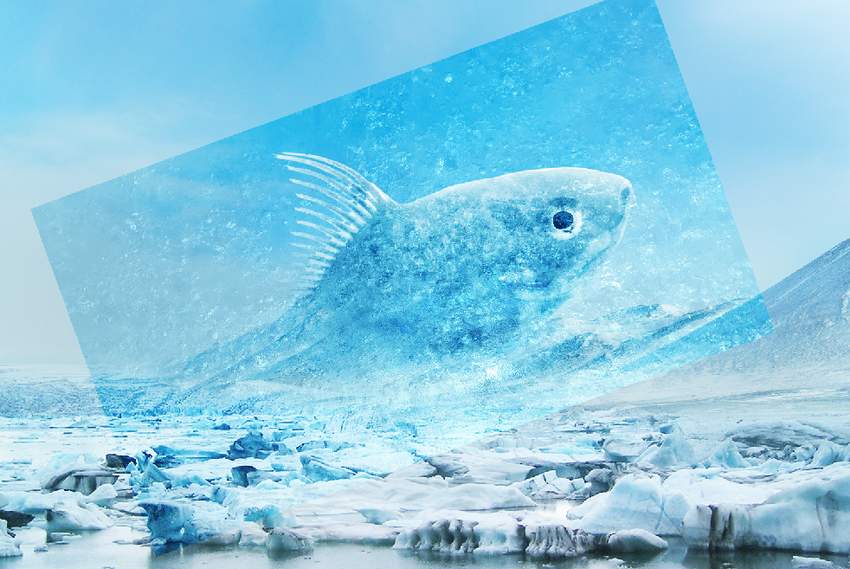
Place ice texture 1 over the fish and change this layer mode to Soft Light 100%.
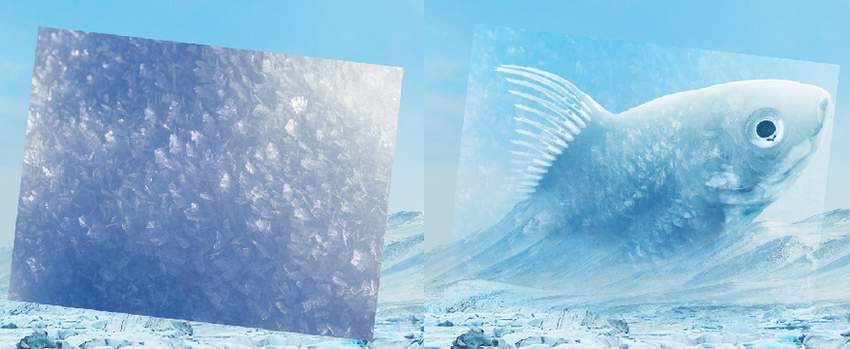
Use a layer mask to remove the part outside the fish.
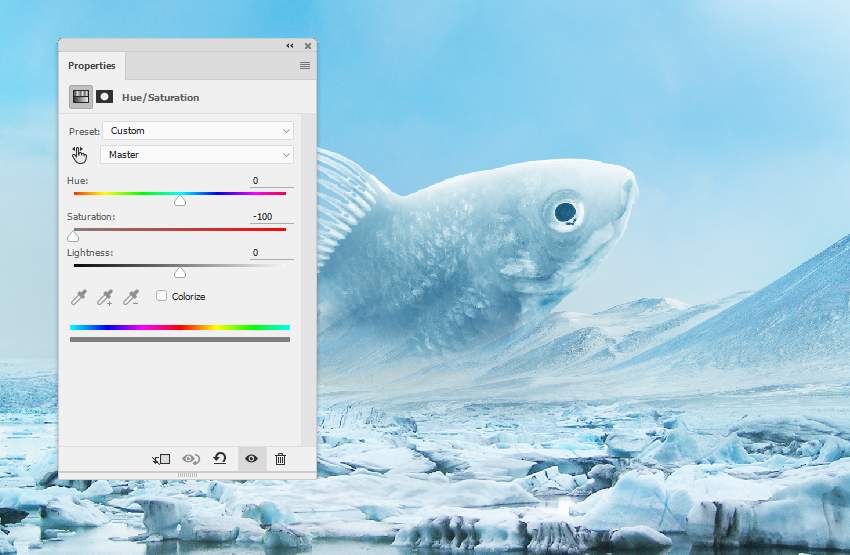
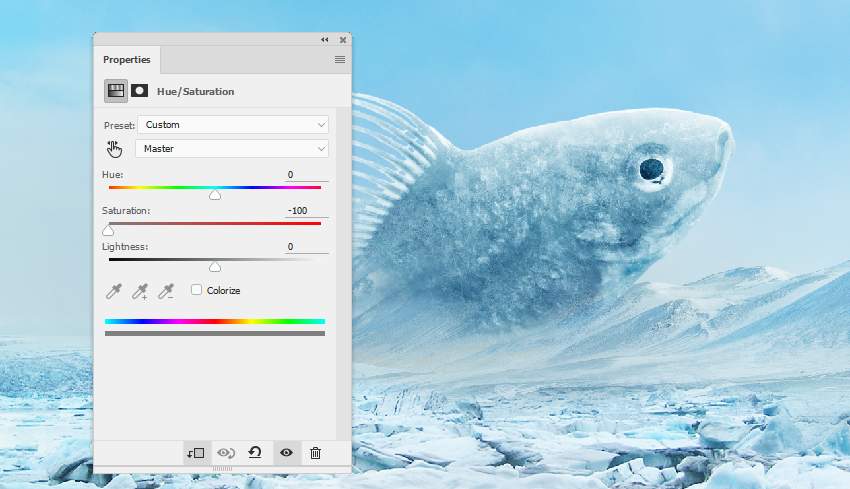
Step 2
Add a Hue/Saturation adjustment layer to desaturate the effect's color.
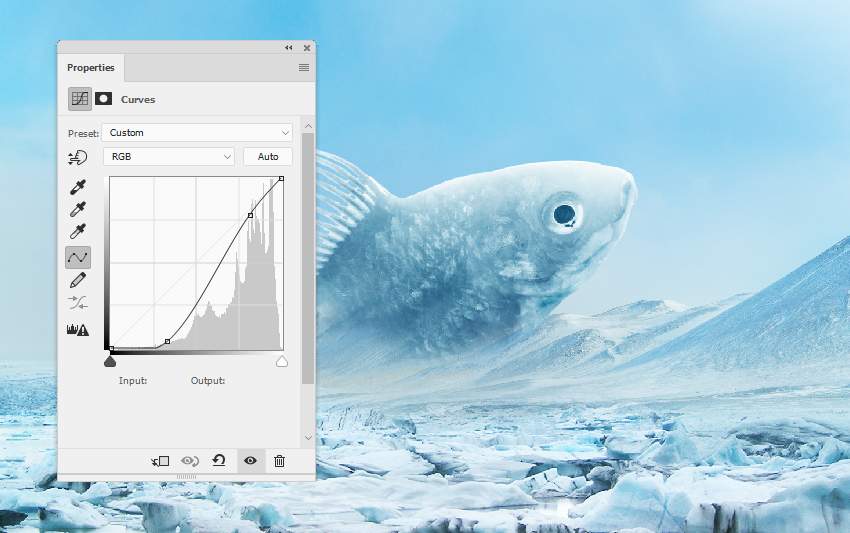
Step 3
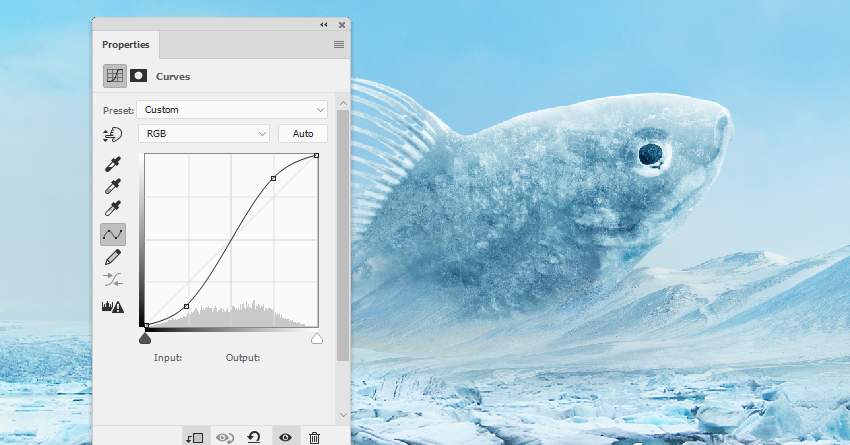
Use a Curves adjustment layer to increase the contrast of the effect.
Step 4
Add ice texture 2 using the same method.
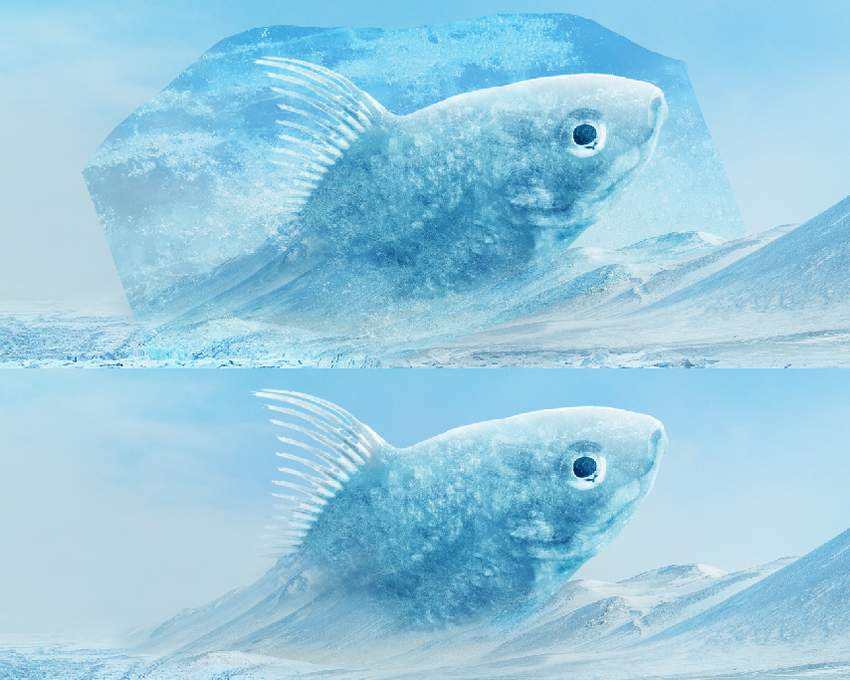
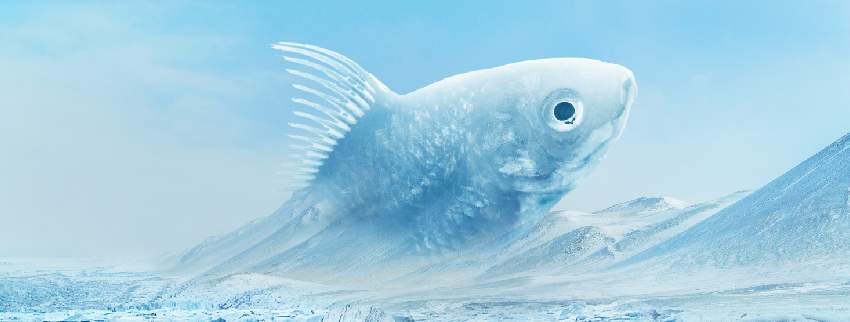
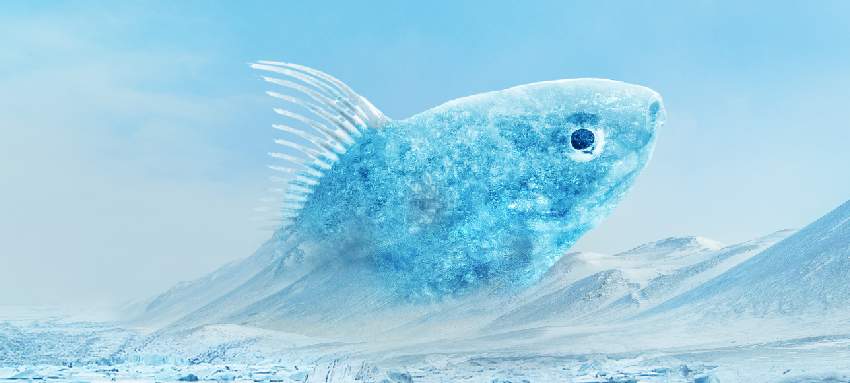
Step 5
Place ice texture 3 onto the fish and change the mode to Overlay 100%. Apply a layer mask to clean any unwanted parts outside the fish.
 情非得已
情非得已
-
 Photoshop制作复古风格的老照片效果【英】2018-04-23
-
 Photoshop合成长着创意大树的长颈鹿【英】2018-04-23
-
 Photoshop合成冰冻特效的金鱼场景【英】2018-02-10
-
 Photoshop合成梦幻风格的森林场景【英】2018-02-10
-
 Photoshop合成正在施法的巫师【英】2018-02-10
-
 Photoshop制作金属质感的3D立体字【英】2018-01-09
-
 Photoshop设计火焰燃烧艺术字教程【英】2018-01-09
-
Photoshop合成长着创意大树的长颈鹿【英】
相关文章13832018-04-23
-
Photoshop合成梦幻风格的森林场景【英】
相关文章24492018-02-10
-
Photoshop合成正在施法的巫师【英】
相关文章8372018-02-10
-
 Photoshop合成绚丽空中翱翔的仙子【英】
相关文章7412018-01-05
Photoshop合成绚丽空中翱翔的仙子【英】
相关文章7412018-01-05
-
 Photoshop合成恐怖特效的万圣节人像【英】
相关文章6702018-01-05
Photoshop合成恐怖特效的万圣节人像【英】
相关文章6702018-01-05
-
 Photoshop合成被树妖困住的女孩【英】
相关文章7152018-01-05
Photoshop合成被树妖困住的女孩【英】
相关文章7152018-01-05
-
 Photoshop合成在天空中飞行的天使【英】
相关文章4622017-12-25
Photoshop合成在天空中飞行的天使【英】
相关文章4622017-12-25
-
 Photoshop合成城市被流星攻击场景【英】
相关文章7142017-12-12
Photoshop合成城市被流星攻击场景【英】
相关文章7142017-12-12
