Photoshop合成绚丽空中翱翔的仙子【英】
文章来源于 photoshoptutorials,感谢作者 Jenny Le 给我们带来经精彩的文章!教程素材和源文件:空中仙境中的美丽仙子PS教程素材
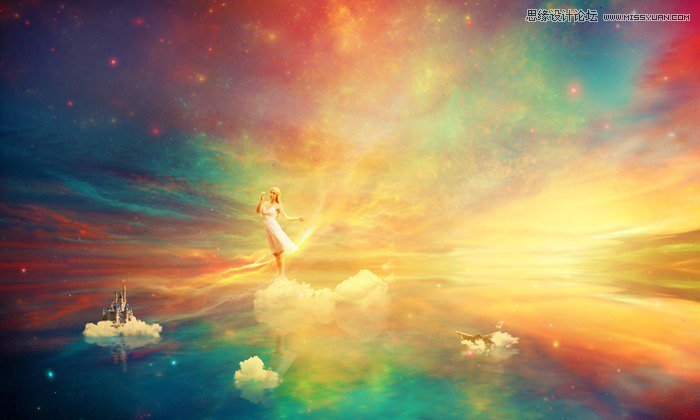
In this tutorial I’ll show you how to create a fantasy, heavenly scene with a beautiful dreamer. You’ll learn how to play with color, blend using adjustment layers and brush, add texture, work with lighting effect and more.
What you’ll be creating
We’ll start this tutorial by creating a beautiful lake scene from a sky image. Then we’ll add nebula texture to increase fantasy effect for the scene. Later we’ll add clouds, paper boat, model, castle and blend them using adjustment layers, masking and brush. Then we’ll continue to build up the color and light of the image with light and nebula textures. Finally we’ll use an adjustment layer to enhance the final effect. I recommend you to use Photoshop CS3 or newer to follow this tutorial properly.
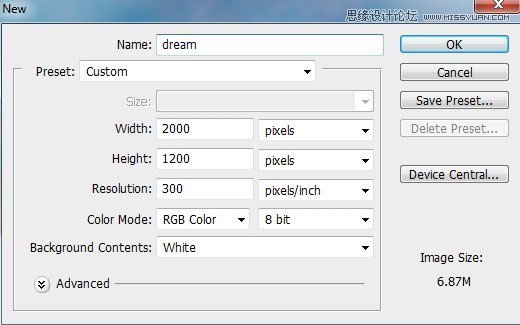
Step 1
Create a new document in Photoshop with the given settings:
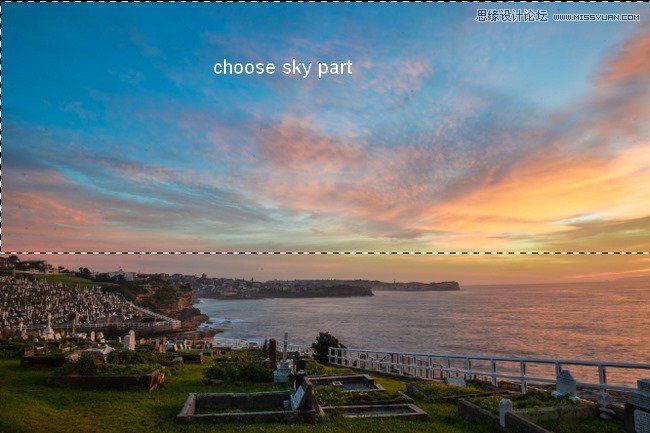
Step 2
Open the sky stock. Use the Retangular Marquee Tool (M) to make a selection of the sky part:
Use the Move Too (V) to drag this selection onto the top of our white canvas:
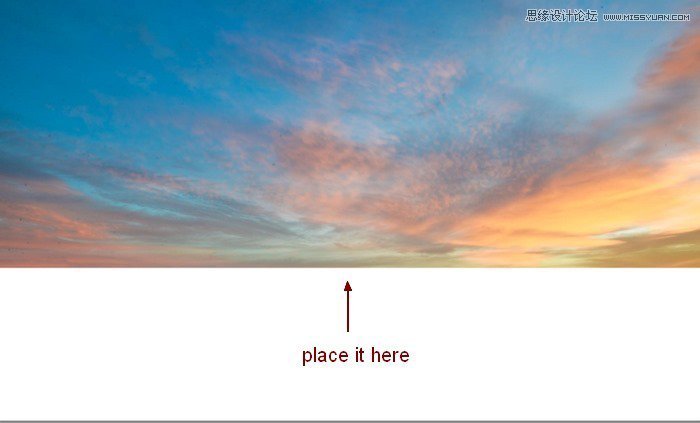
Name it “sky”.
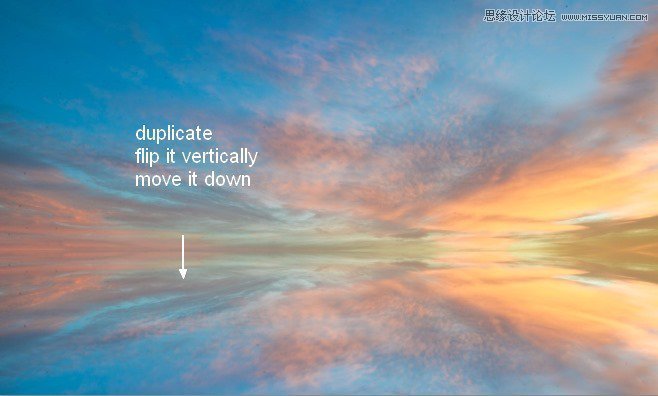
Step 3
Press Cmd/Ctrl+J to duplicate this layer. Go to Edit > Transform > Flip Vertical, move it down then place this layer under the sky one.
Go to Filter > Blur >Motion Blur and pick the settings below:
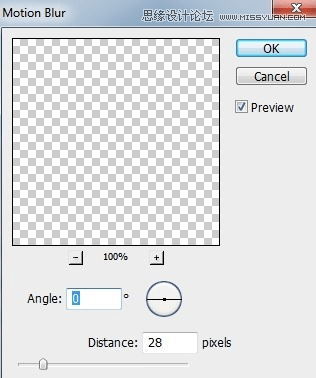
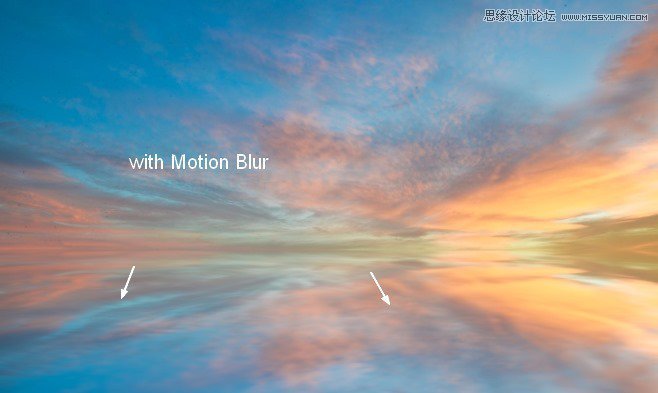
Name this layer “lake”.
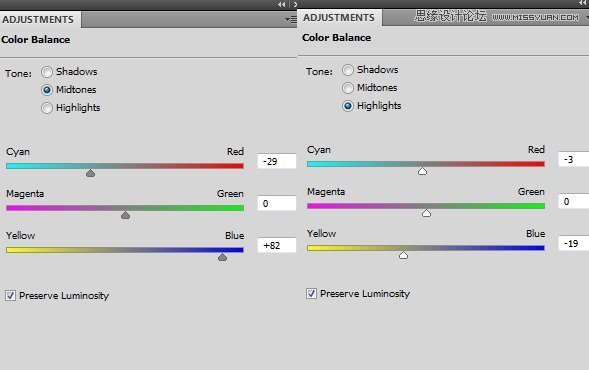
Step 4
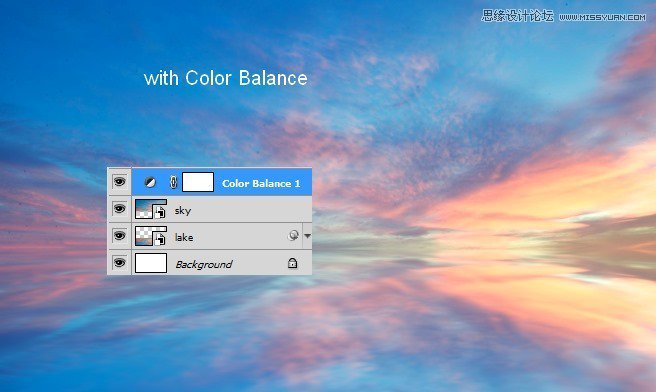
To add some red and blue to the scene, I used an adjustment layer. Go to Layer > New Adjustment Layer > Color Balance:
Step 5
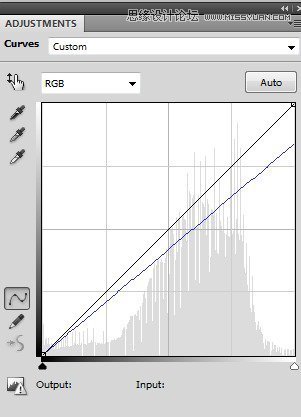
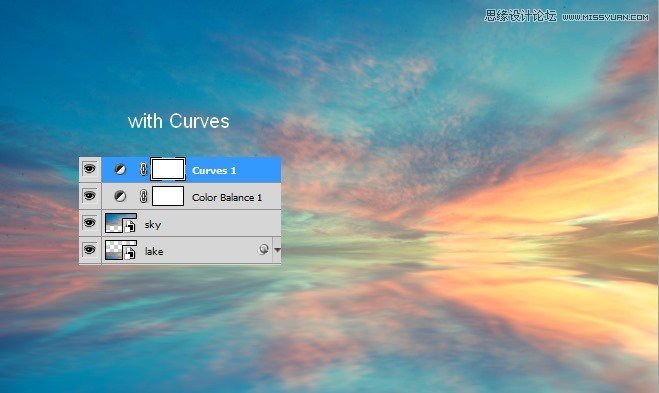
I used a Curves adjustment layer to add some nice cyan tone to the picture:
Step 6
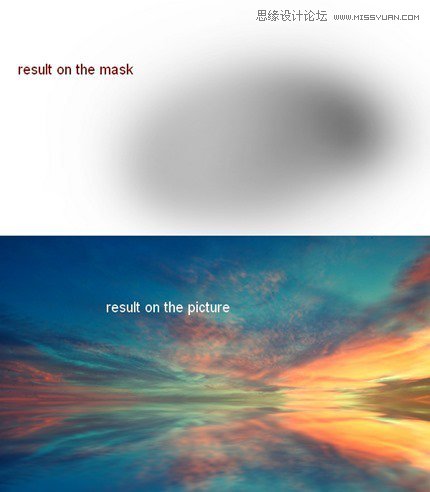
To change the contrast of the pic, I used a Levels adjustment layer:
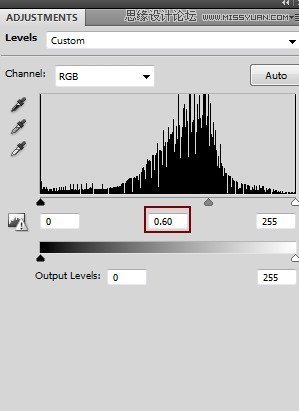
On this Levels layer mask use a soft black brush with opacity from 20-25% to erase the center and right side of the pic. You can see how I did it on the layer mask and result on the picture:
Step 7
To create more light for the sky I used a soft brush with color #f9e398 to paint over the right of the horizon. Change the mode to Overlay 100%:
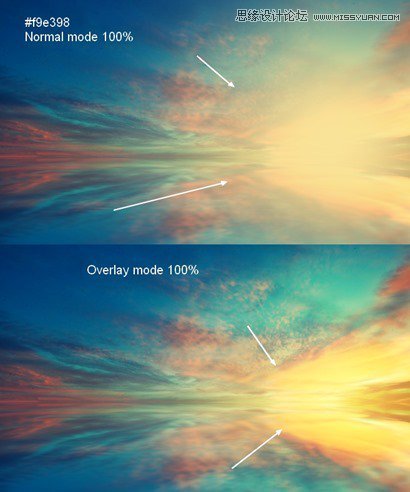
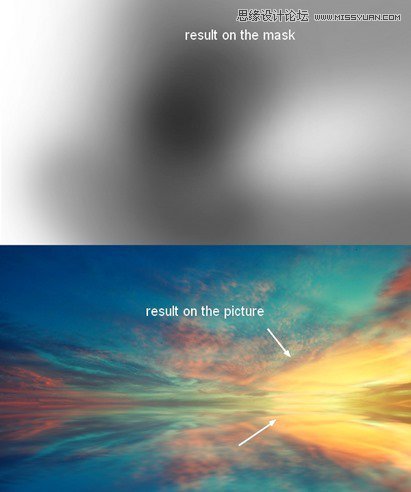
Click the second button at the bottom of the Layers Panel to add mask to this layer. Use a soft black brush to reduce the light effect as the image below shows:
 爱你不要你
爱你不要你
-
 Photoshop制作复古风格的老照片效果【英】2018-04-23
-
 Photoshop合成长着创意大树的长颈鹿【英】2018-04-23
-
 Photoshop合成冰冻特效的金鱼场景【英】2018-02-10
-
 Photoshop合成梦幻风格的森林场景【英】2018-02-10
-
 Photoshop合成正在施法的巫师【英】2018-02-10
-
 Photoshop制作金属质感的3D立体字【英】2018-01-09
-
 Photoshop设计火焰燃烧艺术字教程【英】2018-01-09
-
Photoshop制作复古风格的老照片效果【英】
相关文章11882018-04-23
-
Photoshop合成长着创意大树的长颈鹿【英】
相关文章13832018-04-23
-
Photoshop合成冰冻特效的金鱼场景【英】
相关文章34052018-02-10
-
 Photoshop制作黄金质感立体字【英】
相关文章7422018-02-10
Photoshop制作黄金质感立体字【英】
相关文章7422018-02-10
-
 Photoshop制作惊艳大气的3D立体字
相关文章14682018-02-10
Photoshop制作惊艳大气的3D立体字
相关文章14682018-02-10
-
Photoshop合成梦幻风格的森林场景【英】
相关文章24492018-02-10
-
Photoshop合成正在施法的巫师【英】
相关文章8372018-02-10
-
 Photoshop制作复古双重曝光字体
相关文章6532018-01-09
Photoshop制作复古双重曝光字体
相关文章6532018-01-09
