Photoshop合成在天空中飞行的天使【英】
文章来源于 photoshoptutorials,感谢作者 MONIKA NOWAKOWSKA 给我们带来经精彩的文章!Create this angelic photo manipulation using Smart Filters and drawing techniques! This tutorial will show you how to create a dramatic cloud background, add glowing wings to an angel, and add some particles.
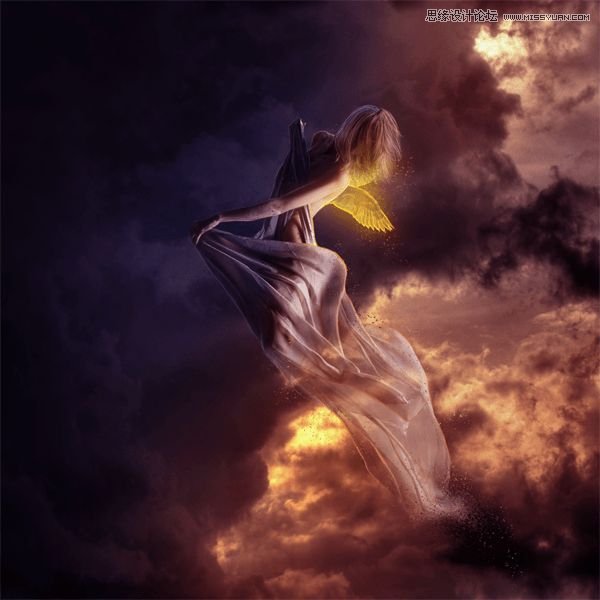
Preview of Final Results
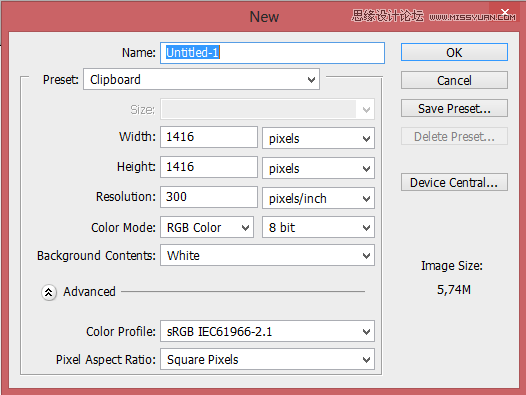
Step 1
Start by creating 1416×1416 px image. These are dimensions of cd cover.
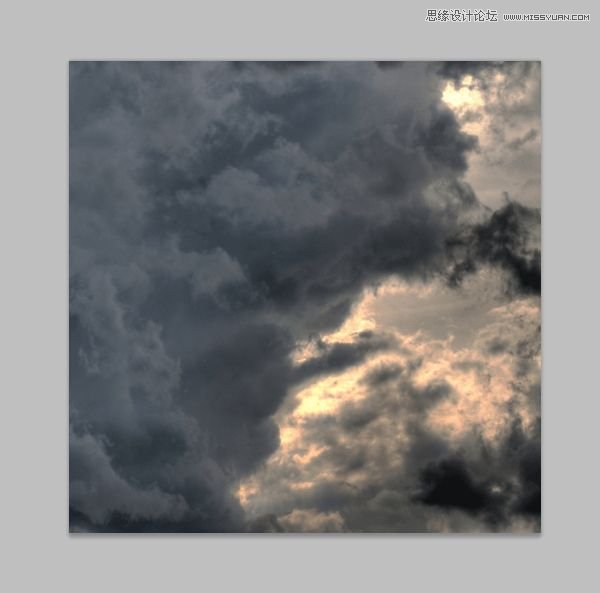
Step 2
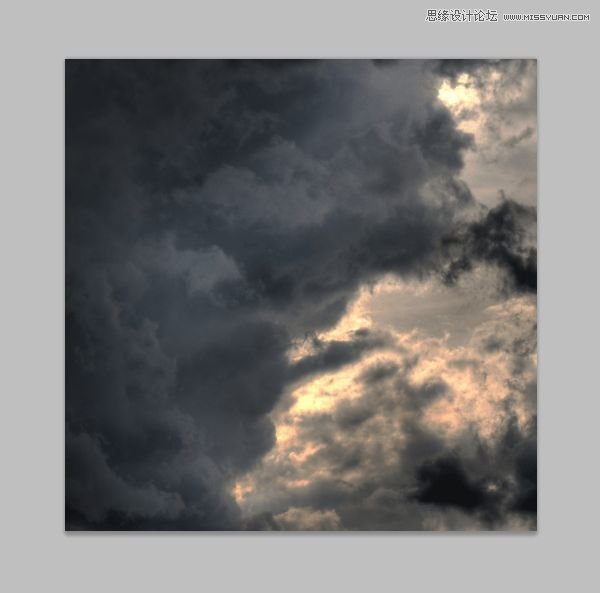
Paste “Dark clouds ahead” stock
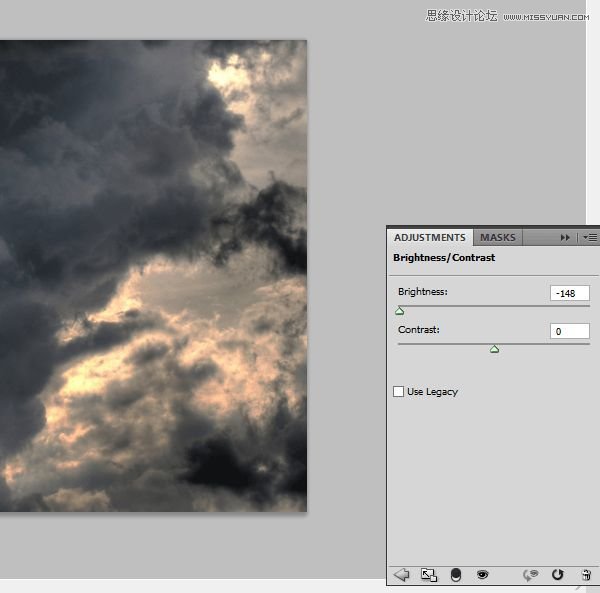
Step 3
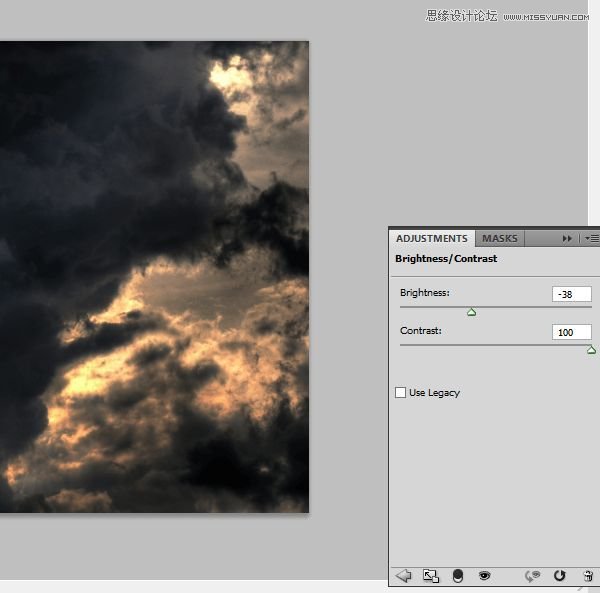
Add new adjustments layer (menu Layer > New adjustment Layer) with brightness/contrast. Set it:
Now background is too dark. For fix it you should draw mask. Choose mask layer, beside adjustment. Take a 360px soft, rounded brush and draw gently by right side of picture. My results of masking
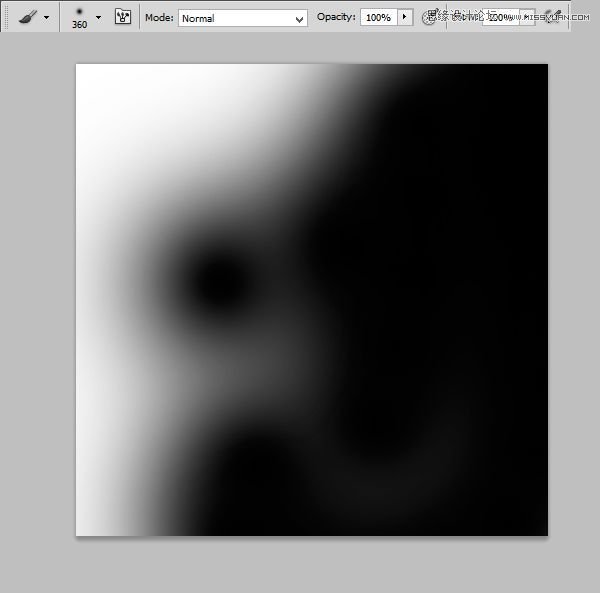
How should it looks:
Step 4
Still background isn’t well. Add new adjustments layer with brightness/contrast. Set it:
Step 5
Now you should add some lights on background. Add new layer. With the same brush and #f46307 color draw, where you want to show lights.
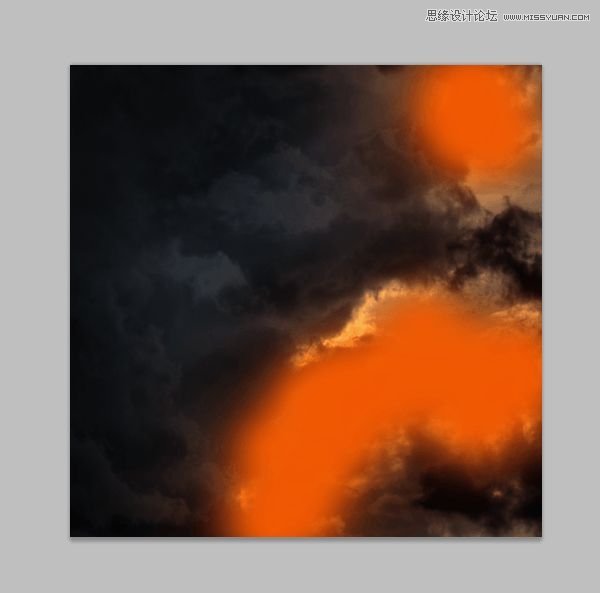
Then you should blur it. Choose from menu Filter > Blur > Gaussian blur. Set 125px.
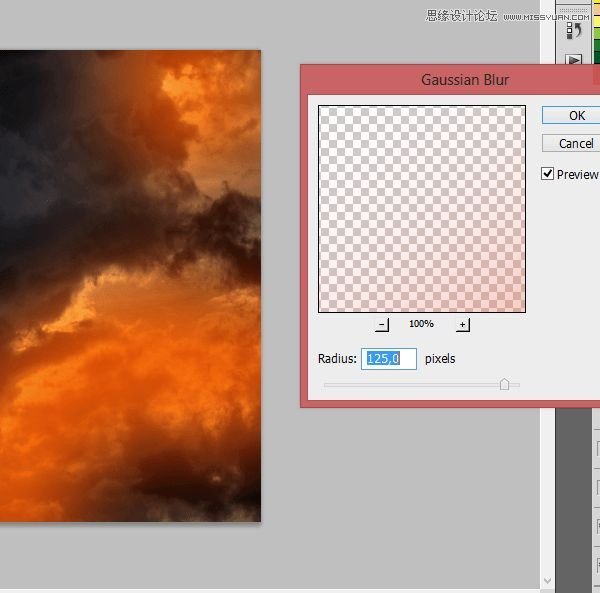
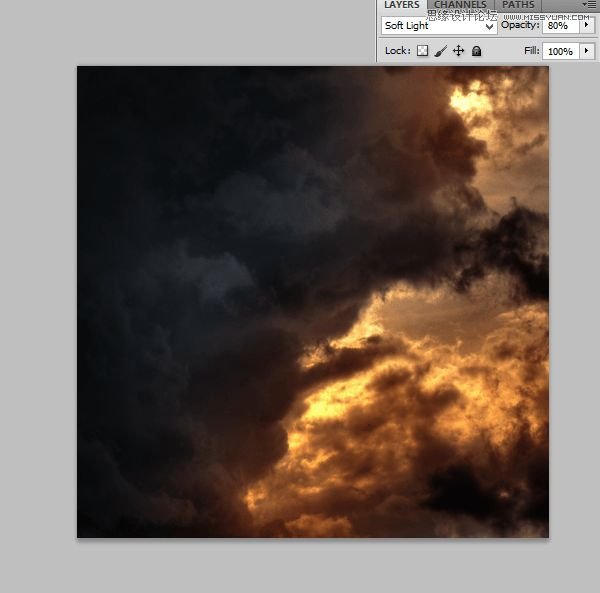
Change this layer mode to Soft Light and change opacity to 80%. Yay, you are awesome! :)
 情非得已
情非得已
-
 Photoshop制作复古风格的老照片效果【英】2018-04-23
-
 Photoshop合成长着创意大树的长颈鹿【英】2018-04-23
-
 Photoshop合成冰冻特效的金鱼场景【英】2018-02-10
-
 Photoshop合成梦幻风格的森林场景【英】2018-02-10
-
 Photoshop合成正在施法的巫师【英】2018-02-10
-
 Photoshop制作金属质感的3D立体字【英】2018-01-09
-
 Photoshop设计火焰燃烧艺术字教程【英】2018-01-09
