Photoshop合成在天空中飞行的天使【英】(2)
文章来源于 photoshoptutorials,感谢作者 MONIKA NOWAKOWSKA 给我们带来经精彩的文章!设计教程/国外教程/国外教程2017-12-25
Step 6 Its time to model! Paste A slow fall stock and mask it. Step 7 drapery But what with this awesome silk material? Heres the trick! Choose 38 px soft brush and change opacity of it to 40%. Then
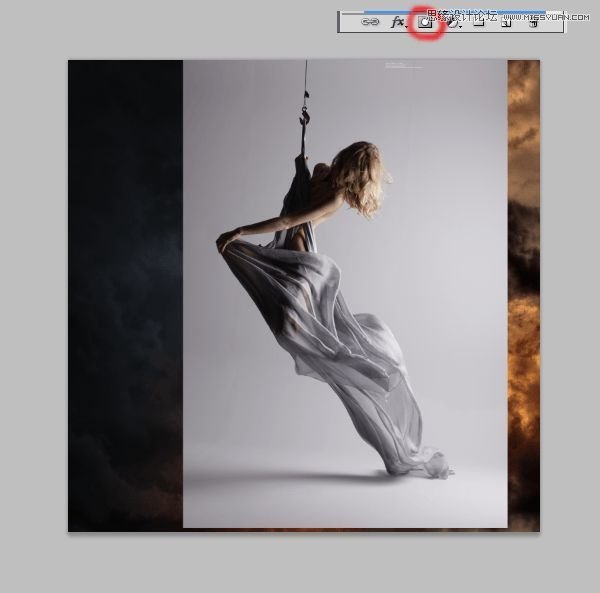
Step 6
It’s time to model! Paste “A slow fall stock” and mask it.
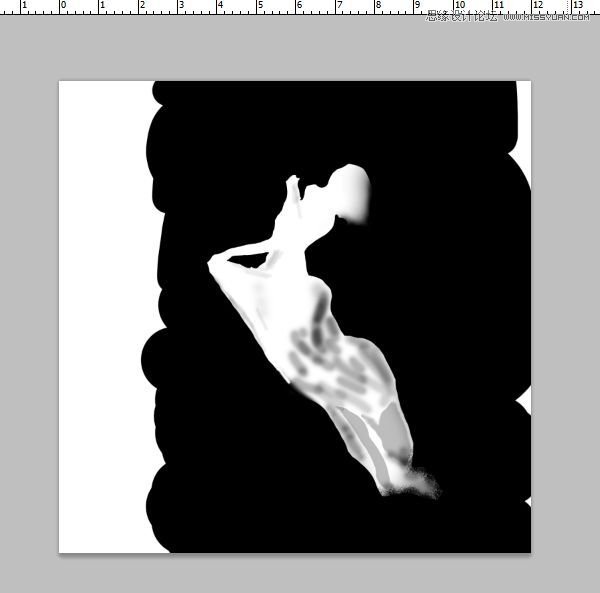
Step 7 – drapery
But what with this awesome silk material? Here’s the trick! Choose 38 px soft brush and change opacity of it to 40%. Then draw gently on lighter parts of material, but remember: try to use different opacity and size. On folds, opacity should be smaller.
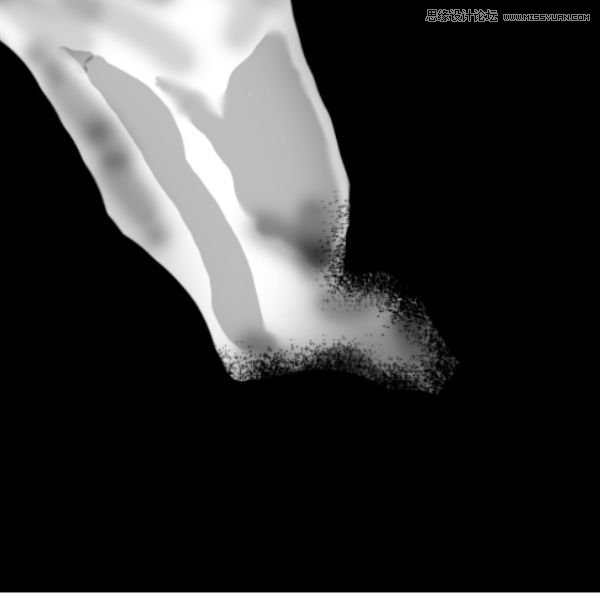
Step 8
Now prepare model to particles. With Rough round bristle black brush on mask draw some on the edge of material.
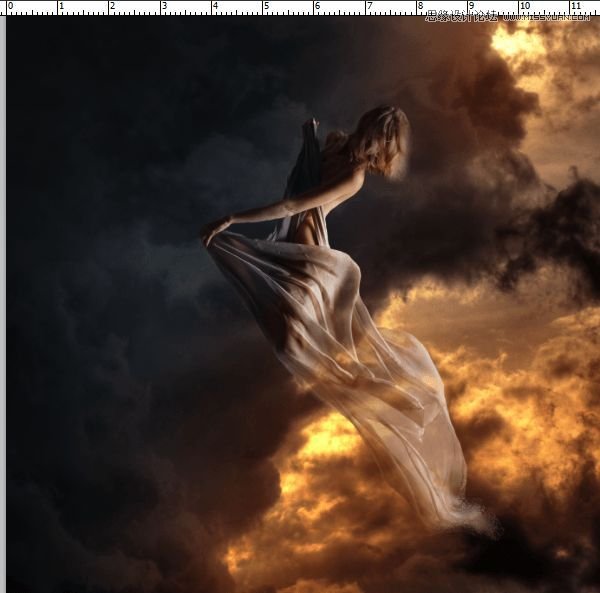
Results for this moment:
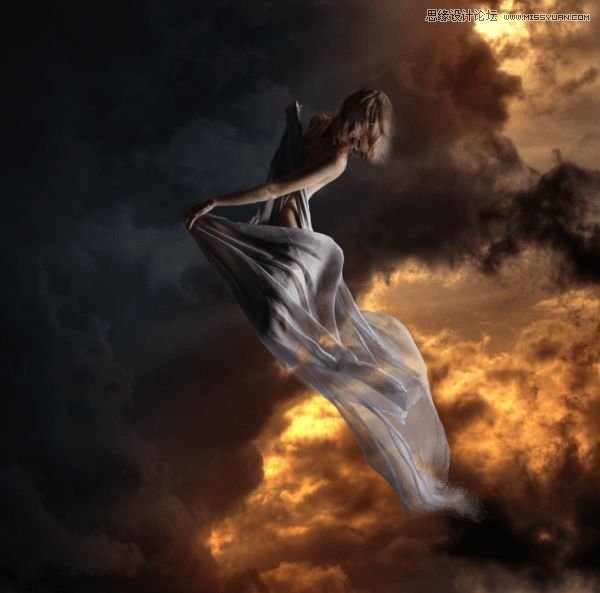
Step 9
On layer with model add adjustment layer with color balance. (Right Click on Adjustment layer > Create clipping mask)
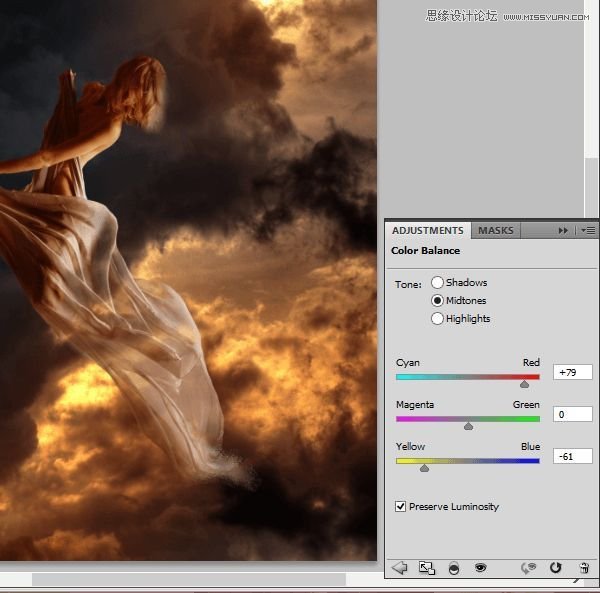
At adjustment layer draw mask. Orange light goes from right side of picture. Follow this tip :). My mask:
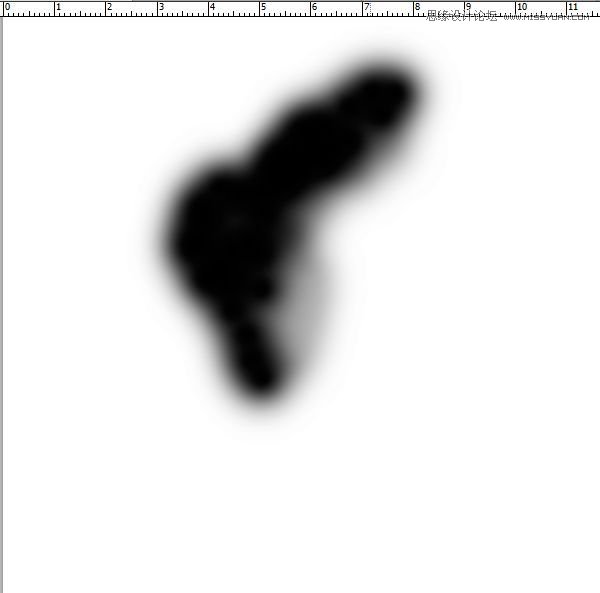
Result of masking
 情非得已
情非得已
推荐文章
-
 Photoshop制作复古风格的老照片效果【英】2018-04-23
-
 Photoshop合成长着创意大树的长颈鹿【英】2018-04-23
-
 Photoshop合成冰冻特效的金鱼场景【英】2018-02-10
-
 Photoshop合成梦幻风格的森林场景【英】2018-02-10
-
 Photoshop合成正在施法的巫师【英】2018-02-10
-
 Photoshop制作金属质感的3D立体字【英】2018-01-09
-
 Photoshop设计火焰燃烧艺术字教程【英】2018-01-09
热门文章
