Photoshop合成被树妖困住的女孩【英】(6)
文章来源于 photoshoptutorials,感谢作者 ANTAKA NGUYEN 给我们带来经精彩的文章!Step 24
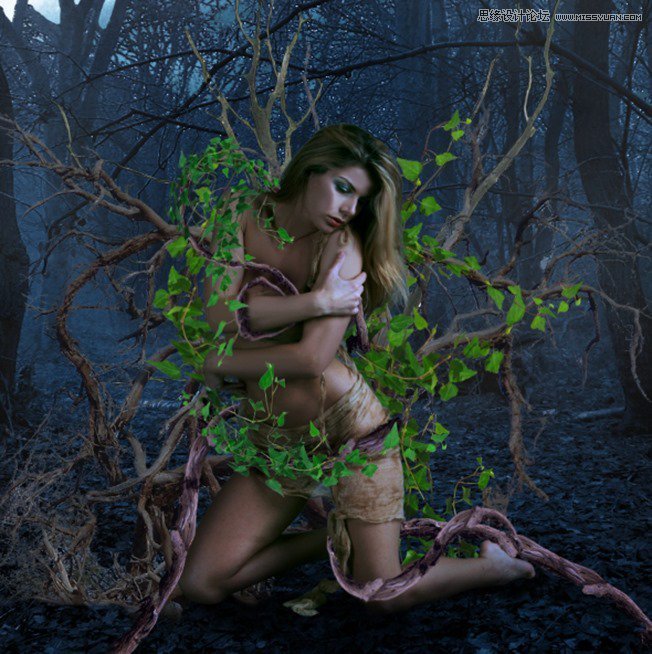
With the appearance of the branches and ivies, we will need to some extra shadow to the ground since the current shadow is a little weak.
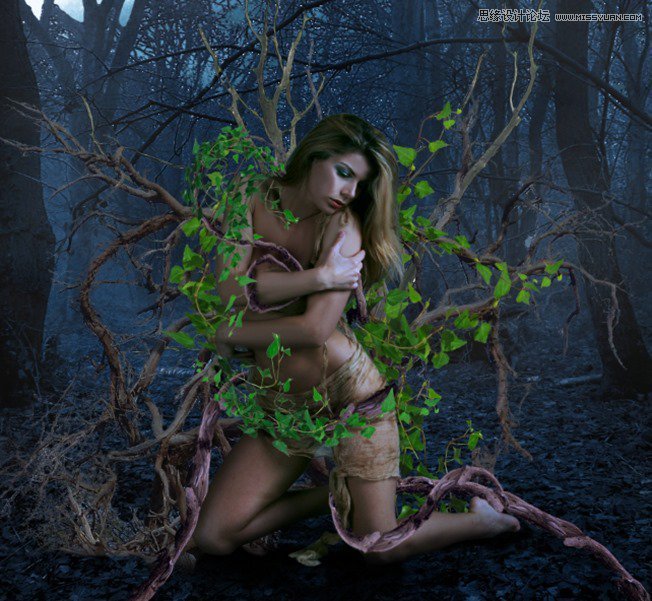
The method is similar to the way we create shadow in the previous step. Change the Blend Mode to Soft Light.
Step 25
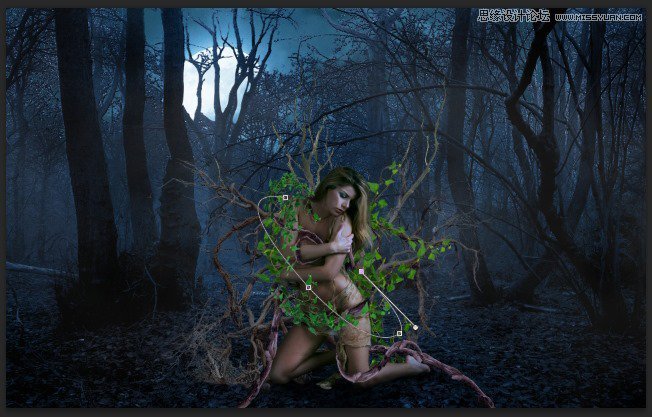
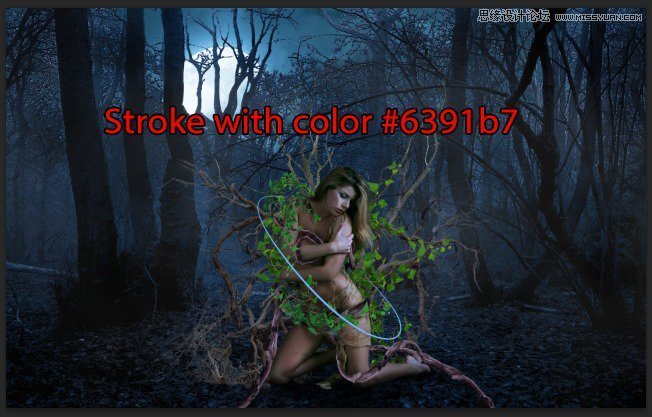
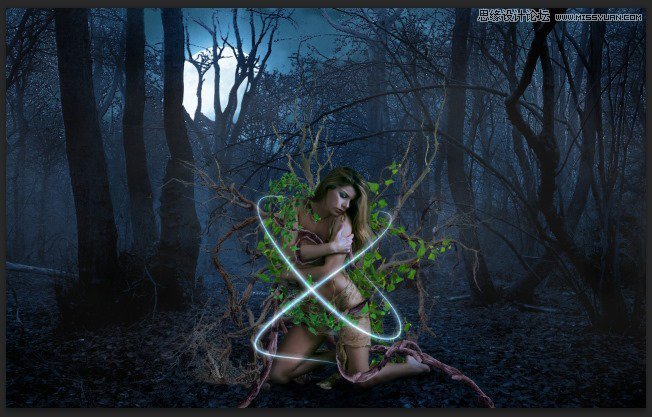
Now we will create a simple yet special effect for the model so the piece looks more…magical. Create a new layer , grab the Pen Tool and draw a curve line around her body like this :
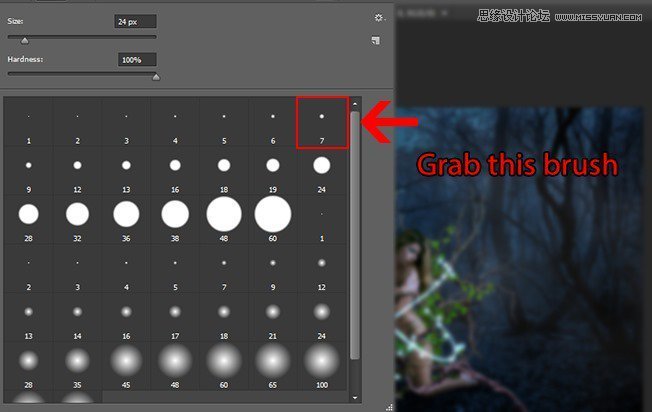
Before continue please go to the Brush Tool, choose a 5px round brush with 100% Hardness.
Back to the Pen Tool, right click on the curve line you just drew and chooseStroke Path. Choose Brush as Tool, tick on the Simulate Pressure.
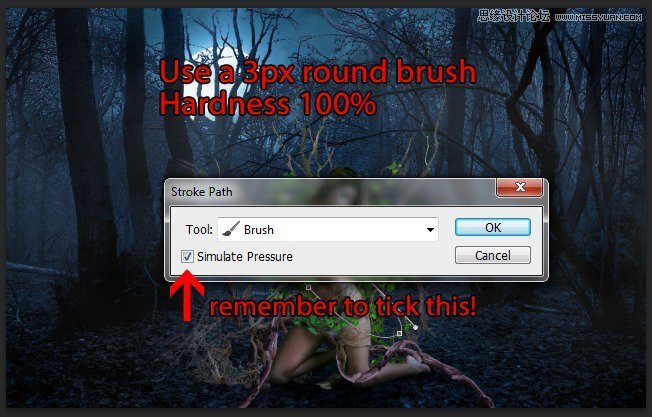
The Stroke Path option will use your Foreground color as the stroke color so set the Foreground color as #6391b7 then click OK. Here’s what we will have :
Step 26
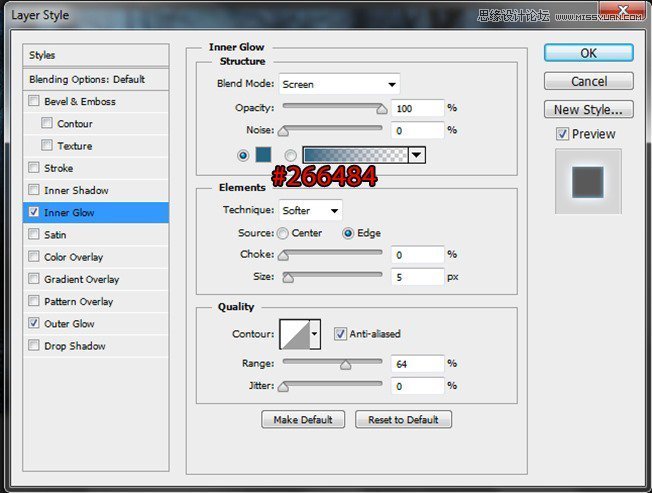
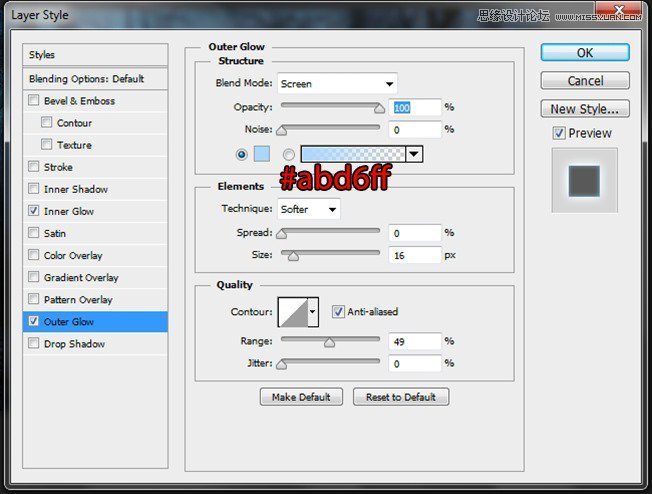
Apply these setting for the Curve Line layer’s Blending Option :
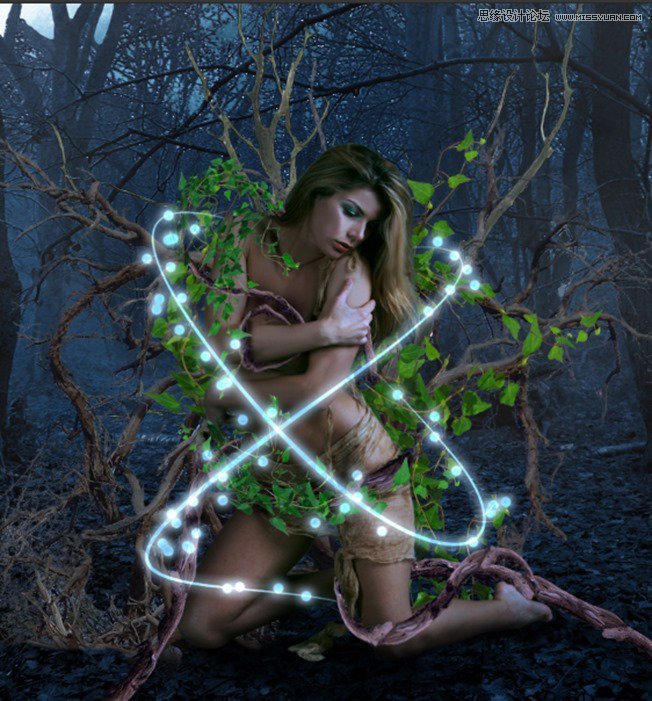
Change the Blend Mode to Linear Dodge and we will have a nice glowing line!
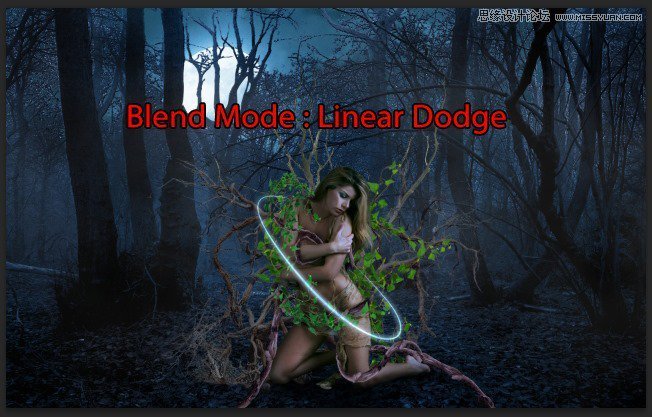
Do the same with another line.
Step 27
Create another new layer, use 7px round brush, 100% Hardness.
Open the Brush Panel (shortcut : F5) and adjust the setting like this :

Now paint around the model, with the setting we just had, the round will be scattered as we paint, create a bokeh-like effect. Apply the same Blending Option and color like we did with the Curve Lines.
 爱你不要你
爱你不要你
-
 Photoshop制作复古风格的老照片效果【英】2018-04-23
-
 Photoshop合成长着创意大树的长颈鹿【英】2018-04-23
-
 Photoshop合成冰冻特效的金鱼场景【英】2018-02-10
-
 Photoshop合成梦幻风格的森林场景【英】2018-02-10
-
 Photoshop合成正在施法的巫师【英】2018-02-10
-
 Photoshop制作金属质感的3D立体字【英】2018-01-09
-
 Photoshop设计火焰燃烧艺术字教程【英】2018-01-09
-
Photoshop制作复古风格的老照片效果【英】
相关文章11882018-04-23
-
Photoshop合成长着创意大树的长颈鹿【英】
相关文章13832018-04-23
-
Photoshop合成冰冻特效的金鱼场景【英】
相关文章34052018-02-10
-
 Photoshop制作黄金质感立体字【英】
相关文章7422018-02-10
Photoshop制作黄金质感立体字【英】
相关文章7422018-02-10
-
 Photoshop制作惊艳大气的3D立体字
相关文章14682018-02-10
Photoshop制作惊艳大气的3D立体字
相关文章14682018-02-10
-
Photoshop合成梦幻风格的森林场景【英】
相关文章24492018-02-10
-
Photoshop合成正在施法的巫师【英】
相关文章8372018-02-10
-
 Photoshop制作复古双重曝光字体
相关文章6532018-01-09
Photoshop制作复古双重曝光字体
相关文章6532018-01-09
