Photoshop合成被树妖困住的女孩【英】(2)
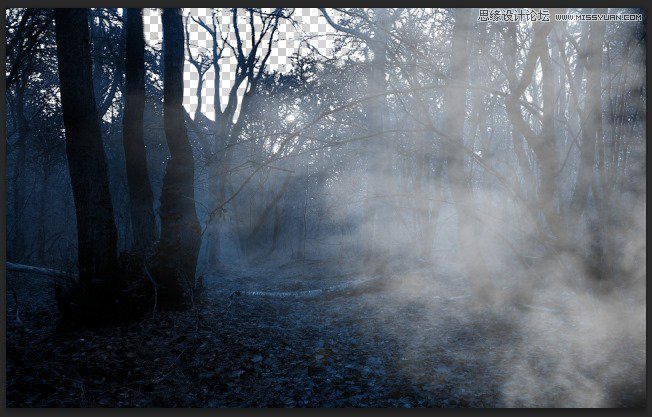
文章来源于 photoshoptutorials,感谢作者 ANTAKA NGUYEN 给我们带来经精彩的文章!Step 6 – Adding Base Fog
Download the Fog Brush in the Resources list, open it and grab any fog brush you want and start painting.
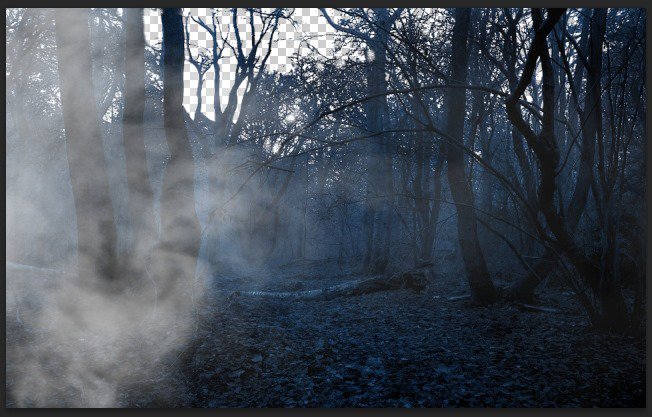
Layer Mask on these fog layers as we only want some subtle fog effect to spice up the atmosphere of the image.

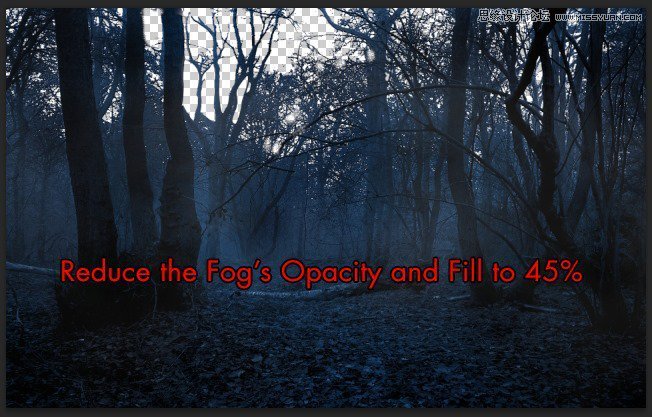
Reduce the fog layer Opacity and Fill to 45%. The number can be changed as you desire, depends on how strong you want the fog to be.
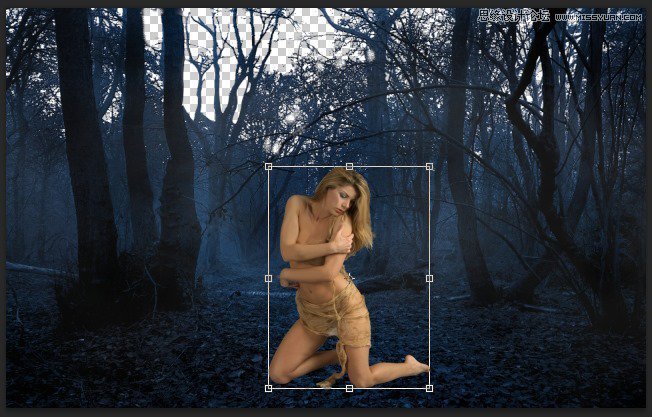
Step 7 – Extracting The Model
Open the Model stock photo and start extracting her, you can use Quick Selection Tool to do so as the photo’s quality is high and the contrast is enough for Quick Selection Tool to do its work. Otherwise you can use Pen Toolfor a better result but more time-consuming, its up to you!
Place the model into our document after you’ve done the extracting.
Step 8 – First Model Blending Process
Access to the Model’s Blending Option -> Inner Shadow and adjust the attribute like this :

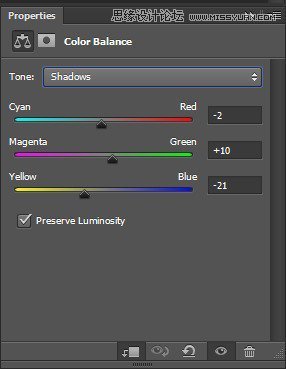
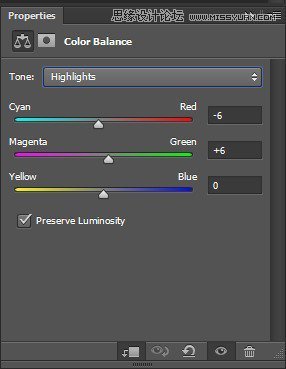
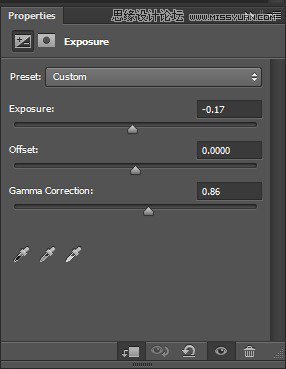
Continue adding these following adjustment layers :
Curves -> Brightness/Contrast -> Photo Filter -> Color Balance -> Exposure
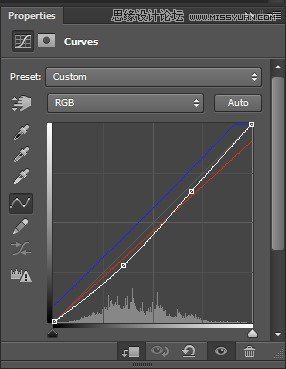
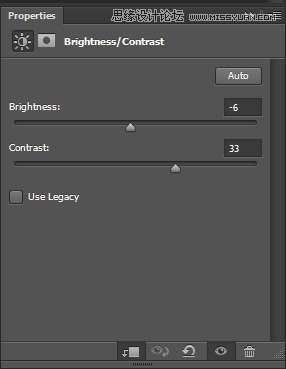
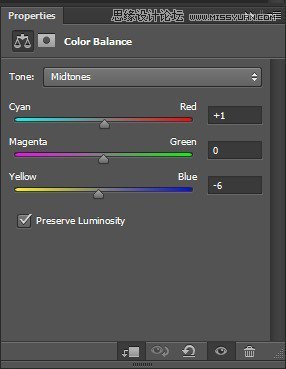
And here is the result :
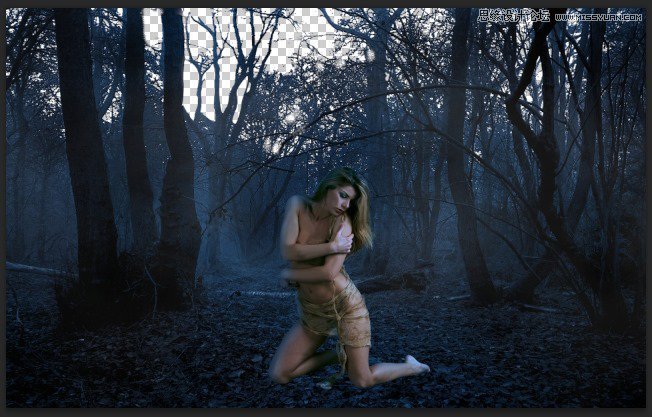
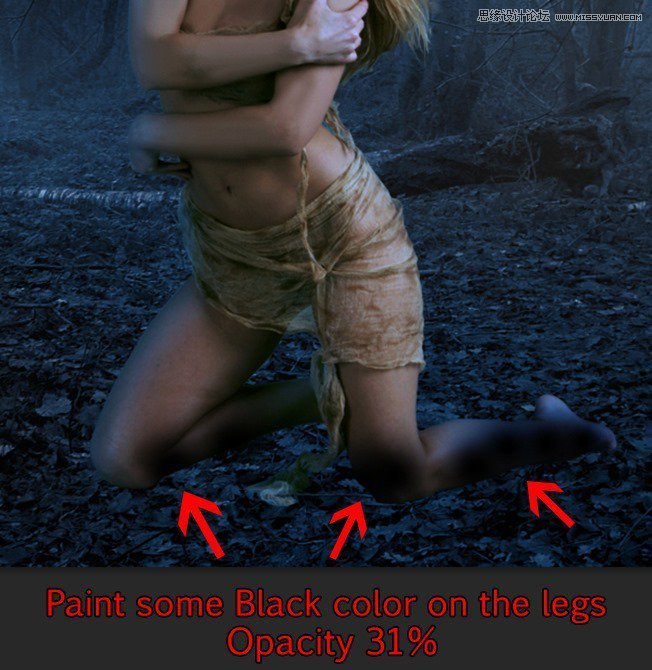
Step 9 – Adding Shadow To The Model’s Legs
We will use the same method we just did with the forest to the model’s legs in this step. Reduce the Opacity to 31%.
 爱你不要你
爱你不要你
-
 Photoshop制作复古风格的老照片效果【英】2018-04-23
-
 Photoshop合成长着创意大树的长颈鹿【英】2018-04-23
-
 Photoshop合成冰冻特效的金鱼场景【英】2018-02-10
-
 Photoshop合成梦幻风格的森林场景【英】2018-02-10
-
 Photoshop合成正在施法的巫师【英】2018-02-10
-
 Photoshop制作金属质感的3D立体字【英】2018-01-09
-
 Photoshop设计火焰燃烧艺术字教程【英】2018-01-09
-
Photoshop制作复古风格的老照片效果【英】
相关文章11882018-04-23
-
Photoshop合成长着创意大树的长颈鹿【英】
相关文章13832018-04-23
-
Photoshop合成冰冻特效的金鱼场景【英】
相关文章34052018-02-10
-
 Photoshop制作黄金质感立体字【英】
相关文章7422018-02-10
Photoshop制作黄金质感立体字【英】
相关文章7422018-02-10
-
 Photoshop制作惊艳大气的3D立体字
相关文章14682018-02-10
Photoshop制作惊艳大气的3D立体字
相关文章14682018-02-10
-
Photoshop合成梦幻风格的森林场景【英】
相关文章24492018-02-10
-
Photoshop合成正在施法的巫师【英】
相关文章8372018-02-10
-
 Photoshop制作复古双重曝光字体
相关文章6532018-01-09
Photoshop制作复古双重曝光字体
相关文章6532018-01-09
