Photoshop制作惊艳大气的3D立体字(3)
文章来源于 Tutsplus.com,感谢作者 Rose 给我们带来经精彩的文章!Step 3
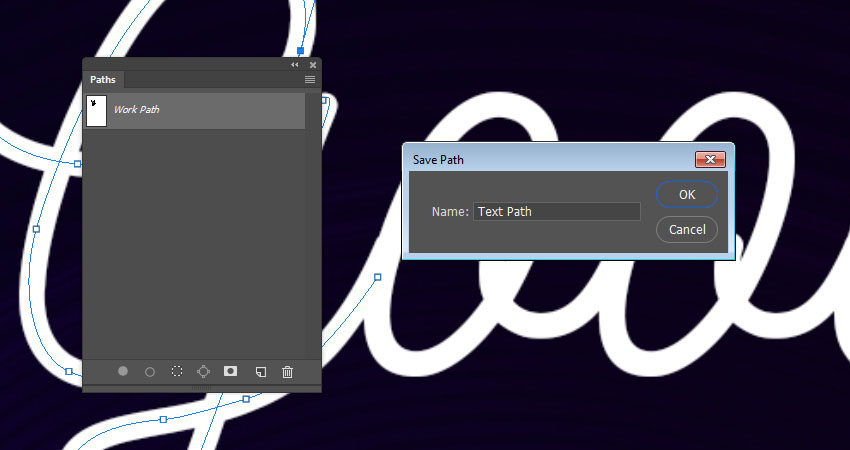
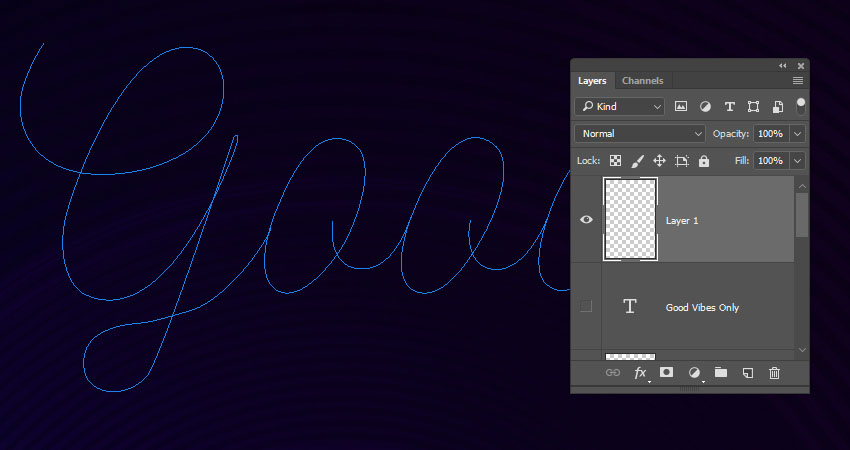
In the Paths panel, double-click the Work Path tab and enter a name for your path to save it.
Step 4
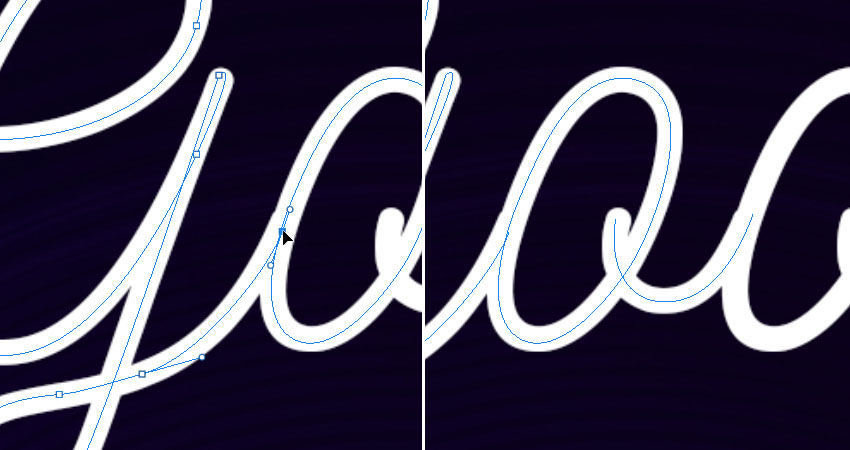
It is better to separate the paths where needed, so that you can edit them easily after stroking them.
Make sure to align the paths so that they fall nicely on top of each other where they are supposed to overlap.
4. How to Adjust the Mixer Brush Tool's Settings
Step 1
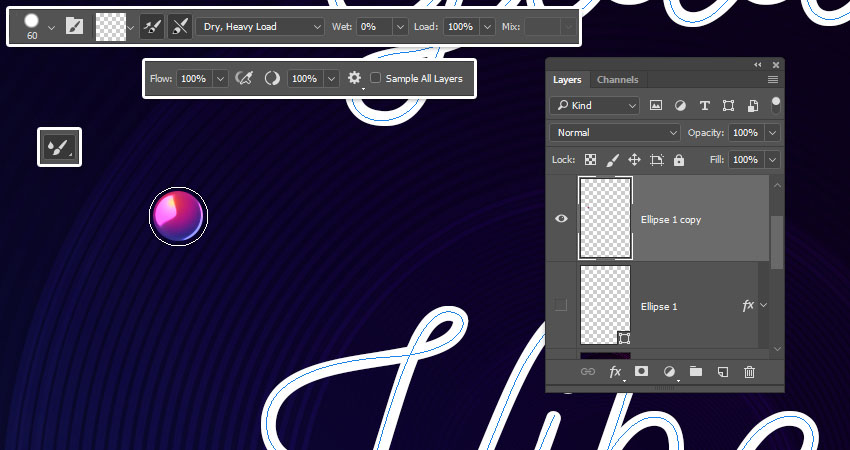
Pick the Mixer Brush Tool (click and hold the standard Brush Tool to reveal it), and use these settings in the Options bar:
Click the Load the brush after each stroke icon.
Click the Clean the brush after each stroke icon.
Choose the Dry, Heavy Load preset from the Useful mixer brush combinations list.
Wet: 0%
Load: 100%
Flow: 100%
Stroke Smoothing: 100%
Uncheck the Sample All Layers box.
Once you adjust the settings, change the tip's Size to 10 px more than the styled ellipse's Size, so here the brush tip's Size is set to 60 px.
Step 2
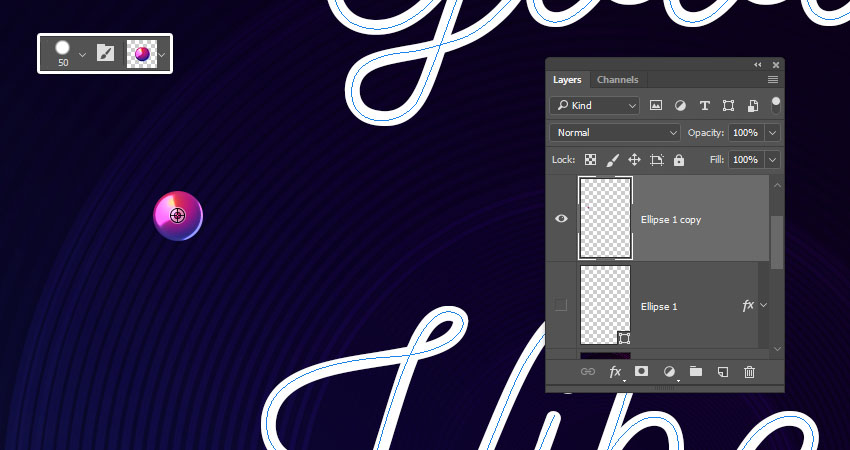
Select the styled ellipse's layer, place the cursor in the center of the styled ellipse, press-hold the Optionkey, and click to load the ellipse into the brush tip.
5. How to Stroke a Work Path Using the Mixer Brush Tool
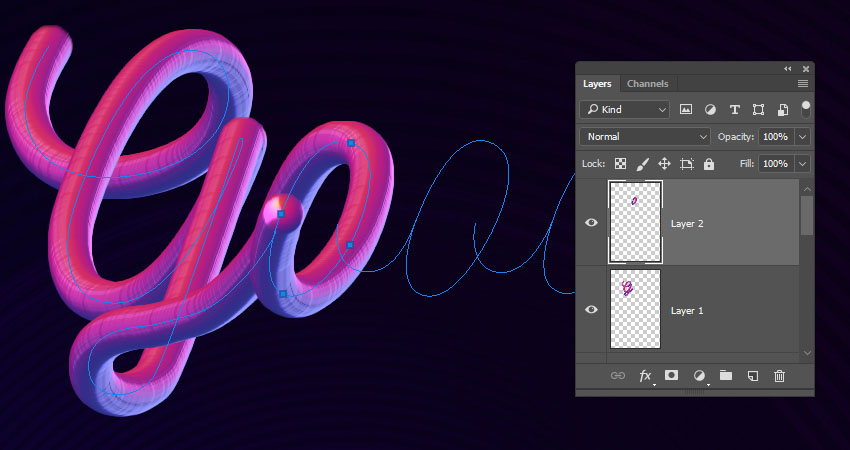
Step 1
Hide the original text layer and create a new layer on top of it.
Step 2
Pick the Path Selection Tool, click outside all paths to make sure none of them are selected, and then click the first letter's path you want to stroke.

Step 3
Hit the Return key to stroke the path, create a new layer, select the next path, and stroke it on the new layer.
Step 4
Continue selecting the paths and stroking them on separate layers until you're done with the first word.
Place all the word's layers in a group to keep things organized.

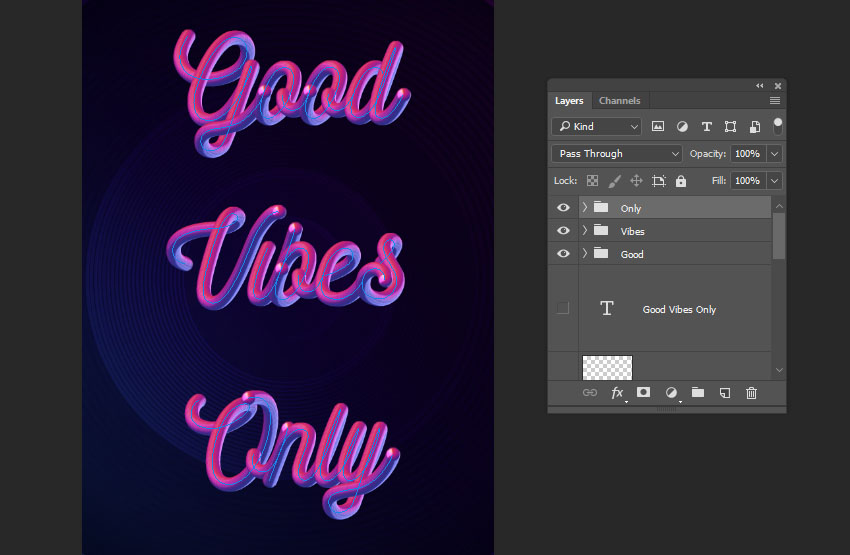
Step 5
Finish stroking all the words you have to start adjusting the final effect.
 情非得已
情非得已
-
 Photoshop制作复古风格的老照片效果【英】2018-04-23
-
 Photoshop合成长着创意大树的长颈鹿【英】2018-04-23
-
 Photoshop合成冰冻特效的金鱼场景【英】2018-02-10
-
 Photoshop合成梦幻风格的森林场景【英】2018-02-10
-
 Photoshop合成正在施法的巫师【英】2018-02-10
-
 Photoshop制作金属质感的3D立体字【英】2018-01-09
-
 Photoshop设计火焰燃烧艺术字教程【英】2018-01-09
-
Photoshop制作复古风格的老照片效果【英】
相关文章11882018-04-23
-
 Photoshop制作黄金质感立体字【英】
相关文章7422018-02-10
Photoshop制作黄金质感立体字【英】
相关文章7422018-02-10
-
 Photoshop制作复古双重曝光字体
相关文章6532018-01-09
Photoshop制作复古双重曝光字体
相关文章6532018-01-09
-
 Photoshop制作木地板LOGO刻印效果【英】
相关文章19272018-01-09
Photoshop制作木地板LOGO刻印效果【英】
相关文章19272018-01-09
-
Photoshop制作金属质感的3D立体字【英】
相关文章4612018-01-09
-
 Photoshop制作复古花朵组成的艺术字【英】
相关文章3802018-01-09
Photoshop制作复古花朵组成的艺术字【英】
相关文章3802018-01-09
-
 Photoshop制作可爱的糖果饼干字【英】
相关文章6722017-12-25
Photoshop制作可爱的糖果饼干字【英】
相关文章6722017-12-25
-
 Photoshop制作梦幻耶稣光和高光背景【英】
相关文章6002017-12-16
Photoshop制作梦幻耶稣光和高光背景【英】
相关文章6002017-12-16
