Photoshop制作复古花朵组成的艺术字【英】(3)
文章来源于 Tutsplus,感谢作者 Rose 给我们带来经精彩的文章!Step 4
Double-click the original text layer to apply a Stroke effect using the following settings:
Size: 5
Color: #000000
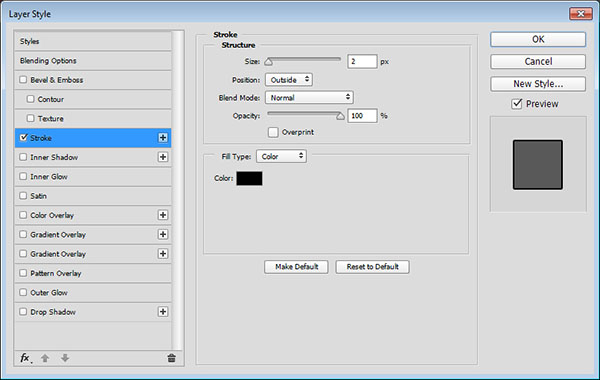
You might not see the stroke clearly now, but it will define the text when we apply the other strokes later on.
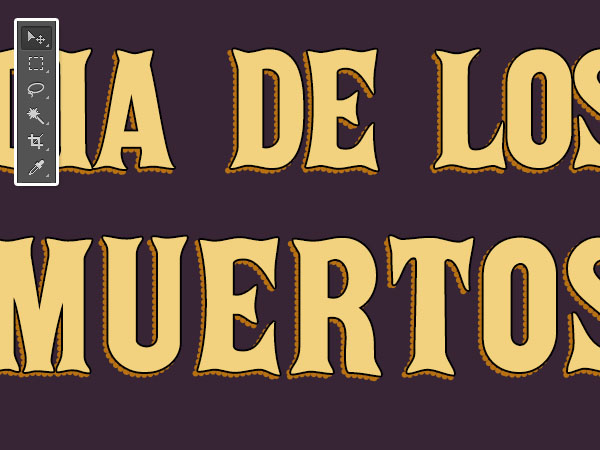
8. Create the Shape Layer's Stroke
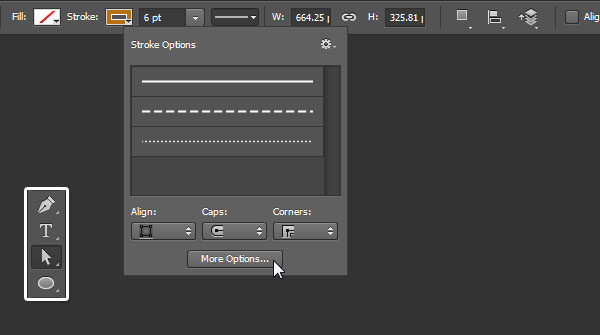
Step 1
Select the text shape layer and pick the Direct Selection Tool.
In the Options bar, change the Fill to None, the Stroke Color to #b77113, and its Size to 6. Then click the Set shape stroke type icon and click the More Options button.
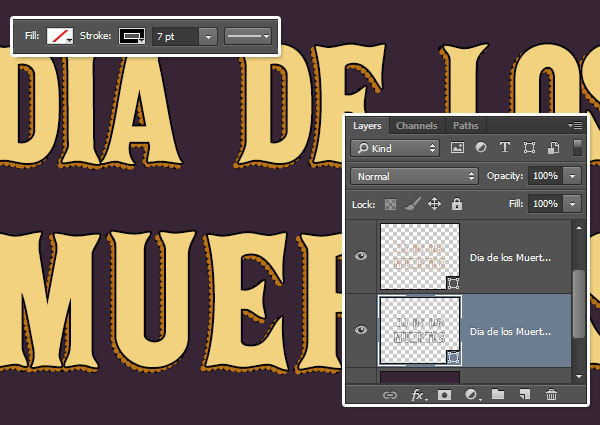
Step 2
Change Align to Center, Caps to Round, Corners to Miter, and check the Dashed Line box. Change the first Dash value to 0, and the first Gap value to 2.
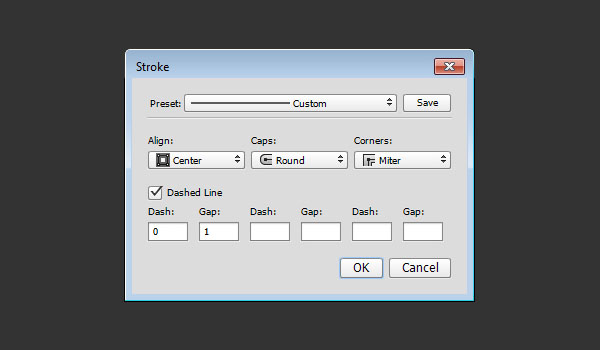
Step 3
This will create a dotted stroke. Use the Move Tool to nudge the dotted stroke a little bit down to the left side.
Step 4
Duplicate the dotted stroke layer, place the copy below it, and then change the copy's Stroke Color to Blackand its Size to 7.
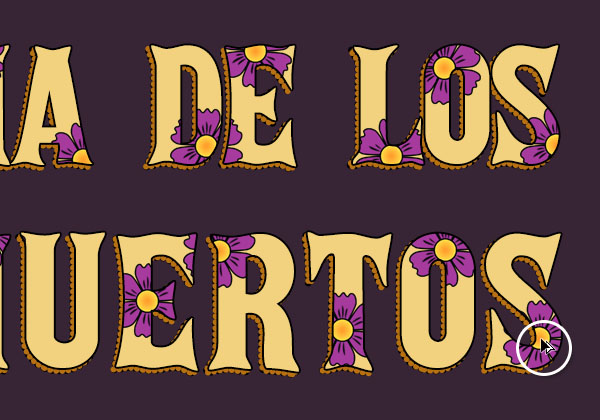
9. Add the Flowers and the Leaves
Step 1
Duplicate the purple flower's layer to the text's document, and resize it as needed.
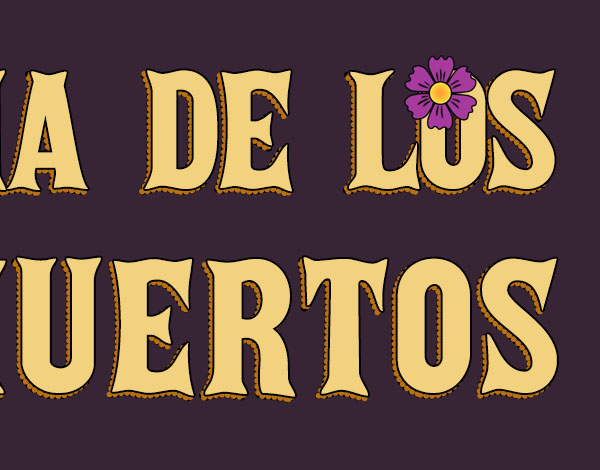
Step 2
Right-click the flower's layer and choose Create Clipping Mask.
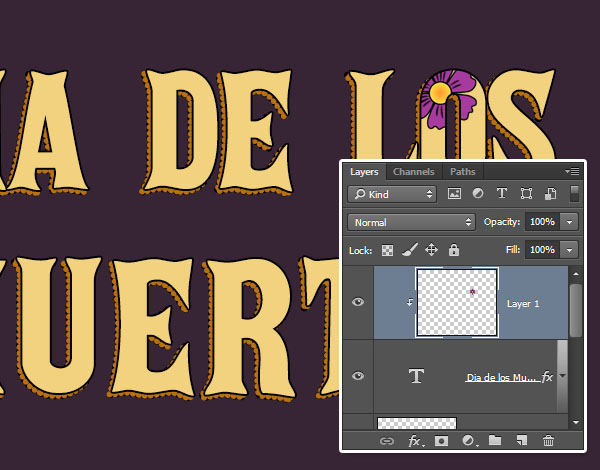
Step 3
What you'll need to do next is select the Move Tool, press and hold the Option key, click-drag the flower and then release, to duplicate and move it over the text.
Keep in mind that you can only duplicate the flower in the selected layer, and that you need to leave some space for the pink flowers and the leaves.
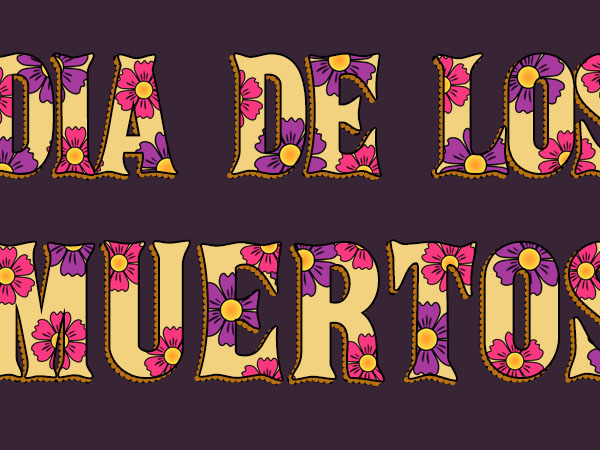
Step 4
Follow the same steps to add in the pink flowers.
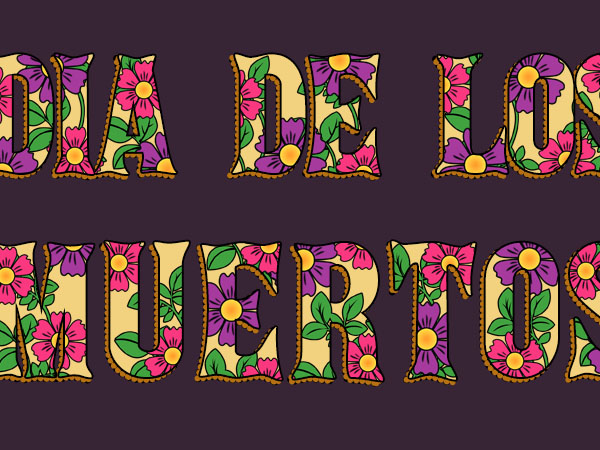
Step 5
Then follow the same steps again to add in the leaves. Make sure to place the leaf layers below the flower layers.
If you like, you can resize and rotate the added elements to make the outcome more dynamic.
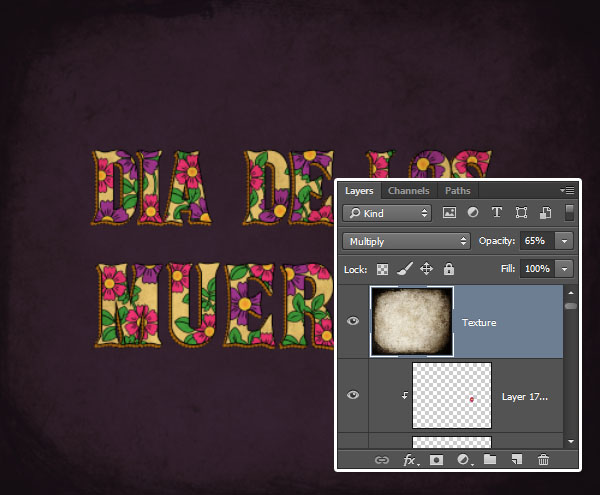
10. Add the Grunge Texture
Step 1
Place the Grunge image on top of all layers, resize it as needed, change its layer's Blend Mode to Multiply, and set its Opacity to 65%.
Step 2
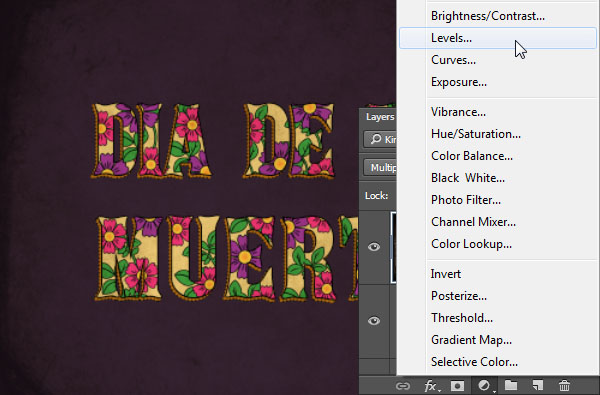
Click the Create new fill or adjustment layer icon at the bottom of the Layers panel and choose Levels.
Advertisement
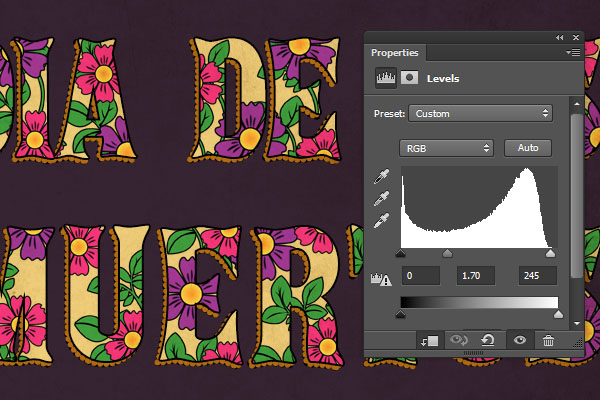
Step 3
Click the Clip to layer icon, and change the Highlights value to 245 and the Gamma value to 1.70. This will brighten up the texture a little bit.
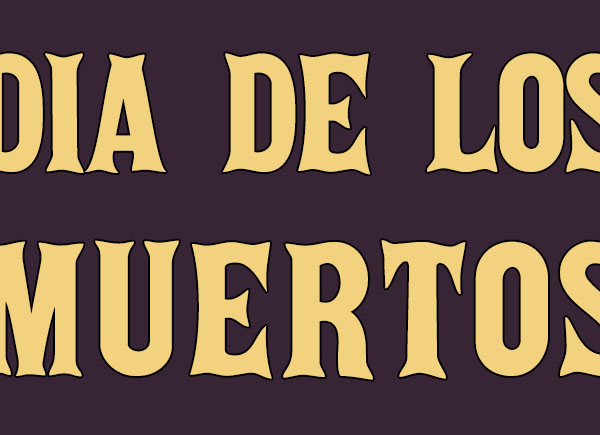
You can play around with the shapes, colors, and sizes to create many different outcomes.
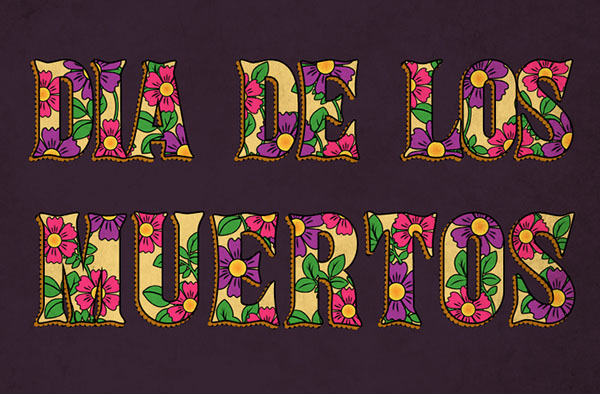
Congratulations! You're Done
In this tutorial, we used a couple of shape tools to create a simple marigold flower, and we colored and styled it.
Then we styled a simple leaf brush, and rasterized the layers to use them on top of the text.
After that, we created the text, made shape copies of it, and styled those layers with different strokes to create the outer edges.
Finally, we filled the text with the flower and leaf layers, and added a simple grunge texture to finish the effect off.
 爱你不要你
爱你不要你
-
 Photoshop制作复古风格的老照片效果【英】2018-04-23
-
 Photoshop合成长着创意大树的长颈鹿【英】2018-04-23
-
 Photoshop合成冰冻特效的金鱼场景【英】2018-02-10
-
 Photoshop合成梦幻风格的森林场景【英】2018-02-10
-
 Photoshop合成正在施法的巫师【英】2018-02-10
-
 Photoshop制作金属质感的3D立体字【英】2018-01-09
-
 Photoshop设计火焰燃烧艺术字教程【英】2018-01-09
-
Photoshop制作复古风格的老照片效果【英】
相关文章11882018-04-23
-
 Photoshop制作黄金质感立体字【英】
相关文章7422018-02-10
Photoshop制作黄金质感立体字【英】
相关文章7422018-02-10
-
 Photoshop制作惊艳大气的3D立体字
相关文章14682018-02-10
Photoshop制作惊艳大气的3D立体字
相关文章14682018-02-10
-
 Photoshop制作复古双重曝光字体
相关文章6532018-01-09
Photoshop制作复古双重曝光字体
相关文章6532018-01-09
-
 Photoshop制作木地板LOGO刻印效果【英】
相关文章19272018-01-09
Photoshop制作木地板LOGO刻印效果【英】
相关文章19272018-01-09
-
Photoshop制作金属质感的3D立体字【英】
相关文章4612018-01-09
-
Photoshop设计火焰燃烧艺术字教程【英】
相关文章7612018-01-09
-
 Photoshop制作可爱的糖果饼干字【英】
相关文章6722017-12-25
Photoshop制作可爱的糖果饼干字【英】
相关文章6722017-12-25
