Photoshop制作复古花朵组成的艺术字【英】(2)
文章来源于 Tutsplus,感谢作者 Rose 给我们带来经精彩的文章!Step 6
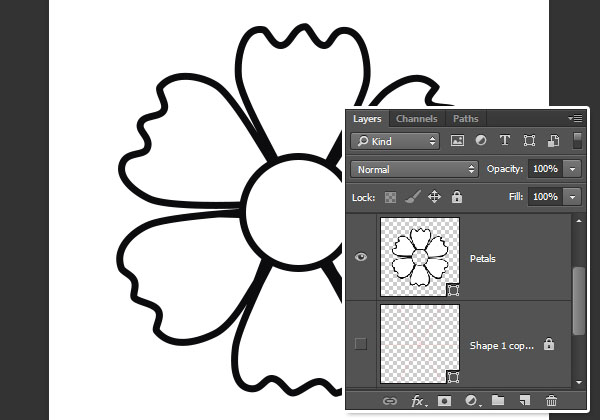
Once you're done with the first petal, you can duplicate, rotate, and modify it to make the rest of the petals.
When you have all the petals ready, select all their layers, and go to Layer > Merge Shapes to place them all in one shape layer. Call it Petals.
3. Create the Inner Lines
Step 1
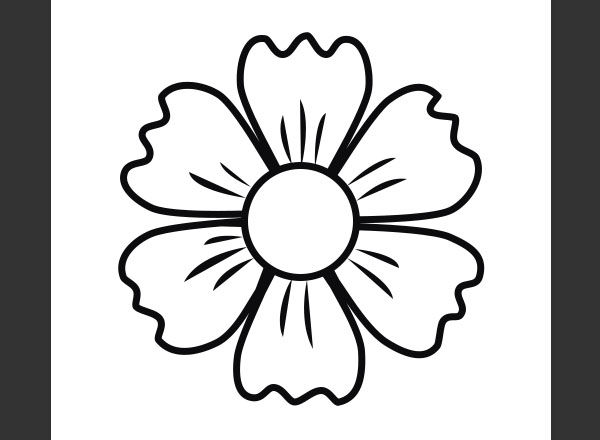
Pick the Pen Tool again, and set the Fill Color to Black and the Stroke to None.
Create the lines using simple two-point curves. So click once where you want the line to begin, and then click-drag where you want it to end. The more curved the line is, the thicker it will appear.
Press the Esc key after creating each line to create another new separate one.

Step 2
Merge all the line shape layers in one layer and call it Lines.
4. Color and Style the Flower
Step 1
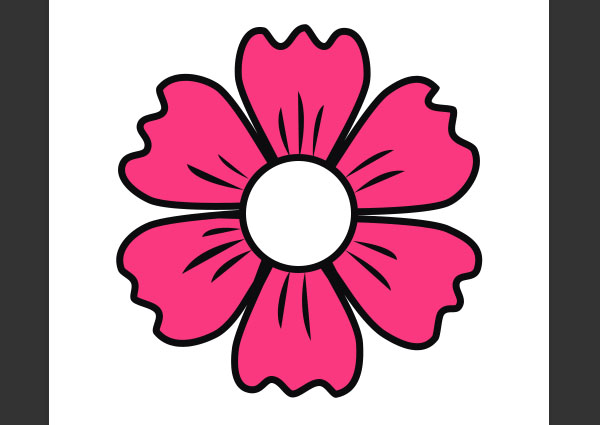
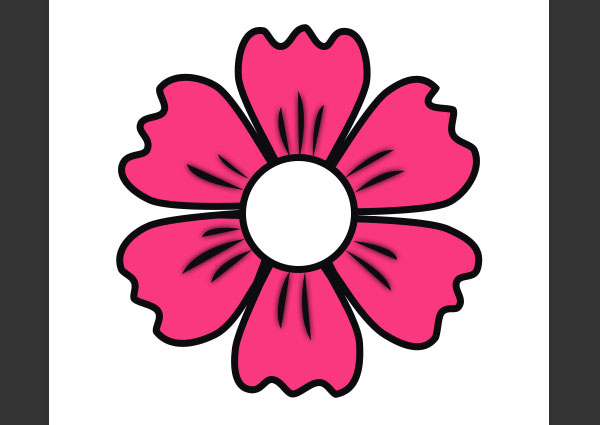
Double-click the petals shape layer's thumbnail to fill it with any color you like. Here, the color used is #fa387f.
Step 2
Double-click the Lines shape layer to apply a Drop Shadow effect using the following settings:
Opacity: 100%
Distance: 0
Size: 7
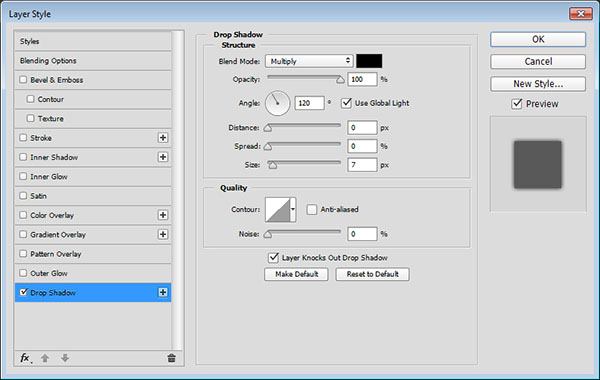
This will feather out the lines a little bit.
Step 3
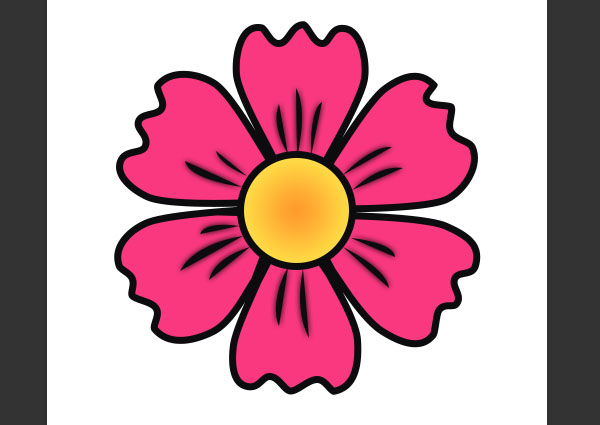
Double-click the center ellipse shape layer to apply a Gradient Overlay effect using the following settings:
Style: Radial
Scale: 110%
Click the Gradient box to create the gradient using the colors #ff9b2c to the left and #ffe64a to the right.

This will style the center.
5. Create the Raster Layers
Step 1
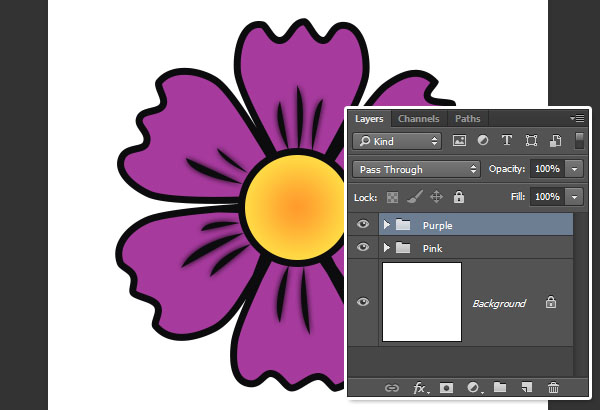
Group all the flower shape layers you have, and rename the group to the flower's color (Pink).
Duplicate the group and rename it to the other color you want to use (Purple), and then fill the Petals shape layer with that color. Here, the purple color used is #a63a9d.
Step 2
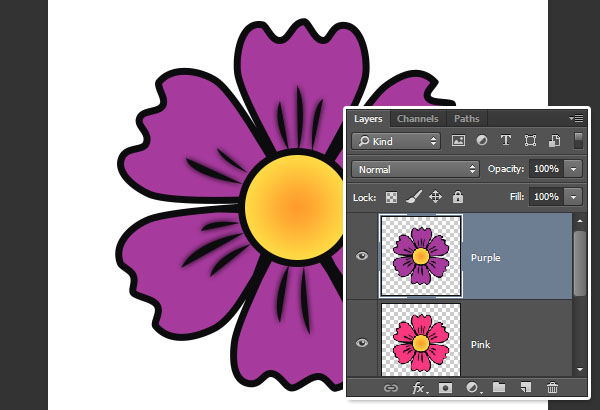
Duplicate the groups you have, and then, for each of them, right-click it and choose Merge Group. These are the layers that we will use to create the text effect later on.
6. Style the Leaves
Step 1
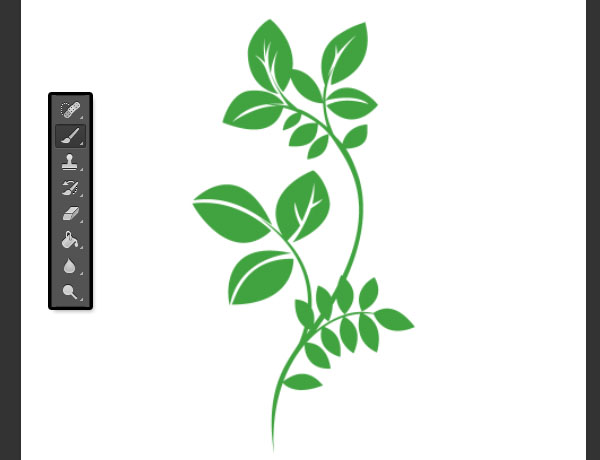
Create a new 1000 x 1000px document, and choose a leaves brush from the Floral Brushes 2 pack.
Set the Foreground color to #41a340, create a new layer on top of the Background layer, and click to add the brush.
Step 2
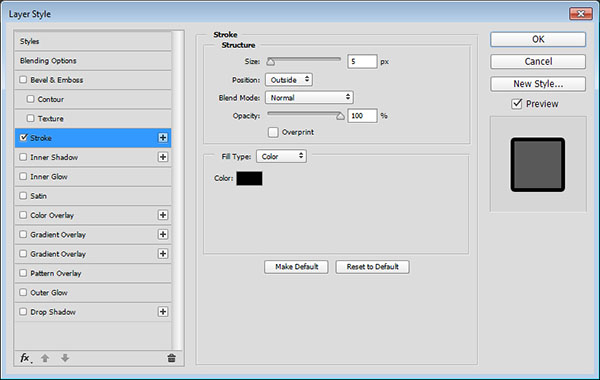
Double-click the brush layer to apply a Stroke effect using the following settings:
Size: 5
Color: #000000
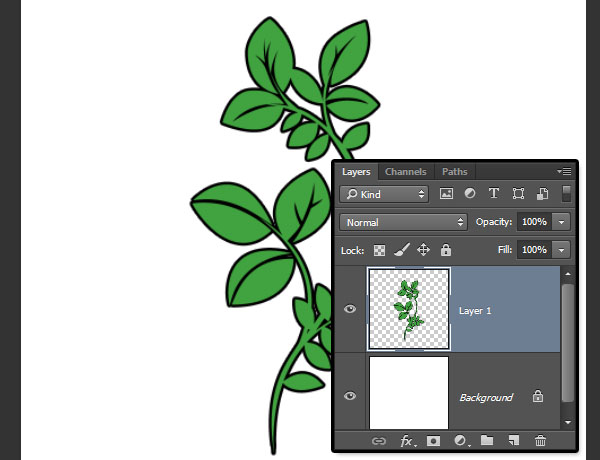
Step 3
Right-click the styled layer and choose Rasterize Layer Style.
7. Create the Text
Step 1
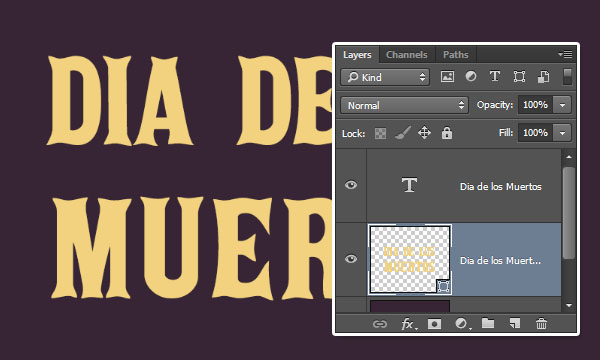
Create a new 1024 x 845px document, and fill the Background with the color #372535.

Step 2
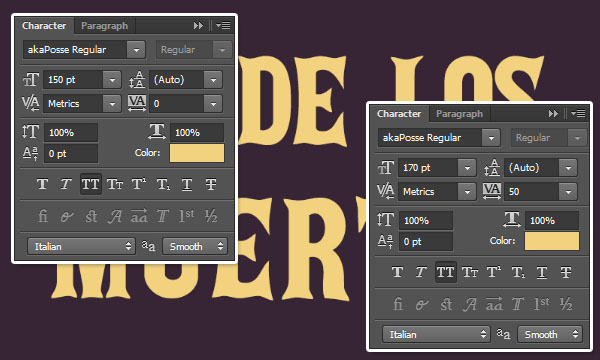
Create the Text in All Caps using the font Aka Posse and the Color #f2d27f.
The Size of the first line of text is 150 pt. For the second line, you will need to choose a slightly bigger Size—here it is 170pt—and set the Tracking value to something around 50.
Step 3
Duplicate the text layer, drag the copy below the original, and then right-click it and choose Convert to Shape.
 爱你不要你
爱你不要你
-
 Photoshop制作复古风格的老照片效果【英】2018-04-23
-
 Photoshop合成长着创意大树的长颈鹿【英】2018-04-23
-
 Photoshop合成冰冻特效的金鱼场景【英】2018-02-10
-
 Photoshop合成梦幻风格的森林场景【英】2018-02-10
-
 Photoshop合成正在施法的巫师【英】2018-02-10
-
 Photoshop制作金属质感的3D立体字【英】2018-01-09
-
 Photoshop设计火焰燃烧艺术字教程【英】2018-01-09
-
Photoshop制作复古风格的老照片效果【英】
相关文章11882018-04-23
-
 Photoshop制作黄金质感立体字【英】
相关文章7422018-02-10
Photoshop制作黄金质感立体字【英】
相关文章7422018-02-10
-
 Photoshop制作惊艳大气的3D立体字
相关文章14682018-02-10
Photoshop制作惊艳大气的3D立体字
相关文章14682018-02-10
-
 Photoshop制作复古双重曝光字体
相关文章6532018-01-09
Photoshop制作复古双重曝光字体
相关文章6532018-01-09
-
 Photoshop制作木地板LOGO刻印效果【英】
相关文章19272018-01-09
Photoshop制作木地板LOGO刻印效果【英】
相关文章19272018-01-09
-
Photoshop制作金属质感的3D立体字【英】
相关文章4612018-01-09
-
Photoshop设计火焰燃烧艺术字教程【英】
相关文章7612018-01-09
-
 Photoshop制作可爱的糖果饼干字【英】
相关文章6722017-12-25
Photoshop制作可爱的糖果饼干字【英】
相关文章6722017-12-25
