Photoshop设计火焰燃烧艺术字教程【英】(6)
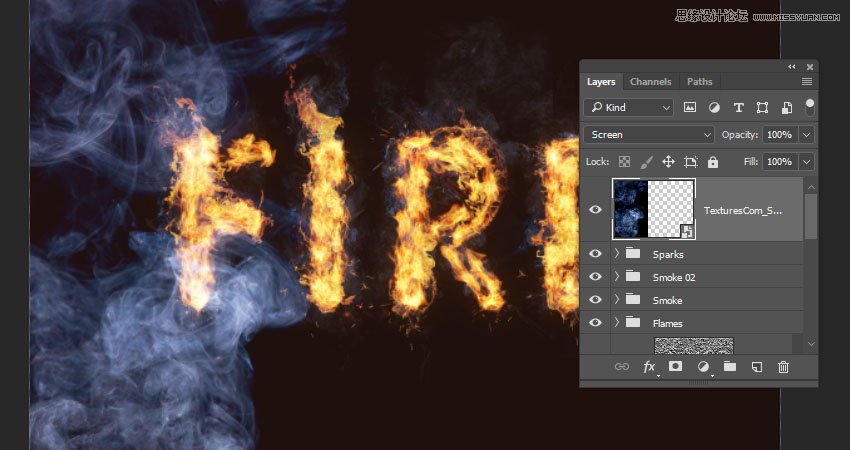
文章来源于 Tutsplus,感谢作者 Rose 给我们带来经精彩的文章!13. How to Add Smoke to a Background
Step 1
Place a new smoke image on top of all layers and change its layer's Blend Mode to Screen.
Resize the image to fill one side of the document.
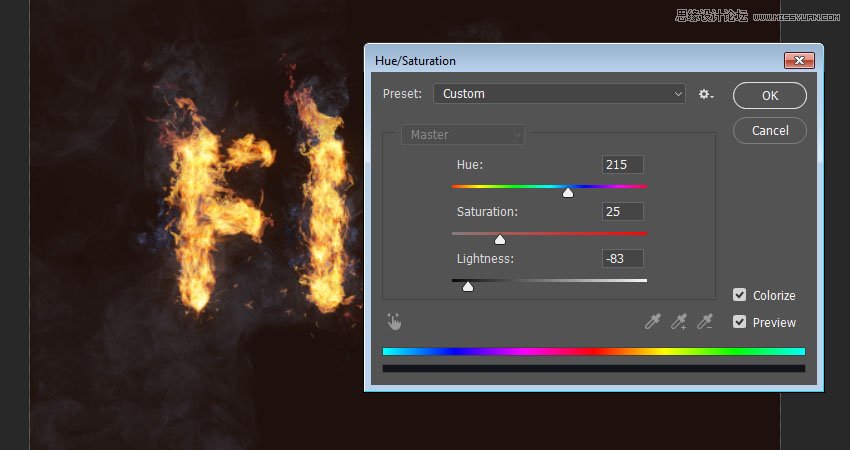
Step 2
Press Command-U to adjust the Hue/Saturation. Check the Colorize box, and change the Hue to 215, the Saturation to 25, and the Lightness to -83.
Keep in mind that these values are the ones used in the tutorial, but you can always tweak them to suit your work and images.
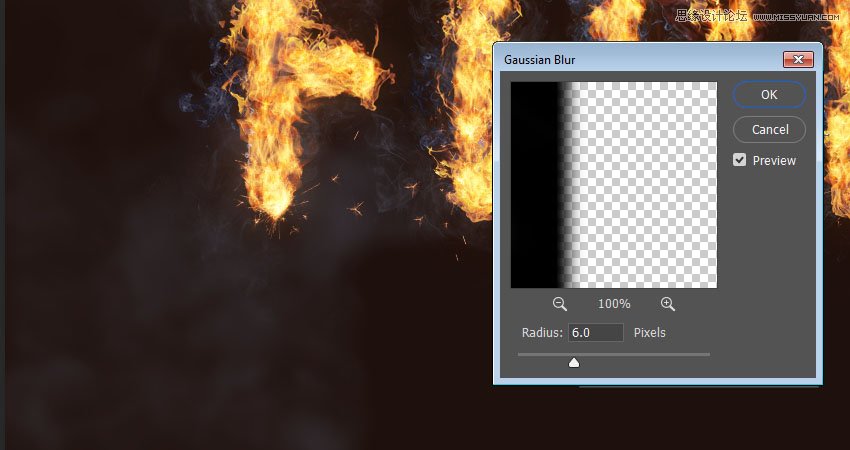
Step 3
Go to Filter > Blur > Gaussian Blur, and set the Radius to 6. The aim here is to create a subtle foggy effect all around the text.
Step 4
Repeat the same steps to add a couple more smoke images.
Step 5
You can also add some more behind the text.
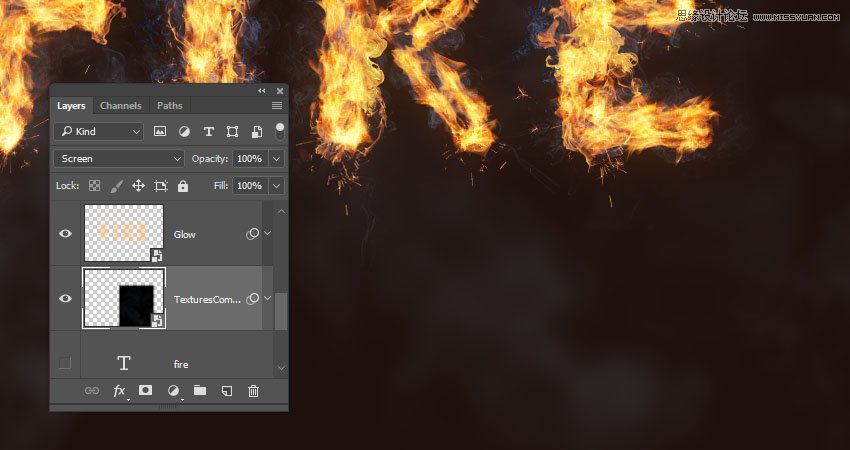
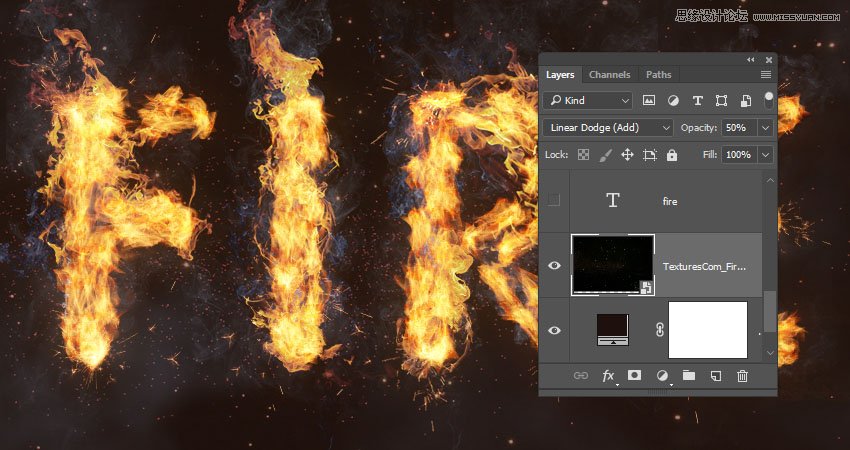
14. How to Add a Background Texture
Step 1
Place the Fireworks0017 - Image 2 texture on top of the Solid Color layer, and change its layer's Blend Mode to Linear Dodge (Add) and its Opacity to 50%.
Transform the texture as needed to fill the background.
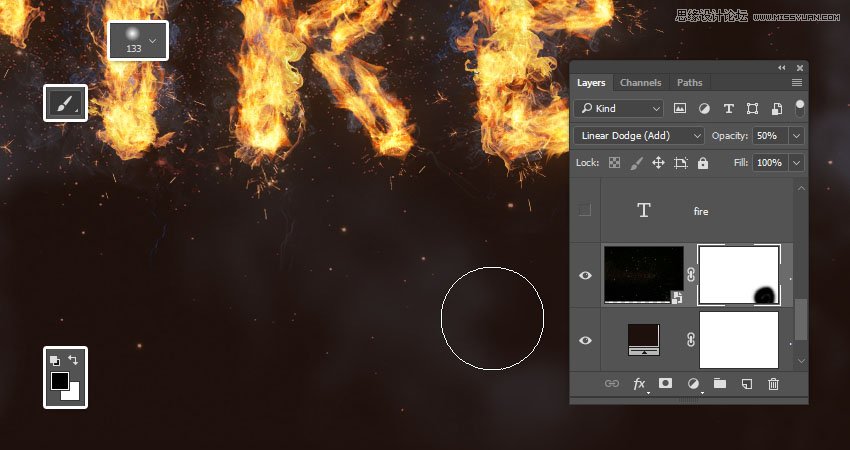
Step 2
If you want to get rid of any parts of the texture, click the Add layer mask icon at the bottom of the Layerspanel, and make sure to select the mask's thumbnail.

Step 3
Set the Foreground Color to Black, pick the Brush Tool, and choose a soft round tip. Paint over any areas you want to erase.
15. How to Apply Final Adjustments
Step 1
Click the Create new fill or adjustment layer icon at the bottom of the Layers panel and choose Color Lookup.
Choose FoggyNight.3DL from the 3DLUT File menu, and change the layer's Opacity to 10%.

Advertisement
Step 2
Select the Flame Texture layer, and go to Filter > Blur > Gaussian Blur and set the Radius to 3 so that the texture is not as harsh.

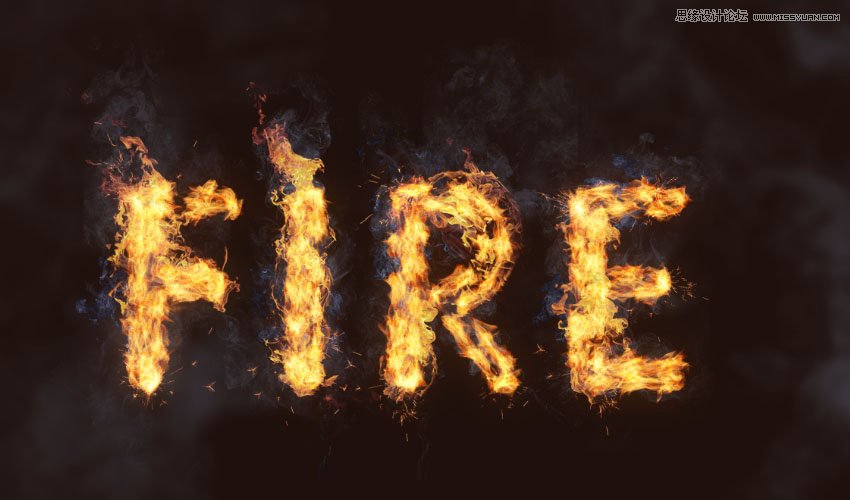
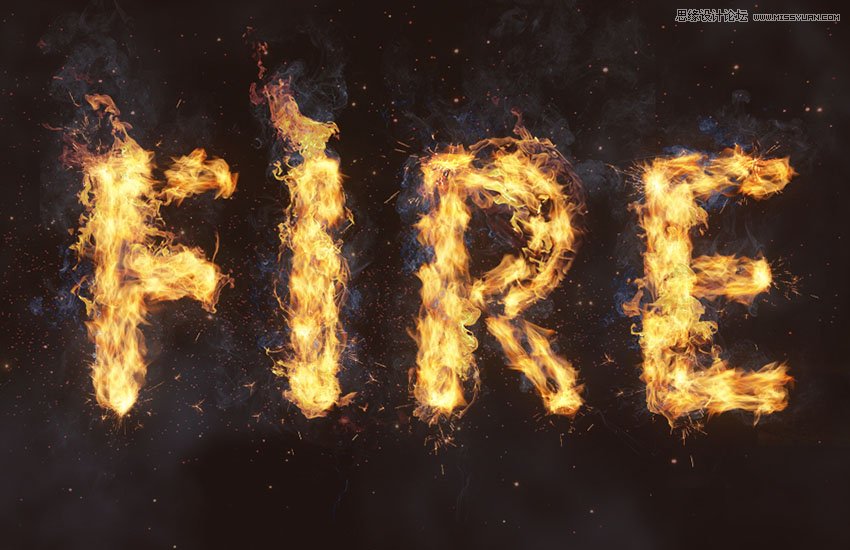
Congratulations! You're Done
In this tutorial, we created a text work path and stroked it with flames using the Flame filter. Then, we started adding flame, smoke, and spark image textures to build up the effect. We also used blending options, filters, and adjustments to better blend everything together. Finally, we added the background and some finishing touches to finish off the effect.
Please feel free to leave your comments, suggestions, and outcomes below.
 爱你不要你
爱你不要你
-
 Photoshop制作复古风格的老照片效果【英】2018-04-23
-
 Photoshop合成长着创意大树的长颈鹿【英】2018-04-23
-
 Photoshop合成冰冻特效的金鱼场景【英】2018-02-10
-
 Photoshop合成梦幻风格的森林场景【英】2018-02-10
-
 Photoshop合成正在施法的巫师【英】2018-02-10
-
 Photoshop制作金属质感的3D立体字【英】2018-01-09
-
 Photoshop设计火焰燃烧艺术字教程【英】2018-01-09
-
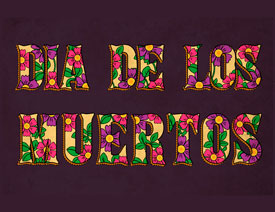 Photoshop制作复古花朵组成的艺术字【英】
相关文章3802018-01-09
Photoshop制作复古花朵组成的艺术字【英】
相关文章3802018-01-09
-
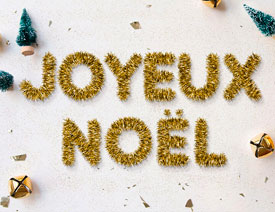 Photoshop制作毛茸茸的圣诞节字体【英】
相关文章8882017-12-16
Photoshop制作毛茸茸的圣诞节字体【英】
相关文章8882017-12-16
-
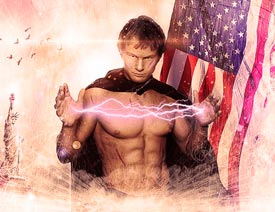 Photoshop合成创意的英雄战斗场景教程【英】
相关文章5802017-12-12
Photoshop合成创意的英雄战斗场景教程【英】
相关文章5802017-12-12
