Photoshop设计火焰燃烧艺术字教程【英】(2)
文章来源于 Tutsplus,感谢作者 Rose 给我们带来经精彩的文章!4. How to Create a Texture Overlay Layer
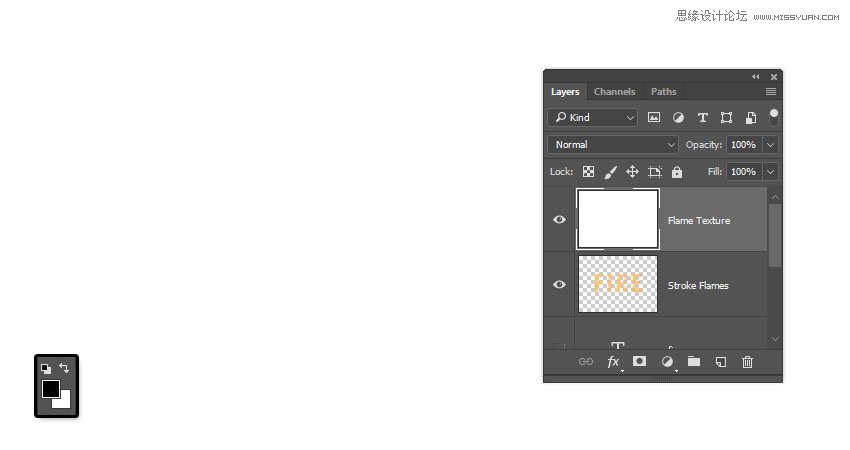
Step 1
Create a new layer on top of the Stroke Flames layer, name it Flame Texture, and fill it with White.
Make sure to set the Foreground and Background Colors to Black and White.
Step 2
Right-click the Flame Texture layer and choose Convert to Smart Object.
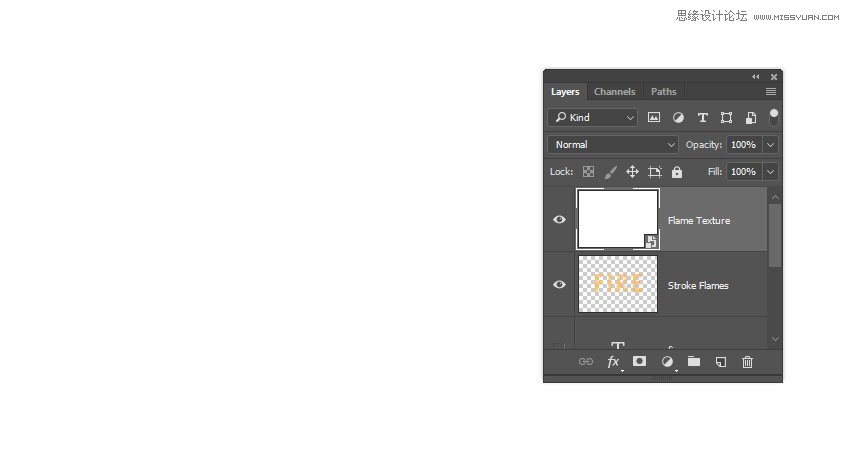
Step 3
Right-click the Flame Texture layer again and choose Create Clipping Mask.
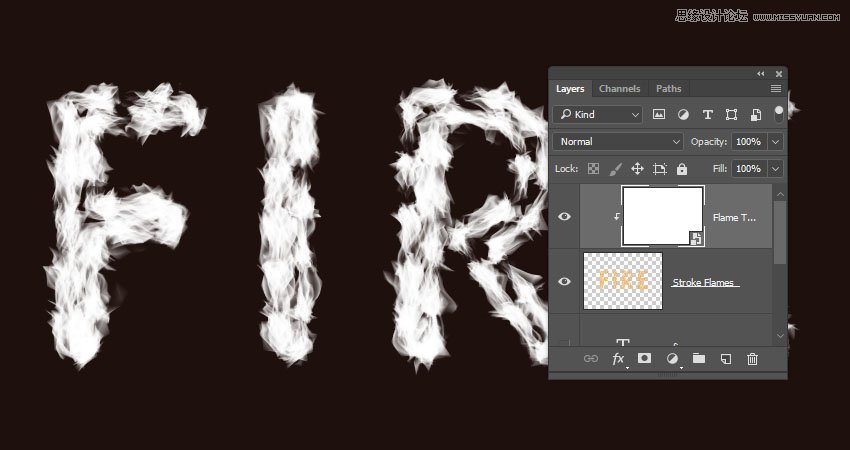
Step 4
Go to Filter > Render > Clouds.
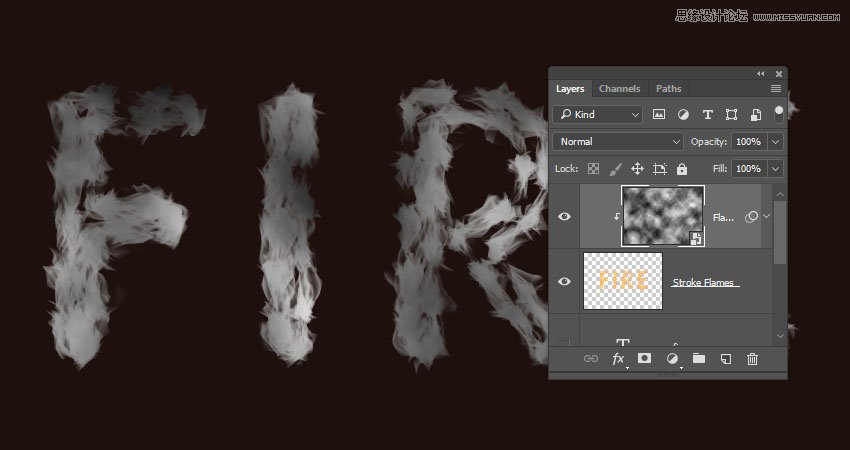
5. How to Create a Texture Using Filters
Step 1
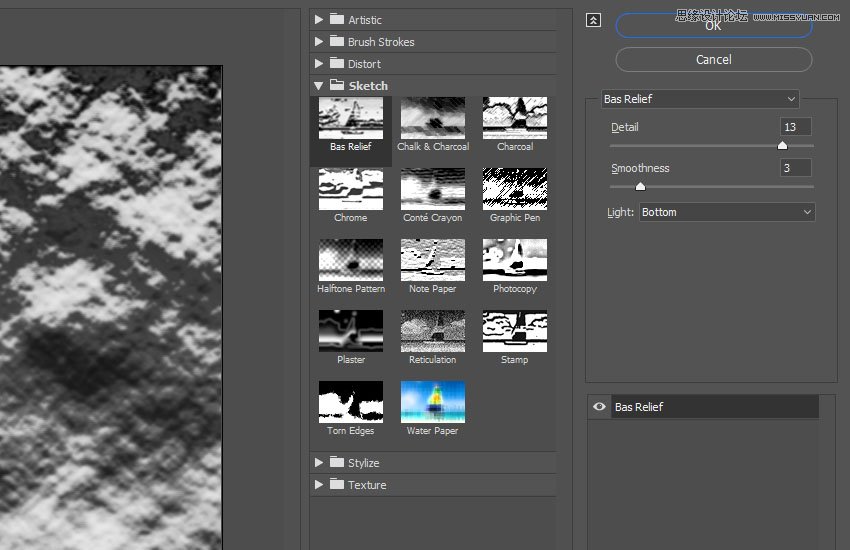
Go to Filter > Filter Gallery to apply the following Filters:
Sketch > Bas Relief
Detail: 13
Smoothness: 3
Light: Bottom
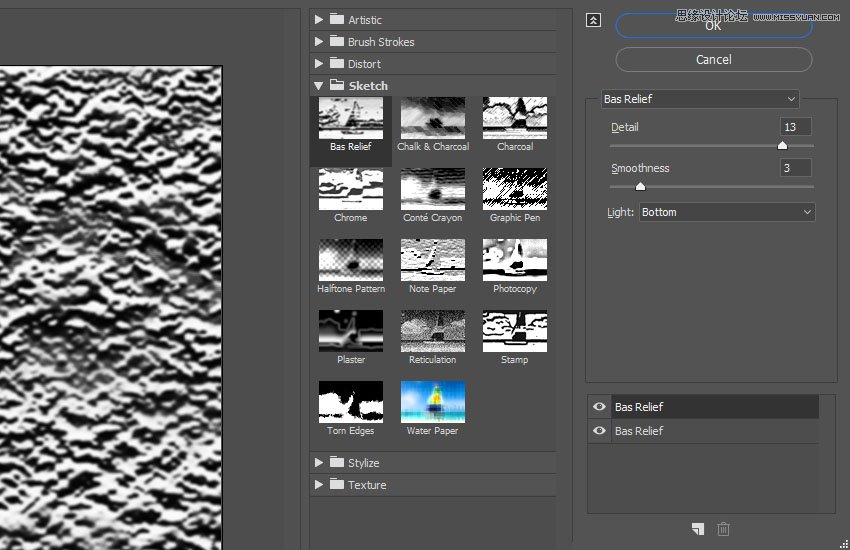
Step 2
Click the New effect layer icon in the bottom right corner to add another filter, and apply Bas Relief with the same values again.
Step 3
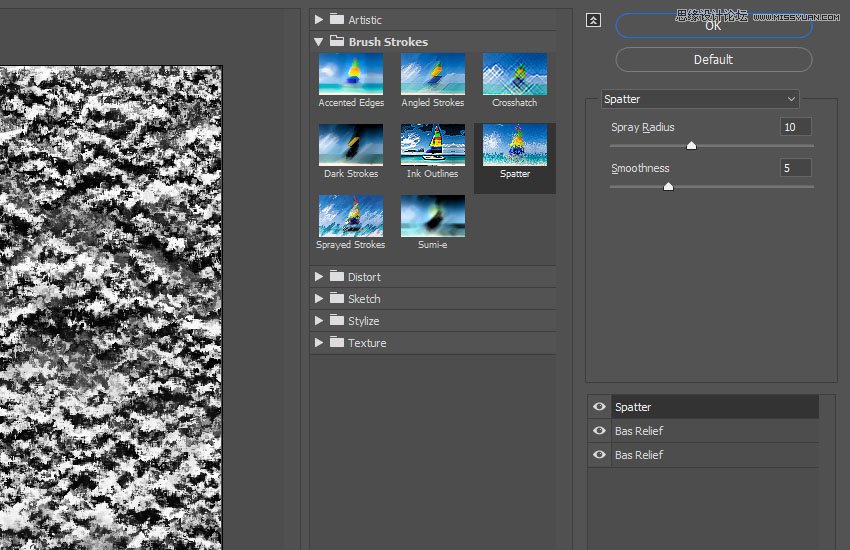
Add another new effect layer.
Brush Strokes > Spatter
Spray Radius: 10
Smoothness: 5
Click OK when done.
 爱你不要你
爱你不要你
-
 Photoshop制作复古风格的老照片效果【英】2018-04-23
-
 Photoshop合成长着创意大树的长颈鹿【英】2018-04-23
-
 Photoshop合成冰冻特效的金鱼场景【英】2018-02-10
-
 Photoshop合成梦幻风格的森林场景【英】2018-02-10
-
 Photoshop合成正在施法的巫师【英】2018-02-10
-
 Photoshop制作金属质感的3D立体字【英】2018-01-09
-
 Photoshop设计火焰燃烧艺术字教程【英】2018-01-09
-
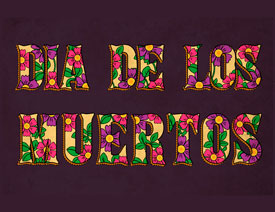 Photoshop制作复古花朵组成的艺术字【英】
相关文章3802018-01-09
Photoshop制作复古花朵组成的艺术字【英】
相关文章3802018-01-09
-
 Photoshop制作毛茸茸的圣诞节字体【英】
相关文章8882017-12-16
Photoshop制作毛茸茸的圣诞节字体【英】
相关文章8882017-12-16
-
 Photoshop合成创意的英雄战斗场景教程【英】
相关文章5802017-12-12
Photoshop合成创意的英雄战斗场景教程【英】
相关文章5802017-12-12
