Photoshop合成恐怖特效的万圣节人像【英】(6)
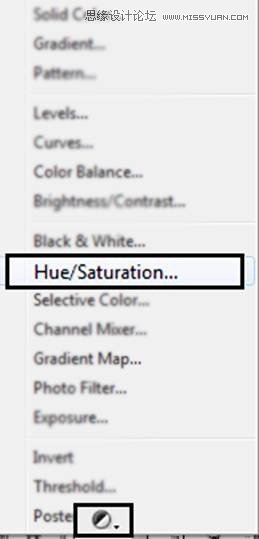
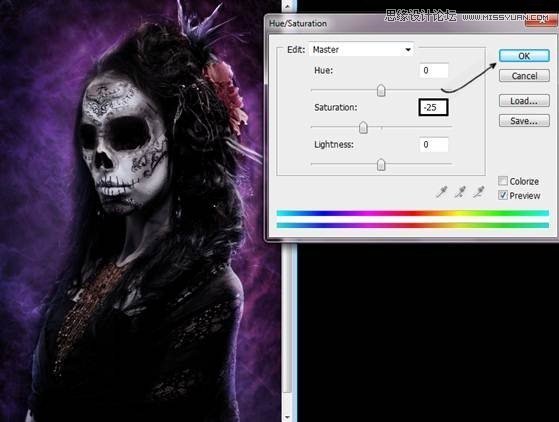
文章来源于 photoshoptutorials,感谢作者 Andrea Garcia 给我们带来经精彩的文章!Step 40 – Hue/ Saturation
Go once again to the layer menu and press the icon “Create New Fill or Adjustment Layer”. Then press the option Hue/ saturation.
Reduce the Saturation by -25
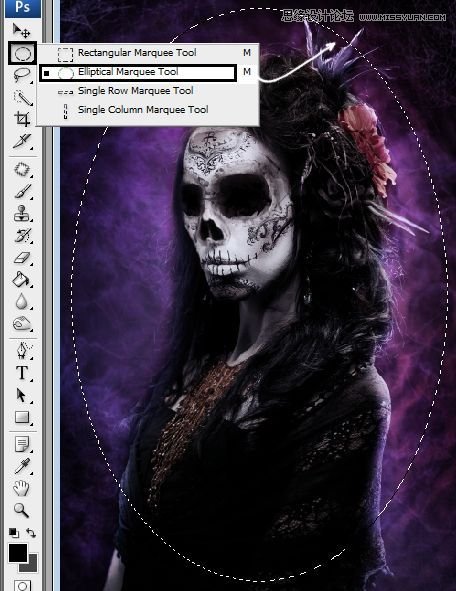
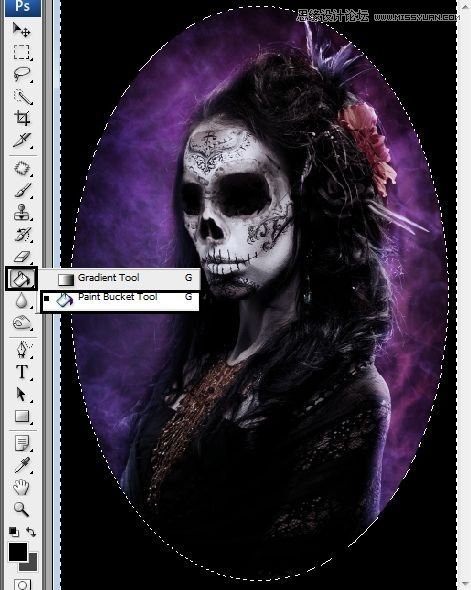
Step 41- Elliptical Marquee Tool.
Create a new layer (Shift + Ctrl + N)Pick the Elliptical Marquee Tool and make an oval around the image.
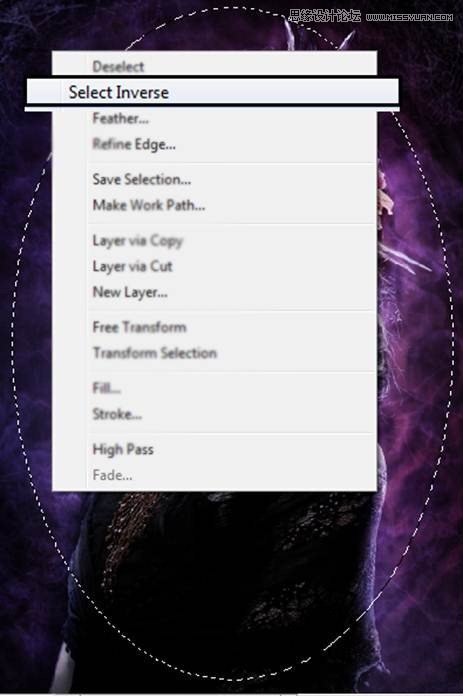
Give a right click in the image and choose the option “Select Inverse”
Step 42- A bucket of paint…
Now Choose the Paint Bucket Tool and paint in the selection.
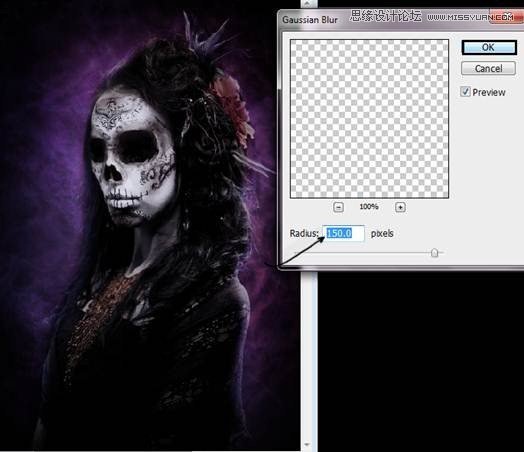
Step 43 – Fading
Used Gaussian blur to fade the selection. Go to filter – blur – Gaussian Blur. Put 150 of radius.
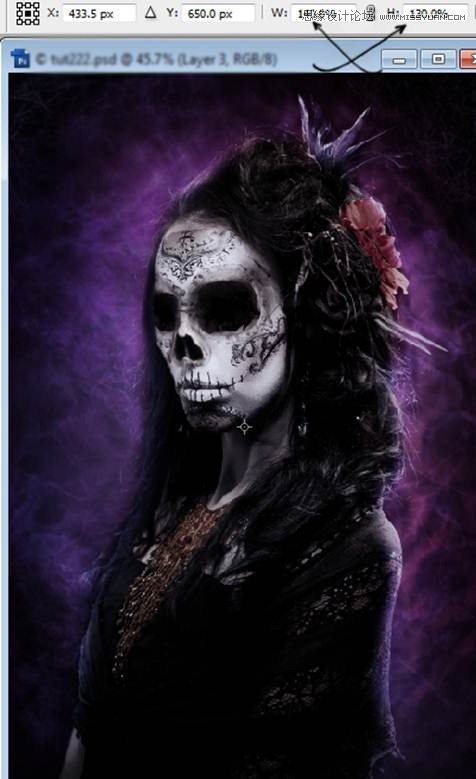
Step 44 – The final touch.
If you think the image is looking way to dark. Press (Ctrl + T) To change the size of the layer. Make it Bigger until you get the desired result.
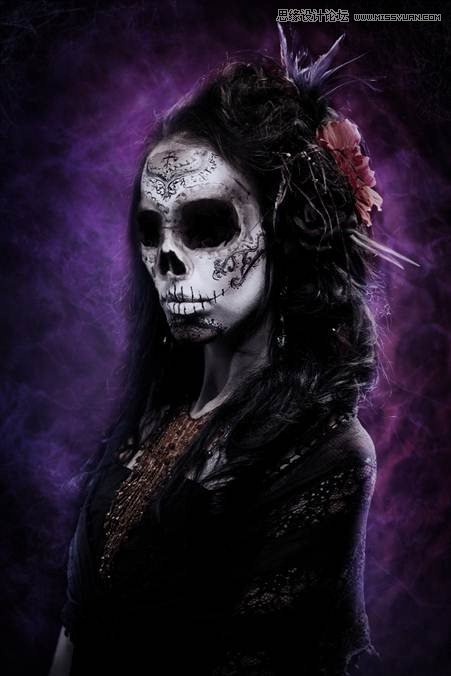
Yay!!! That’s it, Hope you enjoy following this tutorial!!
Final Results
 爱你不要你
爱你不要你
-
 Photoshop制作复古风格的老照片效果【英】2018-04-23
-
 Photoshop合成长着创意大树的长颈鹿【英】2018-04-23
-
 Photoshop合成冰冻特效的金鱼场景【英】2018-02-10
-
 Photoshop合成梦幻风格的森林场景【英】2018-02-10
-
 Photoshop合成正在施法的巫师【英】2018-02-10
-
 Photoshop制作金属质感的3D立体字【英】2018-01-09
-
 Photoshop设计火焰燃烧艺术字教程【英】2018-01-09
-
Photoshop合成冰冻特效的金鱼场景【英】
相关文章34052018-02-10
