Photoshop合成恐怖特效的万圣节人像【英】(5)
文章来源于 photoshoptutorials,感谢作者 Andrea Garcia 给我们带来经精彩的文章!Step 32- Crazy Layer
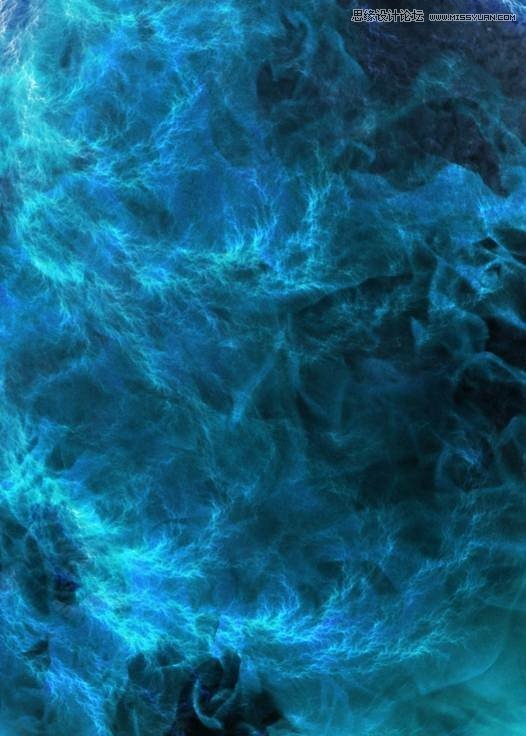
Add a Layer like this one:
Step 33 – More effects
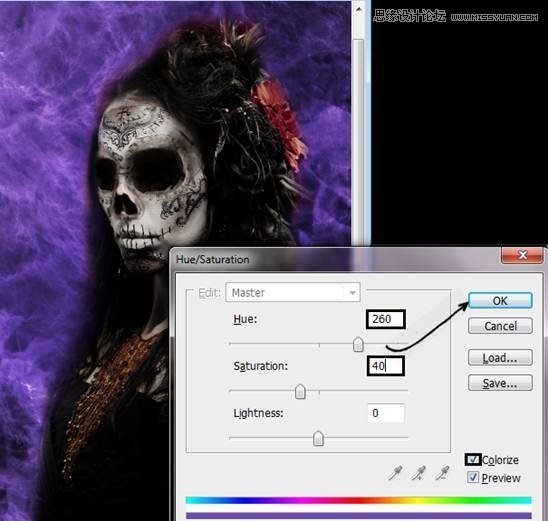
Change the layer color (ctrl + u) or Image – Adjustments – Hue/ Saturation. Use the menu In colorize option. Then in Hue change it to: 260 and Saturation at: 40.
Step 34- change layer mode
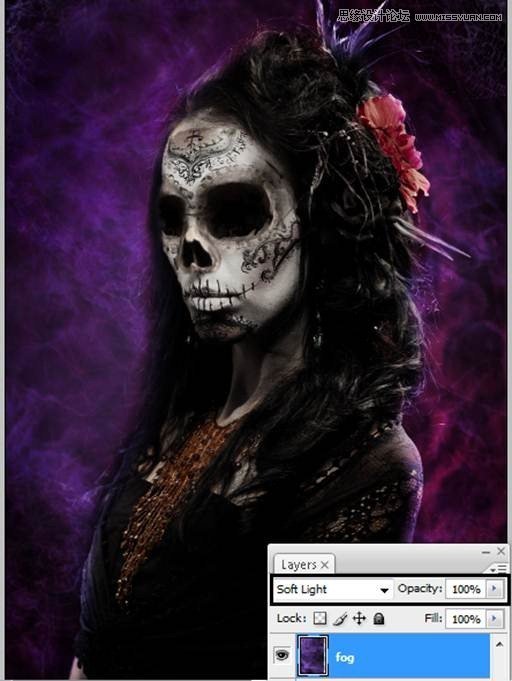
Use Layer in soft light mode
Step 35 – Light
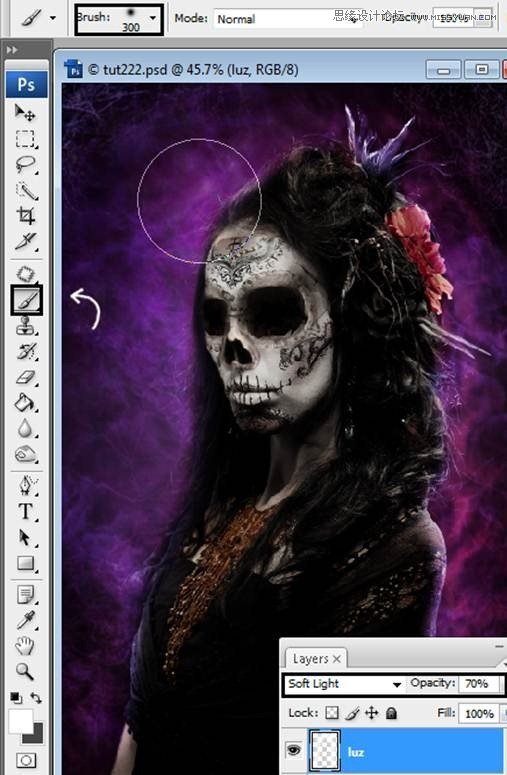
Add a new layer (Shift+ Ctrl + N) and use it in soft light mode with 70% of opacity. And paint around the model with a white soft brush.The diameter of the brush in this was 300 pixels.
Step 36 – more lights
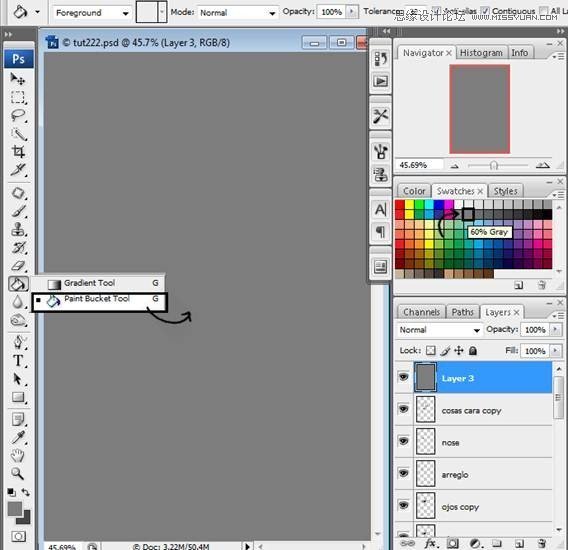
Create a new layer (Shift +Ctrl + N) in the top. Then used the paint bucket to apply gray to the layer.
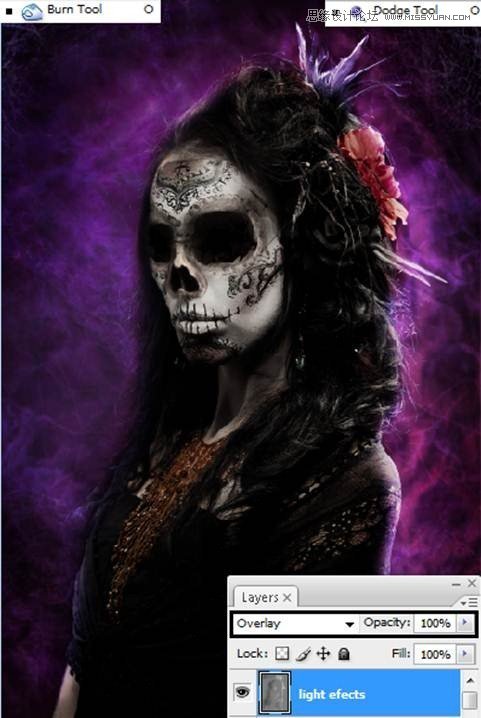
Step 37 – change to overlay and paint with dodge and burn
Used layer mode in overlay, and paint with dogde tool to create light and with burn tool to create shadows. In this case use the dodge tool in the righ side and the burn tool in the left side.
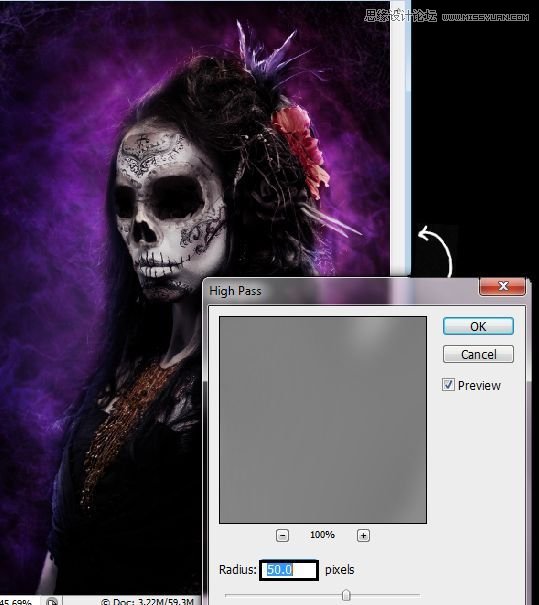
Step 38- High Pass
In that same layer apply a High Pass Filter. To do that go to Filter- Other – High Pass. Change the Radius to 50.0 and press ok to see the changes.
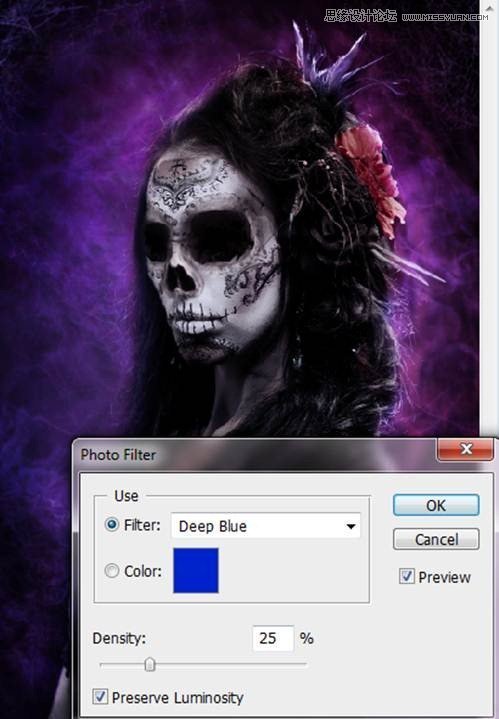
Step 39 – Photo Filter
Apply a photo filter to the image. Go to the layer menu and press the icon “Create New Fill or Adjustment Layer”. Then press the option Photo Filter.
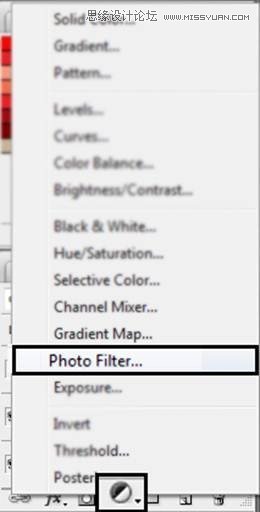
Then find the photo filter Deep Blue and press Ok.
 爱你不要你
爱你不要你
-
 Photoshop制作复古风格的老照片效果【英】2018-04-23
-
 Photoshop合成长着创意大树的长颈鹿【英】2018-04-23
-
 Photoshop合成冰冻特效的金鱼场景【英】2018-02-10
-
 Photoshop合成梦幻风格的森林场景【英】2018-02-10
-
 Photoshop合成正在施法的巫师【英】2018-02-10
-
 Photoshop制作金属质感的3D立体字【英】2018-01-09
-
 Photoshop设计火焰燃烧艺术字教程【英】2018-01-09
-
Photoshop合成冰冻特效的金鱼场景【英】
相关文章34052018-02-10
