Photoshop合成恐怖特效的万圣节人像【英】(2)
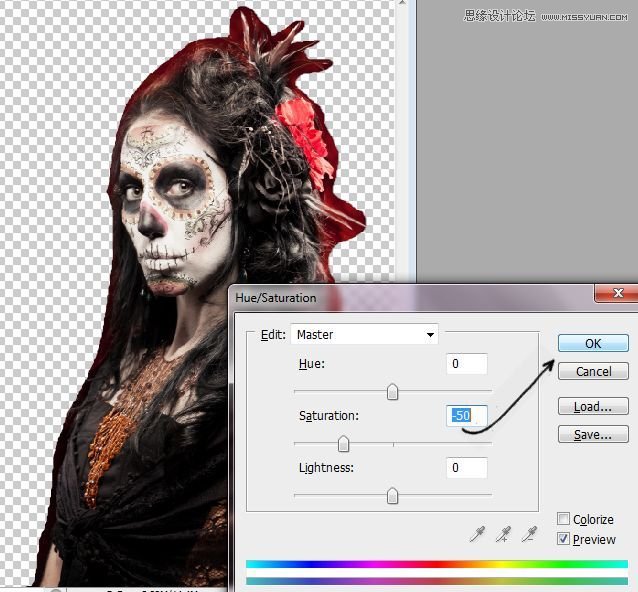
文章来源于 photoshoptutorials,感谢作者 Andrea Garcia 给我们带来经精彩的文章!Step 8- Reduce the Saturation
Press Ctrl + U. Or go to Image -> Adjustments -> Hue/ Saturation. In the option Saturation reduce at -50.
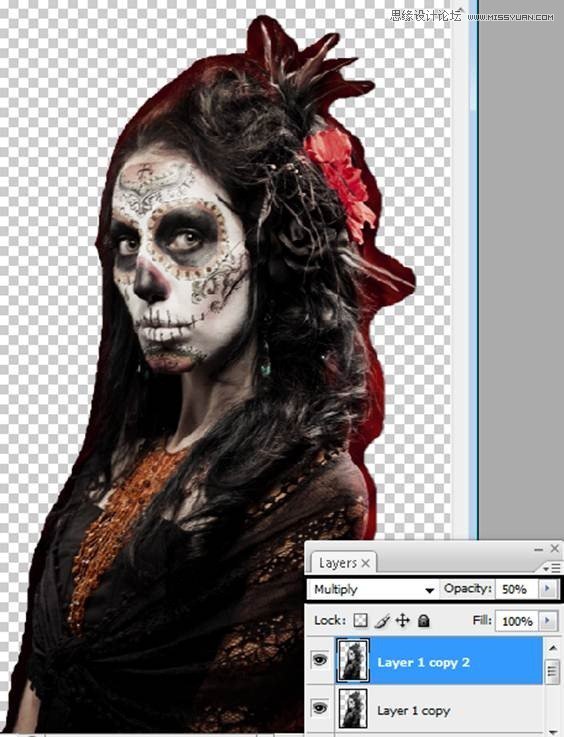
Step 9- Multiply
Duplicate once again the model’s layer, but the one you desaturate earlier(Ctrl+J). And change the mode to Multiply.
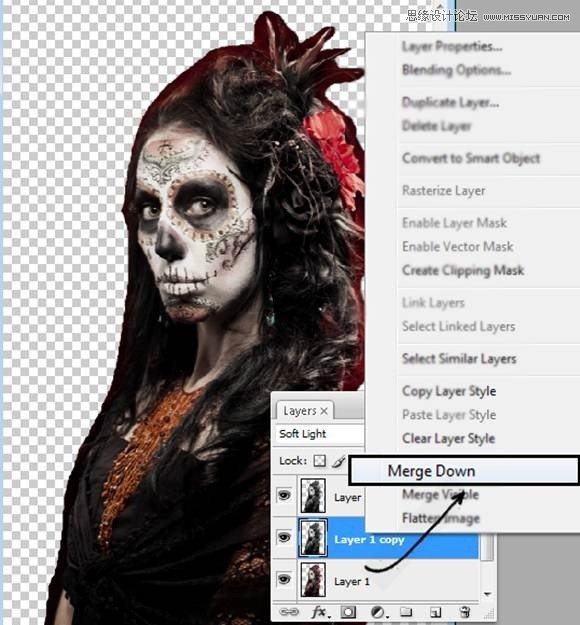
Step 10- Blending the layers.
Now you need to blend this three layer together. With the right click underneath the layer choose the option “Merge Down.” Do this also with the multiply layer. At the end you will have just one layer.
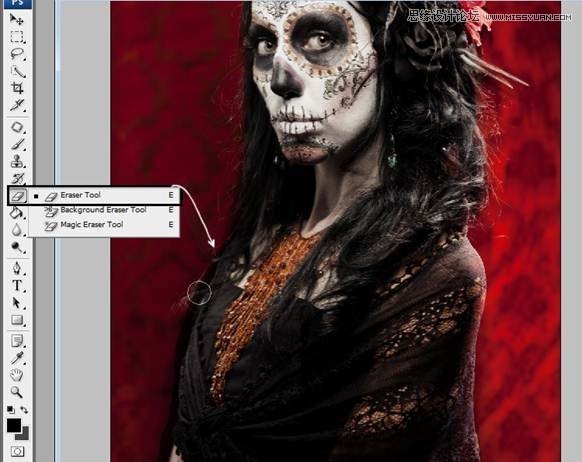
Step 11- Using eraser at the edges.
Pass the eraser tool in the model’s outline, to get a softer look at the edges.
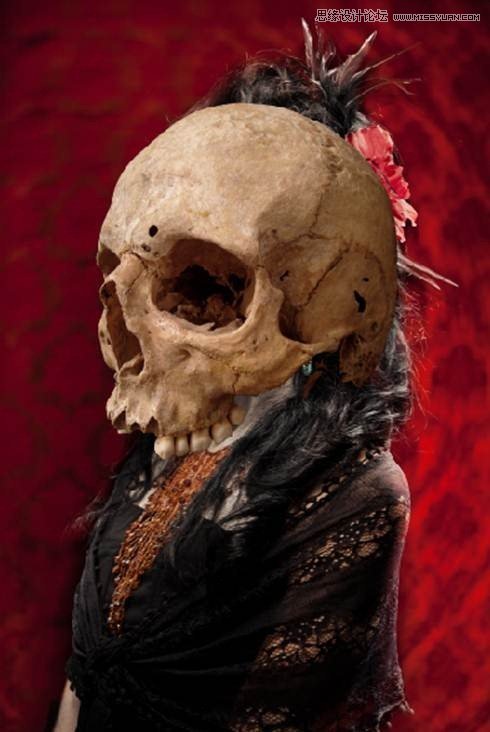
Step 12- Skull
Open the skull layer and put over the model’s face.
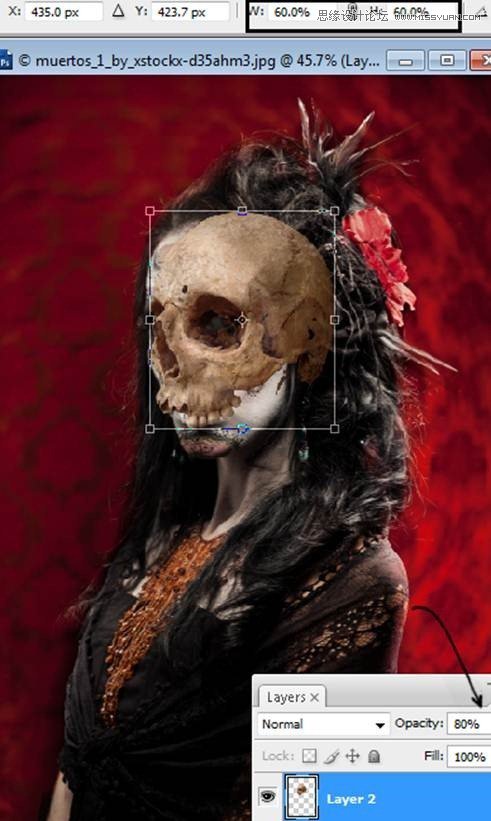
Step 13- Reduce the size of the skull
Press Ctrl+T and reduce the skull size ultil it fits with the model.You can reduce the opaticy to see through the skull layer.
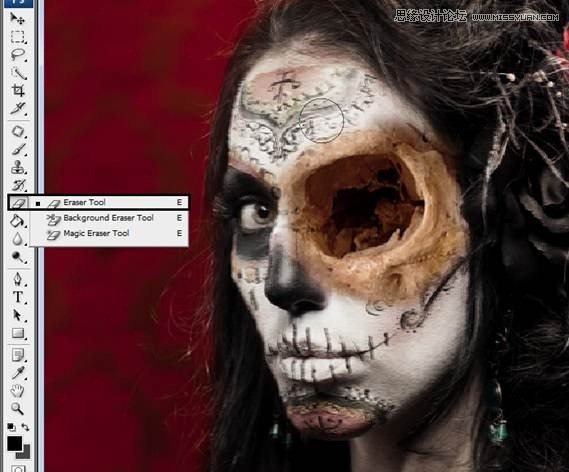
Step 14- erase the parts you don’t need
Leave just the “eye” of the skull, erase the rest with the eraser tool.
 爱你不要你
爱你不要你
-
 Photoshop制作复古风格的老照片效果【英】2018-04-23
-
 Photoshop合成长着创意大树的长颈鹿【英】2018-04-23
-
 Photoshop合成冰冻特效的金鱼场景【英】2018-02-10
-
 Photoshop合成梦幻风格的森林场景【英】2018-02-10
-
 Photoshop合成正在施法的巫师【英】2018-02-10
-
 Photoshop制作金属质感的3D立体字【英】2018-01-09
-
 Photoshop设计火焰燃烧艺术字教程【英】2018-01-09
-
Photoshop合成冰冻特效的金鱼场景【英】
相关文章34052018-02-10
