Photoshop制作梦幻耶稣光和高光背景【英】(5)
文章来源于 Tutsplus,感谢作者 Marko Kožokar 给我们带来经精彩的文章!Step 17
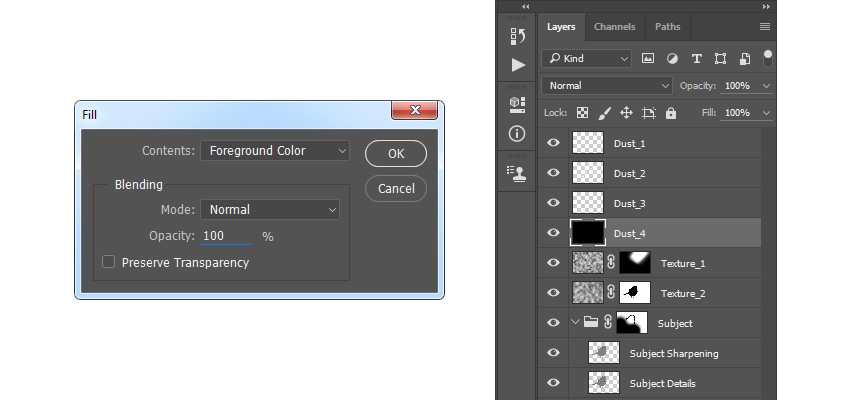
Set the foreground color to #000000, go to Edit > Fill, and set the Contents to Foreground Color, Mode to Normal, and Opacity to 100% as shown below:
Step 18
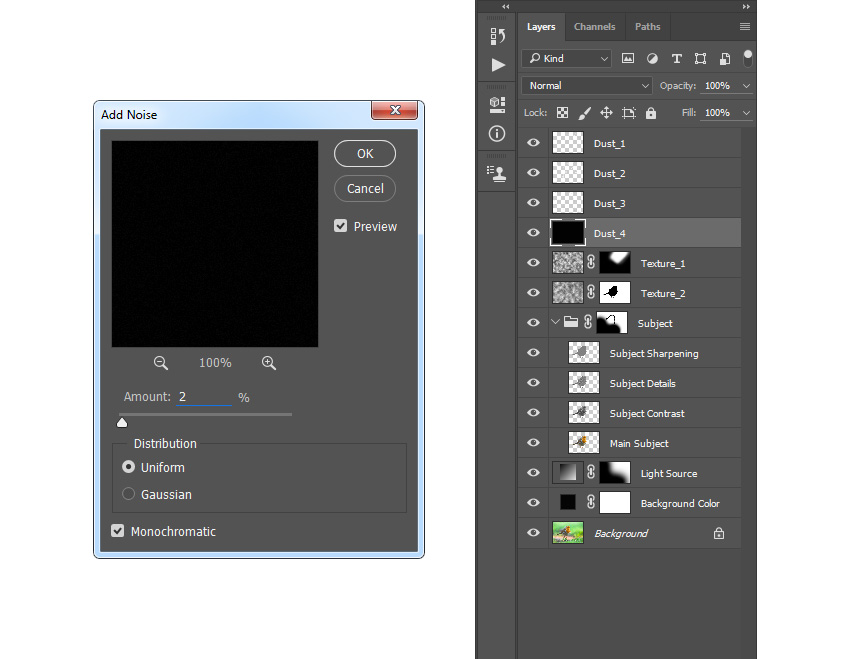
Now go to Filter > Noise > Add Noise. Set the Amount to 2% and Distribution to Uniform, and check the Monochromatic option as shown below:
Step 19
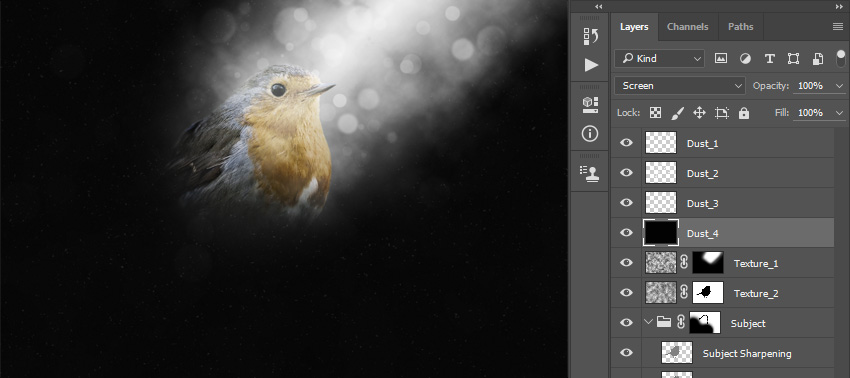
Change the Blending Mode of this layer to Screen.
7. How to Create a Color Look
Step 1
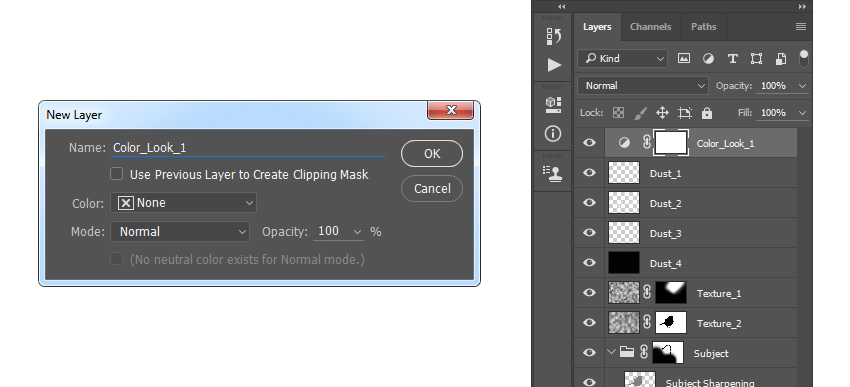
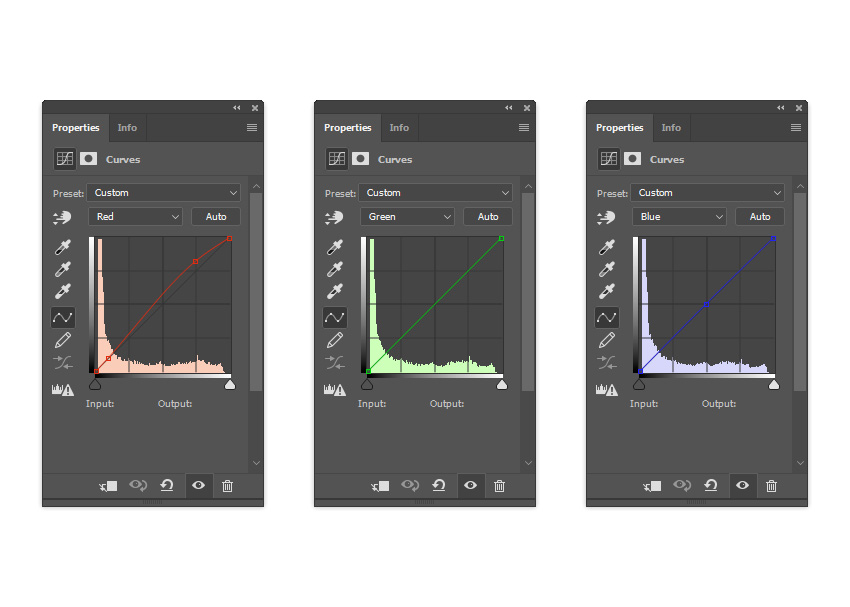
In this section, we are going to add a nice color look to the design. Select the Dust_1 layer, go to Layer > New Adjustment Layer > Curves to create a new curves adjustment layer, and name it Color_Look_1.
Step 2
Now Double-click on this layer thumbnail and in the Properties panel use the settings below:
Step 3
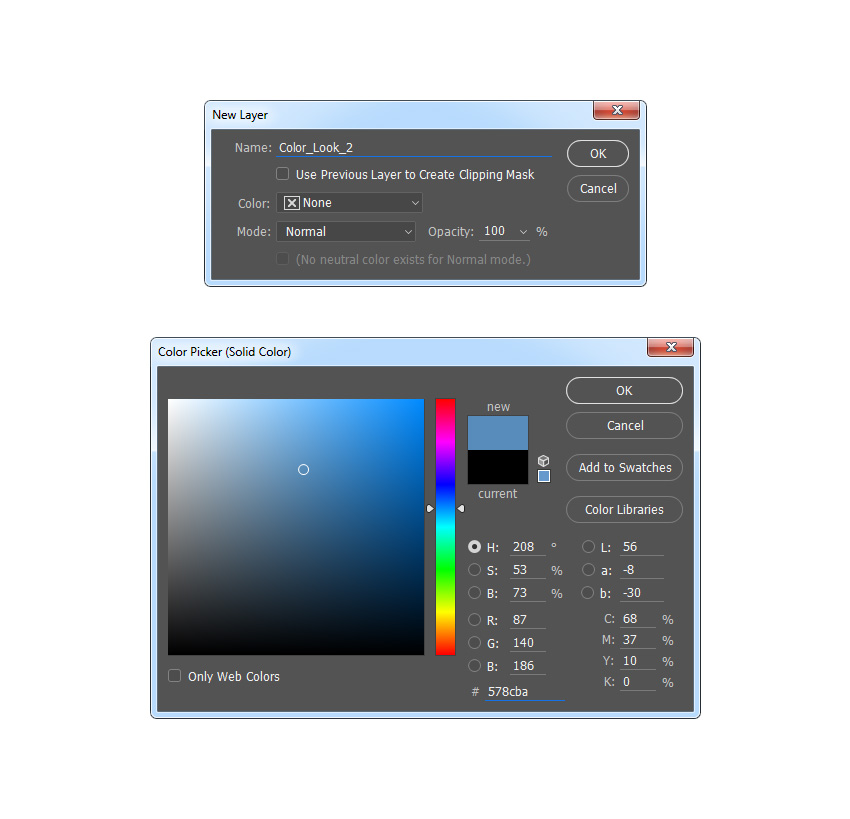
Select the Dust_1 layer, go to Layer > New Fill Layer > Solid Color to create a new solid color fill layer, name it Color_Look_2, and set the color to #578cba.
Step 4
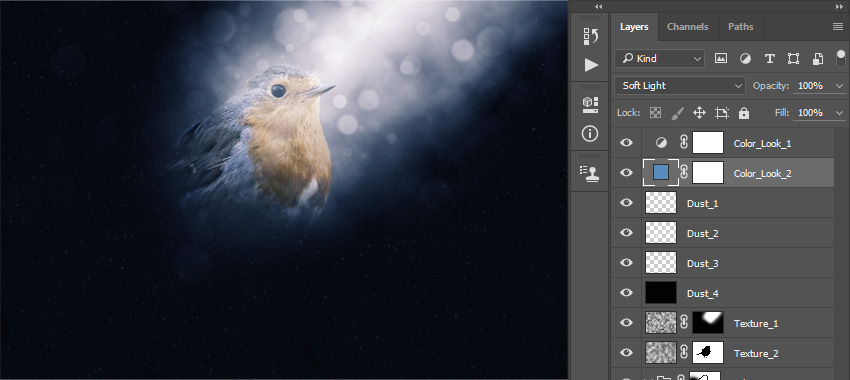
Change the Blending Mode of this layer to Soft Light.
Advertisement
8. How to Crop the Image
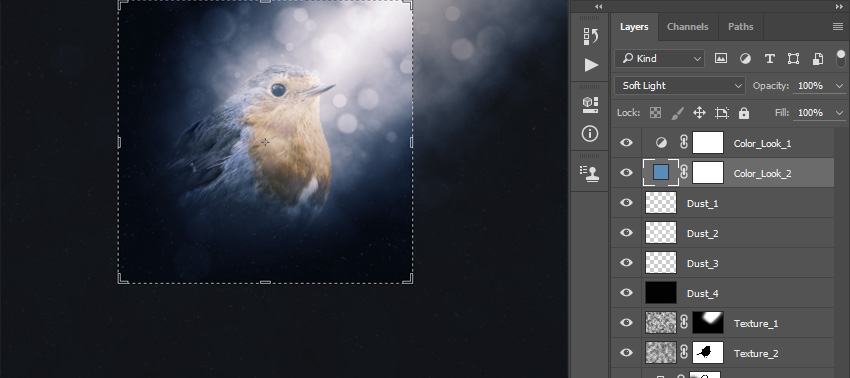
In this section, we are going to crop the image to cut some empty area of the design. Choose the Crop Tool (C) and transform the Crop Box as shown below:
You Made It!
Congratulations, you have succeeded! Here is our final result:

 爱你不要你
爱你不要你
-
 Photoshop制作复古风格的老照片效果【英】2018-04-23
-
 Photoshop合成长着创意大树的长颈鹿【英】2018-04-23
-
 Photoshop合成冰冻特效的金鱼场景【英】2018-02-10
-
 Photoshop合成梦幻风格的森林场景【英】2018-02-10
-
 Photoshop合成正在施法的巫师【英】2018-02-10
-
 Photoshop制作金属质感的3D立体字【英】2018-01-09
-
 Photoshop设计火焰燃烧艺术字教程【英】2018-01-09
-
Photoshop合成梦幻风格的森林场景【英】
相关文章24492018-02-10
-
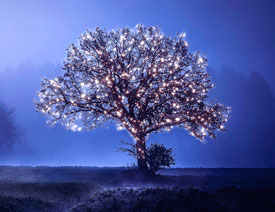 Photoshop制作星光装饰的圣诞树【英】
相关文章6472017-12-16
Photoshop制作星光装饰的圣诞树【英】
相关文章6472017-12-16
