Photoshop制作梦幻耶稣光和高光背景【英】(3)
文章来源于 Tutsplus,感谢作者 Marko Kožokar 给我们带来经精彩的文章!Step 5
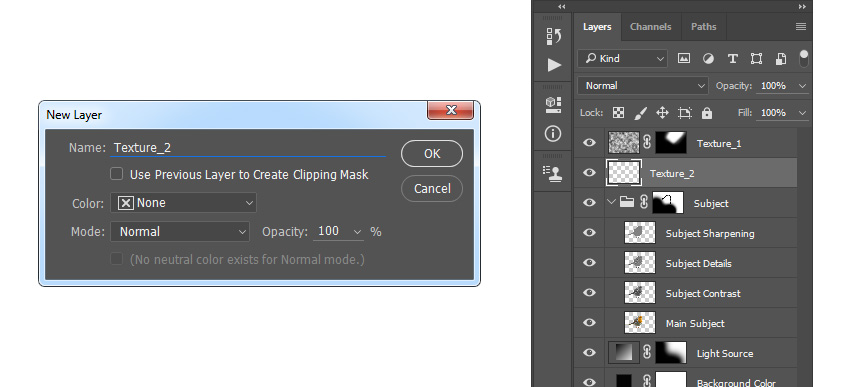
Go to Layer > New > Layer to create a new layer and name it Texture_2. Then, drag this new layer just below the Texture_1 layer.
Step 6
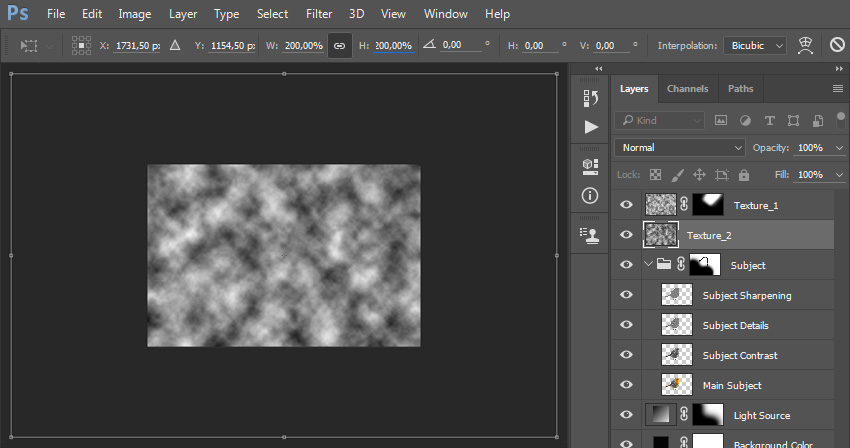
Now press D on your keyboard to reset the swatches and go to Filter > Render > Clouds. Then, pressControl-T on your keyboard and set the Width and Height to 200% as shown below:
Step 7
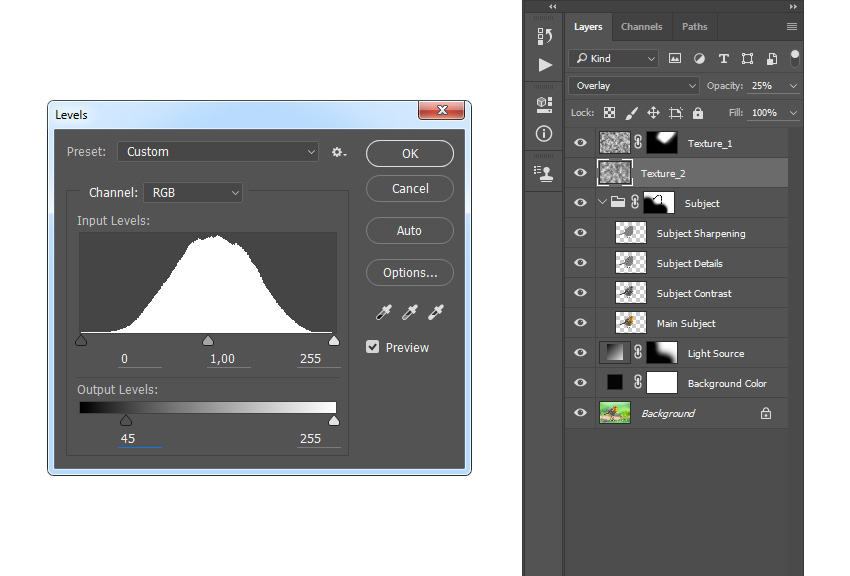
Change the Blending Mode of this layer to Overlay and set the Opacity to 25%. Then go to Image > Adjustments > Levels and use the settings below:
Step 8
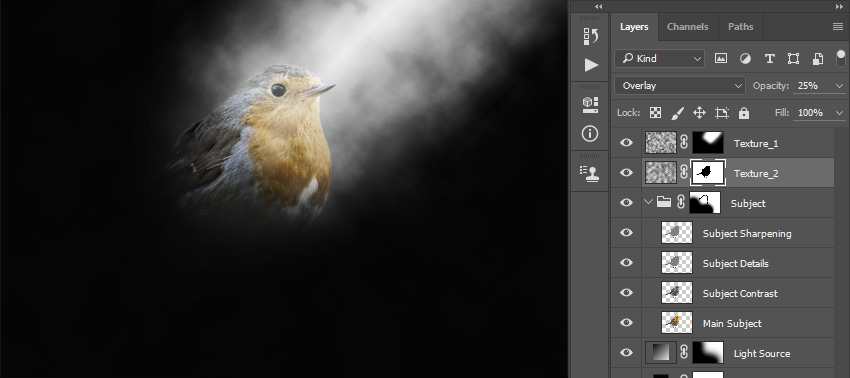
Now Control-click on the Main Subject layer thumbnail to make a selection of that layer. Then, go to Layer > Layer Mask > Hide Selection to add a layer mask that hides the selected area of the layer.
6. How to Create Dust
Step 1
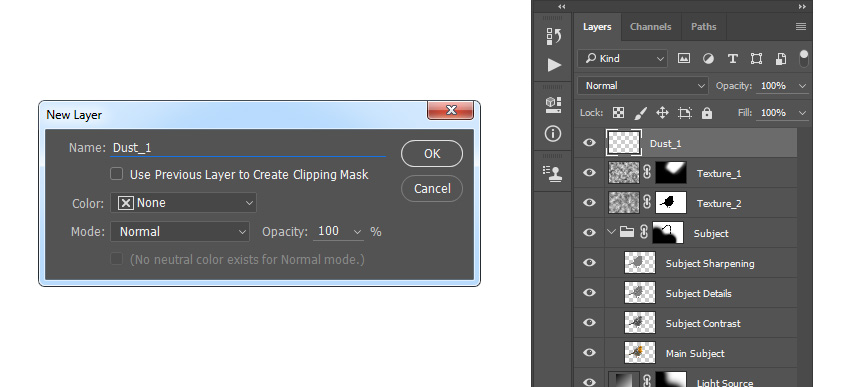
In this section, we are going to create dust. Select the Texture_1 layer, go to Layer > New > Layer to create a new layer, and name it Dust_1.
Step 2
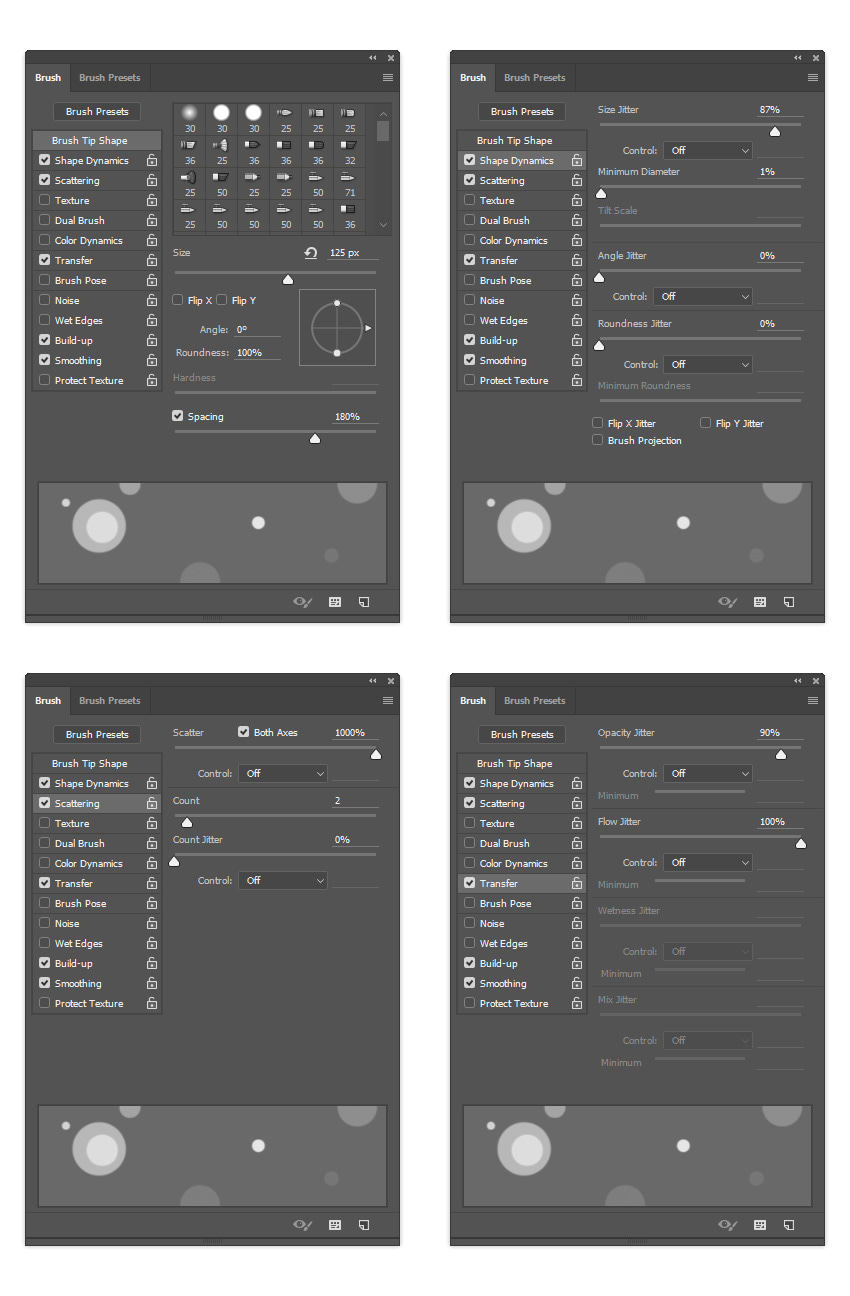
Choose the Brush Tool (B), pick a hard brush, and in the Brush panel enter the settings below:
Step 3
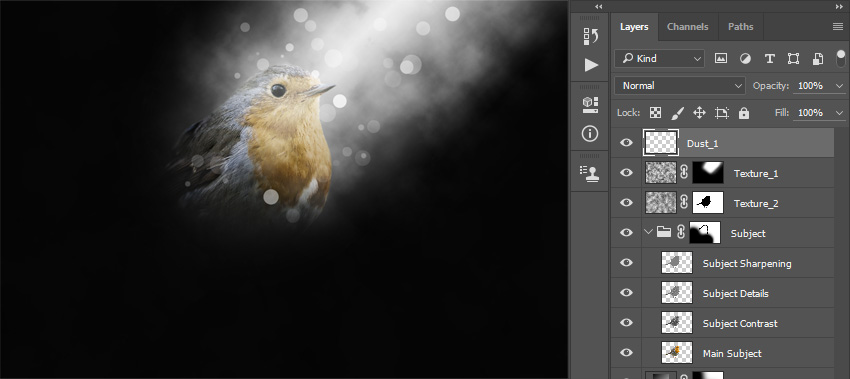
Now set the foreground color to #ffffff and brush over the light source as shown below:
Step 4
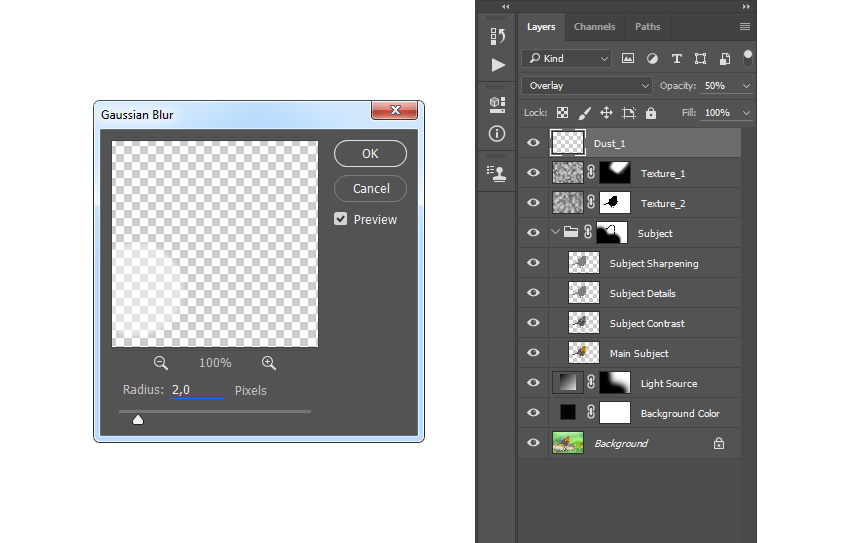
Change this layer Blending Mode to Overlay and set the Opacity to 50%. Then go to Filter > Blur > Gaussian Blur and set the Radius to 2 px.
Step 5
Now select the Texture_1 layer, go to Layer > New > Layer to create a new layer, and name it Dust_2.

 爱你不要你
爱你不要你
-
 Photoshop制作复古风格的老照片效果【英】2018-04-23
-
 Photoshop合成长着创意大树的长颈鹿【英】2018-04-23
-
 Photoshop合成冰冻特效的金鱼场景【英】2018-02-10
-
 Photoshop合成梦幻风格的森林场景【英】2018-02-10
-
 Photoshop合成正在施法的巫师【英】2018-02-10
-
 Photoshop制作金属质感的3D立体字【英】2018-01-09
-
 Photoshop设计火焰燃烧艺术字教程【英】2018-01-09
-
Photoshop合成梦幻风格的森林场景【英】
相关文章24492018-02-10
-
 Photoshop制作星光装饰的圣诞树【英】
相关文章6472017-12-16
Photoshop制作星光装饰的圣诞树【英】
相关文章6472017-12-16
