Photoshop制作复古双重曝光字体(3)
文章来源于 Tutsplus.com,感谢作者 Rose 给我们带来经精彩的文章!Step 3
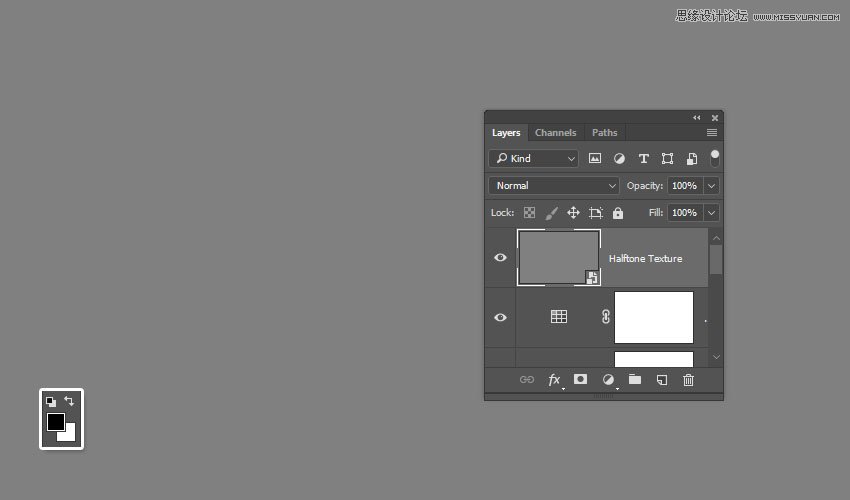
Right-click the Halftone Texture layer and choose Convert to Smart Object, and set the Foreground and Background Colors to Black and White.
Step 4
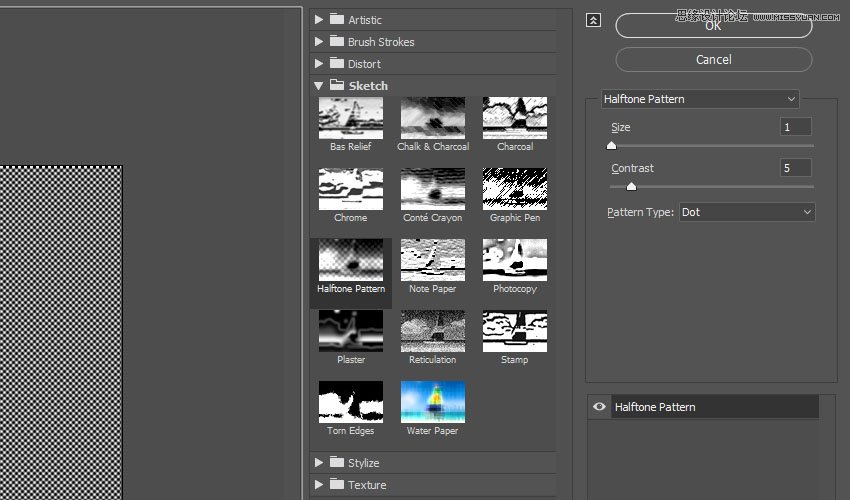
Go to Filter > Filter Gallery > Sketch > Halftone Pattern, and use these settings:
Size: 1
Contrast: 5
Pattern Type: Dot
Advertisement
Step 5
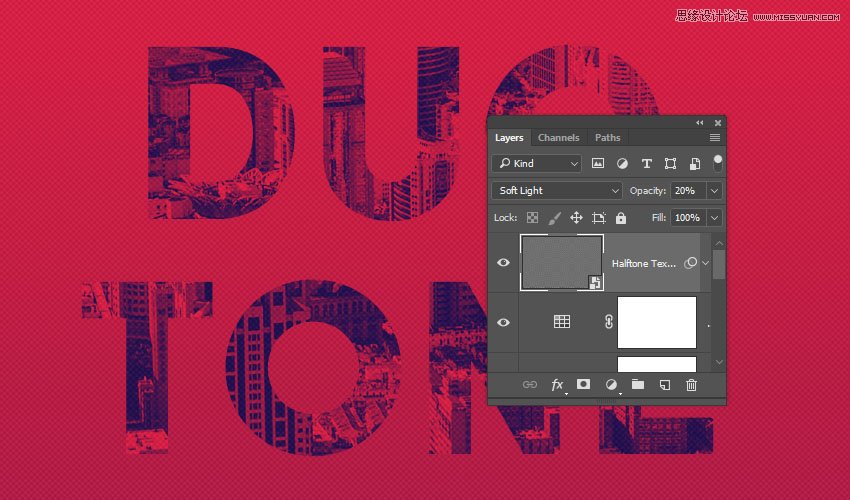
Change the Halftone Texture layer's Blend Mode to Soft Light and its Opacity to 20%.
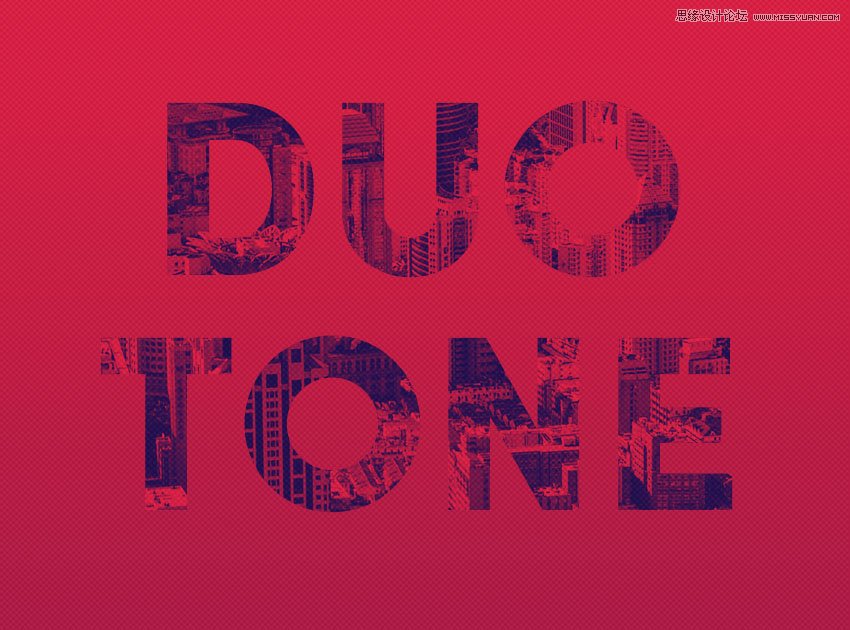
Congratulations, You're Done!
In this tutorial, we created a simple gradient background and added some text.
Then, we clipped an image texture to the text, and created the duotone effect using a gradient map.
Finally, we added some more adjustment layers to enhance the final result, and applied a halftone texture overlay.
Please feel free to leave your comments, suggestions, and outcomes below.
 爱你不要你
爱你不要你
-
 Photoshop制作复古风格的老照片效果【英】2018-04-23
-
 Photoshop合成长着创意大树的长颈鹿【英】2018-04-23
-
 Photoshop合成冰冻特效的金鱼场景【英】2018-02-10
-
 Photoshop合成梦幻风格的森林场景【英】2018-02-10
-
 Photoshop合成正在施法的巫师【英】2018-02-10
-
 Photoshop制作金属质感的3D立体字【英】2018-01-09
-
 Photoshop设计火焰燃烧艺术字教程【英】2018-01-09
-
 Photoshop制作毛茸茸的圣诞节字体【英】
相关文章8882017-12-16
Photoshop制作毛茸茸的圣诞节字体【英】
相关文章8882017-12-16
