Photoshop制作复古双重曝光字体(2)
文章来源于 Tutsplus.com,感谢作者 Rose 给我们带来经精彩的文章!设计教程/国外教程/国外教程2018-01-09
3. How to Add Global Adjustments Step 1 Add a Brightness/Contrast adjustment layer, and change the Contrast value to 15, or any value that suits your image. Step 2 Add a Color Lookup adjustment layer
3. How to Add Global Adjustments
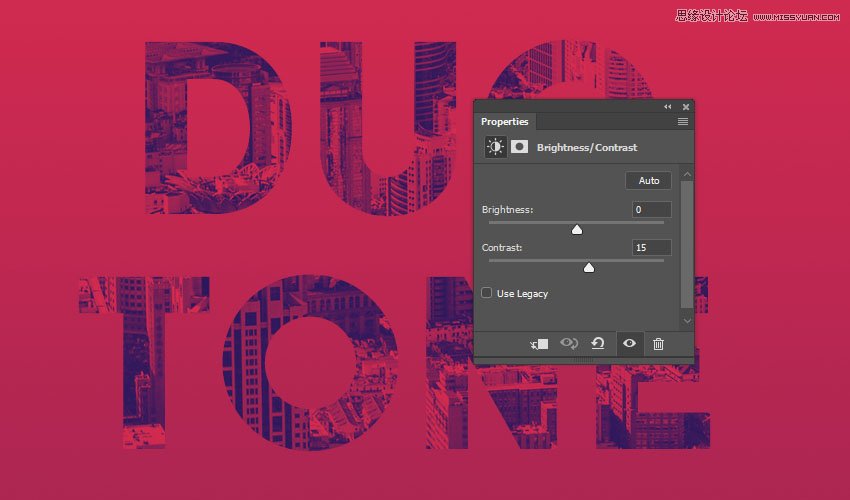
Step 1
Add a Brightness/Contrast adjustment layer, and change the Contrast value to 15, or any value that suits your image.
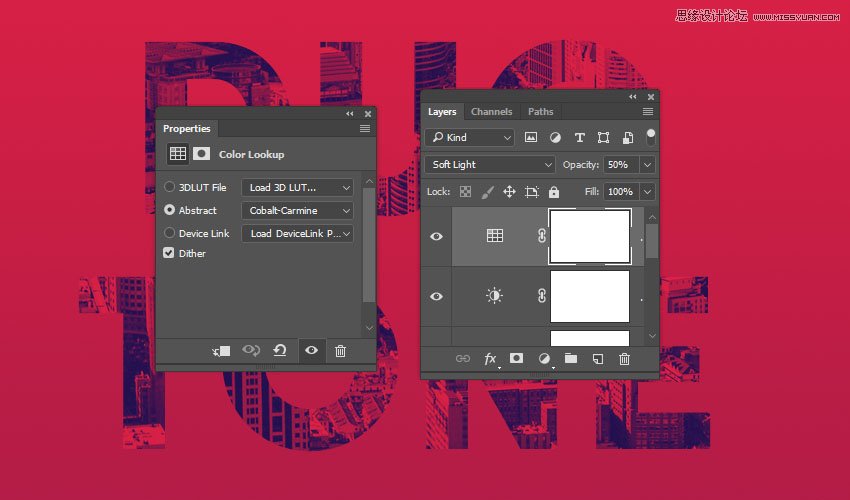
Step 2
Add a Color Lookup adjustment layer, and choose the Cobalt-Carmine table from the Abstract menu.
Change the Color Lookup layer's Blend Mode to Soft Light and its Opacity to 50%.
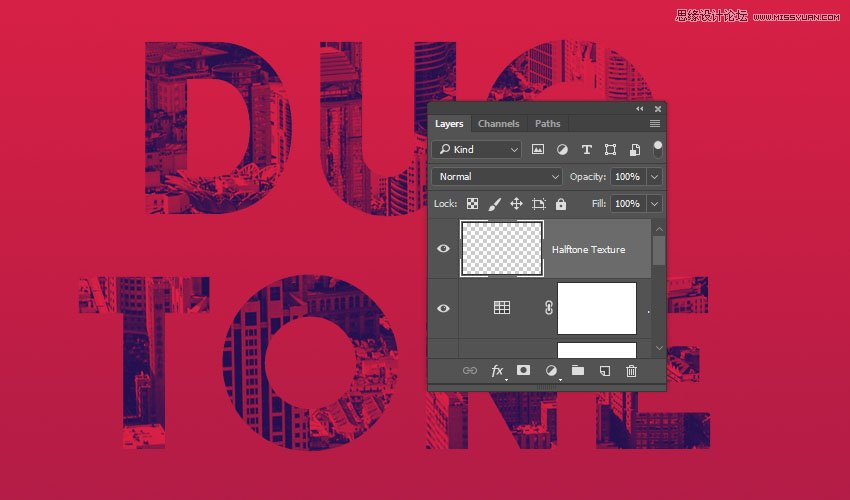
4. How to Create a Halftone Texture Overlay
Step 1
Create a new layer on top of all layers and name it Halftone Texture.
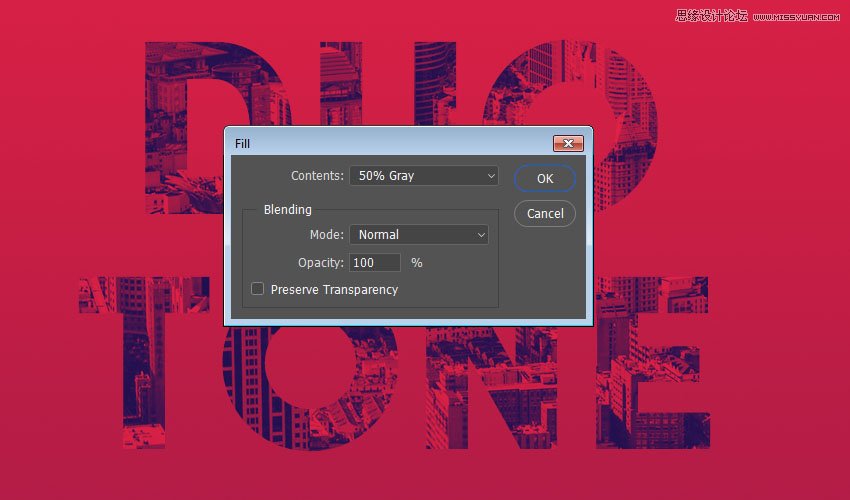
Step 2
Go to Edit > Fill, and set the Contents to 50% Gray.
 爱你不要你
爱你不要你
推荐文章
-
 Photoshop制作复古风格的老照片效果【英】2018-04-23
-
 Photoshop合成长着创意大树的长颈鹿【英】2018-04-23
-
 Photoshop合成冰冻特效的金鱼场景【英】2018-02-10
-
 Photoshop合成梦幻风格的森林场景【英】2018-02-10
-
 Photoshop合成正在施法的巫师【英】2018-02-10
-
 Photoshop制作金属质感的3D立体字【英】2018-01-09
-
 Photoshop设计火焰燃烧艺术字教程【英】2018-01-09
热门文章
-
 Photoshop制作毛茸茸的圣诞节字体【英】
相关文章8882017-12-16
Photoshop制作毛茸茸的圣诞节字体【英】
相关文章8882017-12-16
