Photoshop绘制逼真的油漆毛刷(6)
文章来源于 ICONFANS,感谢作者 LDL 给我们带来经精彩的文章!Step 36
I want to add some scratches to the bush’s handle for some addedrealism. To do this, open a new document and make a thin brush stoke. Selectthe stroke and go to Edit > Define Brush Preset to make it into a brush.
我想在刷柄上添加一些刮痕,这样就增加了一些真实感。为了达到这点,打开一个新的文档,做个很薄的笔触。选定这个点并进行编辑>定义画笔预设,使之成为一笔刷。

Step 37
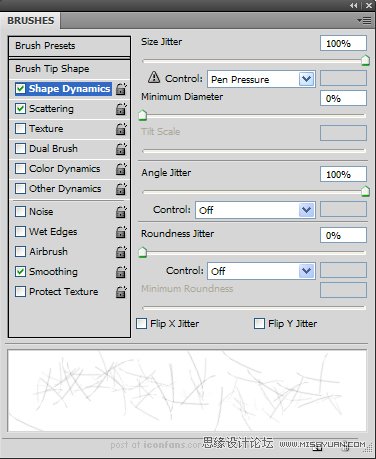
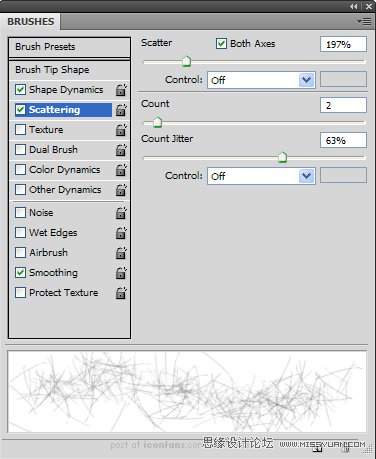
Open your Brush Panel and adjust the settings to give the new brush variable size and scatter.
打开你的刷子面板,调节设置刷子的可变尺寸和分散度。

Step 38
Back to the main document, on an new clipping layer, use the scratchesbrush we just created to draw black scratches on the grip.
回到主文档,在一个新的剪切层上,用我们之前建好的带有刮痕的刷子,在把手上画制黑色刮痕。
Step 39
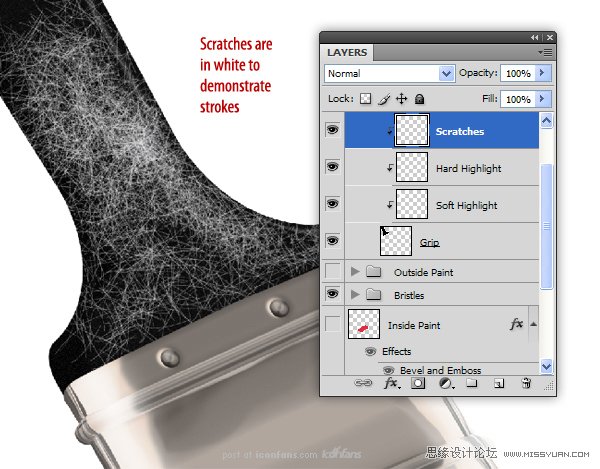
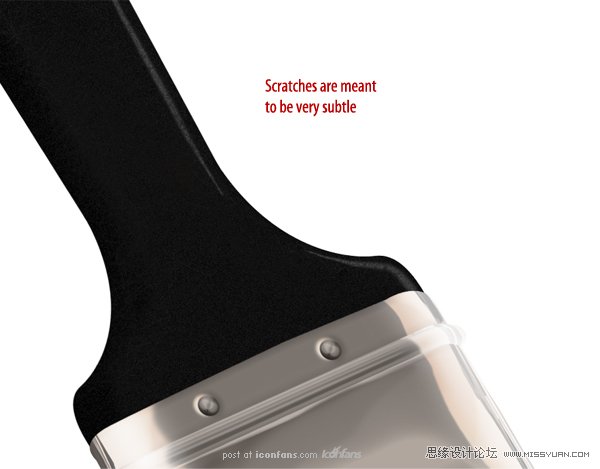
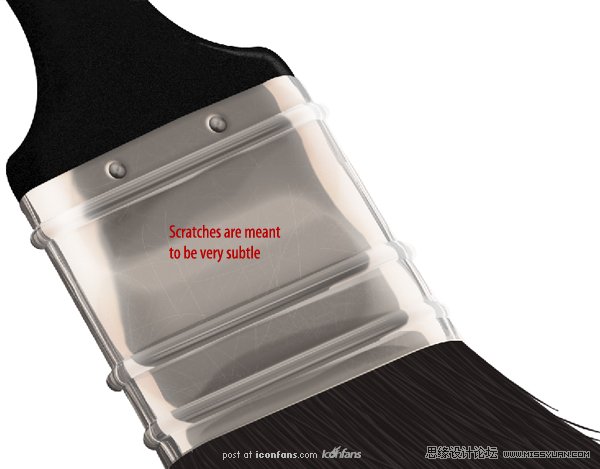
Create another clipping layer and add a few more scratches, thistime in white. Adjust the opacity of both layers so the scratches are barelyvisible (darker monitors might have trouble picking this up). Your image shouldresemble the following:
创建另一个剪切层和添加一些划痕,这一次为白色。调节两个图层的不透明度,使划痕不是很明显(深色的显示器用这个方法可能比较麻烦).你的图应该类似如图所示:
划痕看起来是很精细,轻薄的。
Step 40
As an optional step, you can go in to the “Metal Band” layer and usethe same scratches brush to add scratches to the metal.
作为一个可选择的步骤,你可以去“Metal Band”图层,并用同样的手法在金属上添加一些划痕。
Step 41
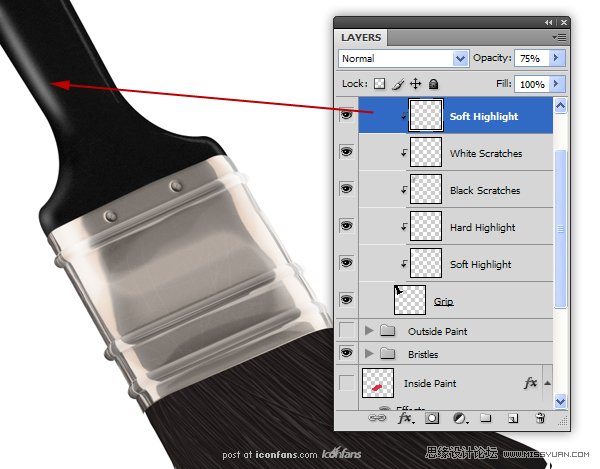
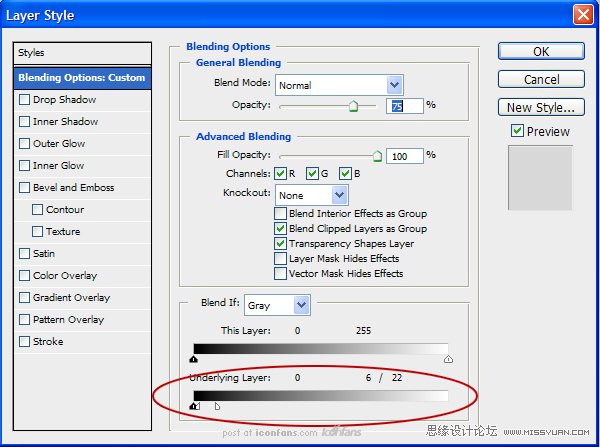
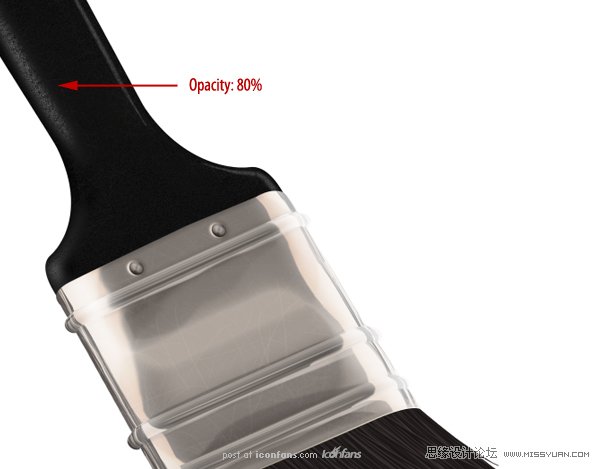
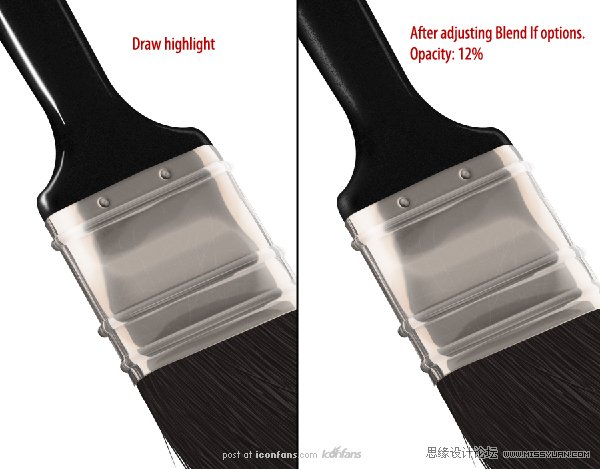
Back in the “Handle” group, on a new clipping layer, use the BrushTool to paint a soft highlight as shown (make sure you are not using theScratches brush). Change the Blend If settings as shown and change its opacityto 80%.
会到“Handle”组,在一个新的剪切层上,用画笔工具画一个如图所示的软高光(请确保你没有用划痕刷)。改变它的颜色混合带如图所示,并改变它的不透明度为80%。
Step 42
On an new clipping layer, create another, thinner highlight on topof the last one. Adjust the Blend If settings similar to the last layer we didand change the Opacity to 12%.在一个新的剪切层上,在顶部创建另一个高光亮点,并12%
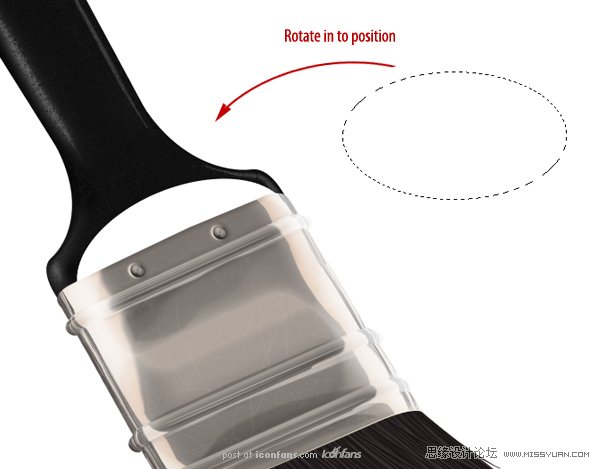
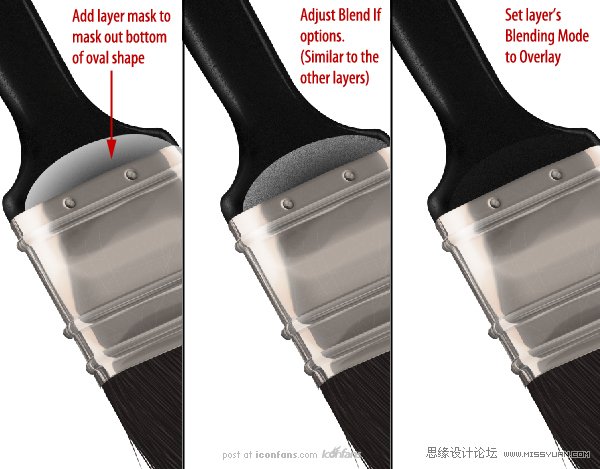
Step 43
On a new clipping layer, create an oval and fill it with white.Rotate it in to perspective and add a layer mask to erase part of the bottom ofthe oval. Adjust the Blend If slider and set its Blending Mode to Overlay.
在一个新的剪切层上,创建一个椭圆形,并用白色填满。旋转角度到如图所示的位置,并添加一个图层蒙板擦除的椭圆形的底部。调节混合颜色带,并设置混合模式为叠加。
 情非得已
情非得已
-
 Photoshop绘制磨砂风格的插画作品2021-03-16
-
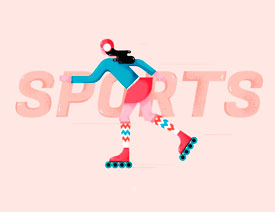
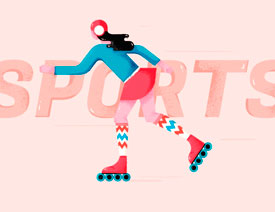 Photoshop结合AI制作扁平化滑轮少女插画2021-03-11
-
 Photoshop结合AI绘制扁平化风格的少女插画2020-03-13
-
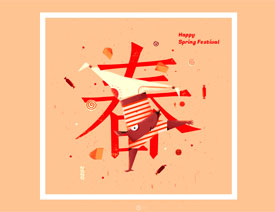 Photoshop结合AI绘制春字主题插画作品2020-03-13
-
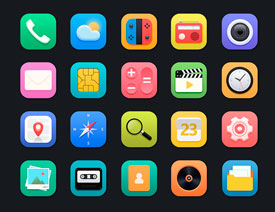 Photoshop绘制时尚大气的手机APP图标2020-03-12
-
 Photoshop绘制立体感十足的手机图标2020-03-12
-
 玻璃瓶绘画:PS绘制玻璃质感的魔法瓶2020-03-11
-
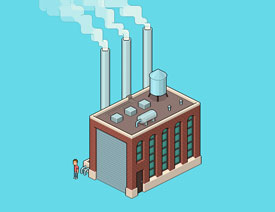 像素工厂:用PS设计等距像素的工厂图标2019-03-20
-
 圣诞老人:使用PS绘制圣诞老人插画2019-02-21
-
 Lumix相机:PS绘制粉色的照相机教程2019-01-18
-
Photoshop结合AI制作扁平化滑轮少女插画2021-03-11
-
Photoshop绘制磨砂风格的插画作品2021-03-16
-
 蝴蝶结绘画:PS绘制逼真的蝴蝶结图标
相关文章7222019-01-07
蝴蝶结绘画:PS绘制逼真的蝴蝶结图标
相关文章7222019-01-07
-
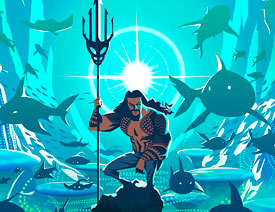 商业插画:PS绘制逼真的DC海王插画
相关文章8962018-12-20
商业插画:PS绘制逼真的DC海王插画
相关文章8962018-12-20
-
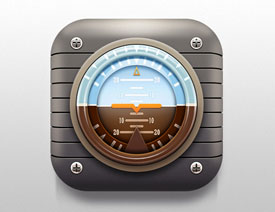 Photoshop绘制立体逼真的拟物仪表盘图标
相关文章19312018-11-03
Photoshop绘制立体逼真的拟物仪表盘图标
相关文章19312018-11-03
-
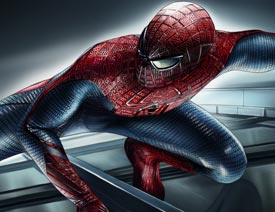 Photoshop绘制逼真的超凡蜘蛛侠教程
相关文章11872018-09-17
Photoshop绘制逼真的超凡蜘蛛侠教程
相关文章11872018-09-17
-
 Photoshop绘制逼真的游戏宝箱图标
相关文章4902018-09-12
Photoshop绘制逼真的游戏宝箱图标
相关文章4902018-09-12
-
 Photoshop鼠绘逼真的音响图标教程
相关文章8722018-09-03
Photoshop鼠绘逼真的音响图标教程
相关文章8722018-09-03
-
 Photoshop绘制逼真的美国队长盾牌教程
相关文章14742018-08-23
Photoshop绘制逼真的美国队长盾牌教程
相关文章14742018-08-23
-
 Photoshop绘制逼真的汽车仪表盘教程
相关文章12252018-08-16
Photoshop绘制逼真的汽车仪表盘教程
相关文章12252018-08-16
