Photoshop实例教程:创建金属光泽图标(7)
文章来源于 Dalton Tan,感谢作者 viperasi 给我们带来经精彩的文章!第十三步:添加字母
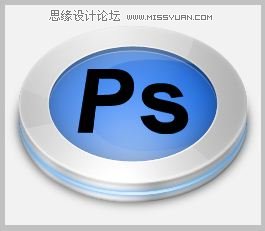
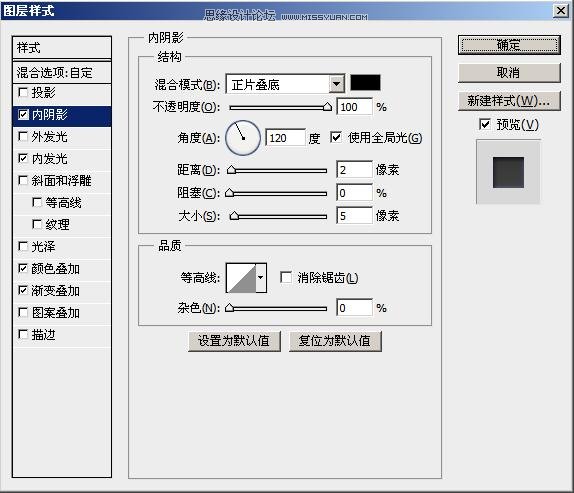
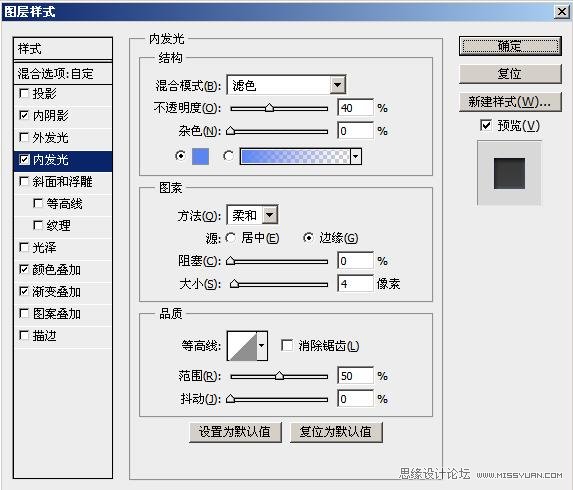
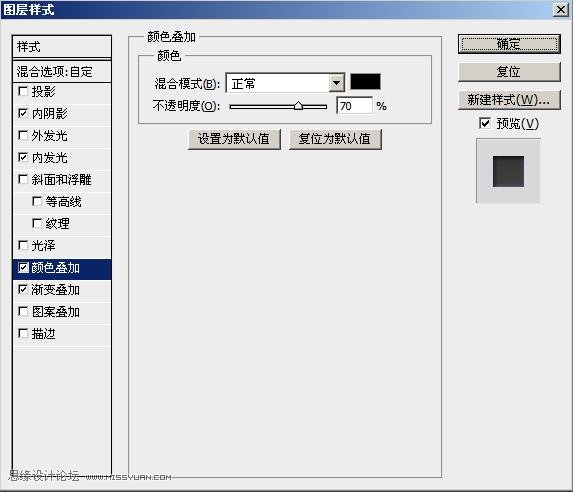
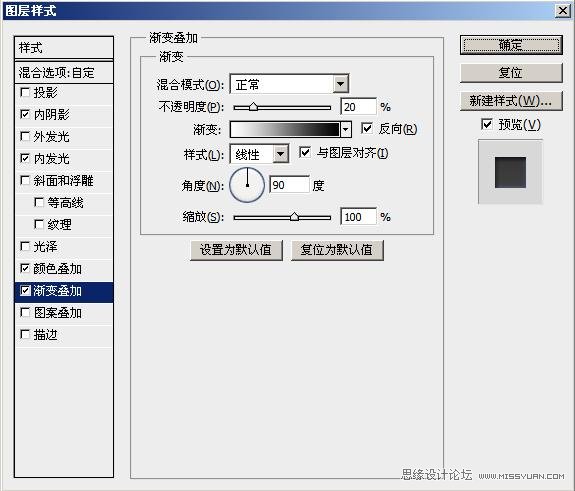
Create a new layer and select the Type Tool (T) with any colour. Use Arial as the font and set it toBold and 98px. Any font is fine actually. Now type in “Ps” and place it in the center of the icon. Right-click on the layer and click Rasterize Type. Transform it and shorten it slightly. Right-click the bounding box and click Perspective. Squeeze the top in to make it look 3D. Later add the followingLayer Styles with 0% Fill.
新建层,然后选择字体工具(T)。用Arial字体设置粗体,大小为98px,任意颜色。实际上字体无所谓。现在输入“PS”然后移动到图标的中心。右键图层然后点击栅格化文字。用变换工具稍微缩短一点。右键外围的边框选择透视。将顶部向内部挤让其看起来是3D。然后添加如图的样式,并修改填充透明度为0%。
Step 14: Final Details
第十四步:最后的细节
Create a new layer. Get the selection of the “Ps” layer and nudge it up and right once each. Fill it with White then shift the selection back and press Delete. Set the Opacity to 30%.
新建层,选择“PS”层的内容,分别向上,向右轻移一次。填充白色,并轻移会原来位置删除,设置透明度为30%。
Finally create the last layer and get the selection of the “3D” layer. Fill it with White and applyFilter>Noise>Add Noise with Gaussian and Monochromatic enabled. Set the Blending Mode to Multiply and Opacity to 30%.
新建最后一个层,选择“3D”层内容。填充白色,并应用滤镜–>杂色–>添加杂色,设置为高斯分布,和单色。设置图层融合模式为“正片叠底”,透明度为30%。
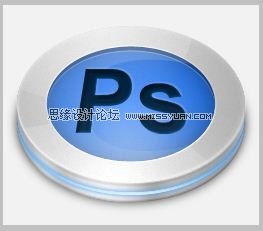
Now you are DONE! You can hide or delete the background if you want to export it as an icon. But it’s not over if you want to make a set. For now your icon should look something like this.
现在终于完成!如果你想导出图标你可以隐藏或删除背景。如果你想做一个图标集那还没有结束。现在你的图标应该看来是这个样子的。
Step 15: Creating a Set
第十五步:创建图标集
You can save this document and duplicate it. Open the new one and find for the layer called “Glow”. Temporarily hide the layer right above it. Now go Image>Adjustments>Hue/Saturation or (ctrl+U) for layer “Glow” and adjust the Hue to whatever you like. Once you’re done, go to the Layer Style>Outer Glow and adjust the colour to whatever you like. Now you can un-hide your above layer.
你可以先保存这个工程并复制他。打开一个新,然后找到图层Glow。暂时隐藏这个图层上面的图层。现在对“Glow”层选择图像–>调整–>色相和饱和度(Ctlr+U)并调整你喜欢的任意色相。完成后,选择图层–>图层样式–>外发光,调整任意你喜欢的颜色。现在你可以将上面的图层显示出来。
Navigate to your font layer. Delete it and repeat the process I taught you to create another alphabet you want. Remember to change the above layer which is the edge shine. Repeat this step for as many other icons you want.
找到你的字体图层。删除并重复之前创建字母的步骤。记得调整上面的边缘反光图层。
进入论坛参与讨论和交作业:http://www.missyuan.com/viewthread.php?tid=479220
 情非得已
情非得已
-
 Photoshop设计撕纸特效的人物海报教程2020-10-28
-
 Photoshop制作立体风格的国庆节海报2020-10-10
-
 Photoshop设计撕纸特效的人像海报2020-03-27
-
 图标设计:用PS制作奶油质感手机主题图标2019-11-06
-
 图标设计:用PS制作中国风圆形APP图标2019-11-01
-
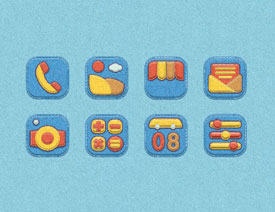 手机图标:用PS设计儿童贴画风格的APP图标2019-08-09
-
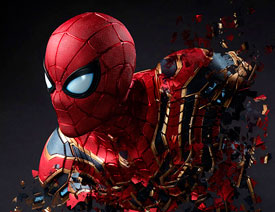 电影海报:用PS制作蜘蛛侠海报效果2019-07-09
-
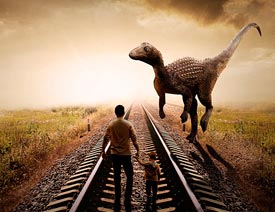 创意海报:用PS合成铁轨上的霸王龙2019-07-08
-
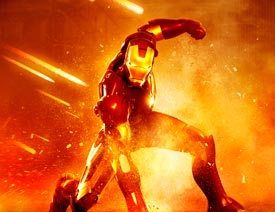 电影海报:用PS设计钢铁侠电影海报2019-07-08
-
 立体海报:用PS制作创意的山川海报2019-05-22
-
 Photoshop设计猕猴桃风格的APP图标2021-03-10
-
 Photoshop制作逼真的毛玻璃质感图标2021-03-09
-
 Photoshop结合AI制作抽象动感的丝带2021-03-16
-
 Photoshop结合AI制作炫酷的手机贴纸2021-03-16
-
Photoshop设计猕猴桃风格的APP图标
相关文章2212021-03-10
-
Photoshop制作逼真的毛玻璃质感图标
相关文章2102021-03-09
-
图标设计:用PS制作奶油质感手机主题图标
相关文章11692019-11-06
-
图标设计:用PS制作中国风圆形APP图标
相关文章8772019-11-01
-
 简约图标:用PS制作荷花形态的APP图标
相关文章11812019-08-15
简约图标:用PS制作荷花形态的APP图标
相关文章11812019-08-15
-
手机图标:用PS设计儿童贴画风格的APP图标
相关文章13392019-08-09
-
 设计图标:用PS设计拟物风格的APP图标
相关文章16132019-08-05
设计图标:用PS设计拟物风格的APP图标
相关文章16132019-08-05
-
 手机图标:用PS制作拟物风格手机APP图标
相关文章15532019-07-12
手机图标:用PS制作拟物风格手机APP图标
相关文章15532019-07-12
