Photoshop实例教程:创建金属光泽图标(3)
文章来源于 Dalton Tan,感谢作者 viperasi 给我们带来经精彩的文章!设计教程/PS教程/设计教程2010-09-13
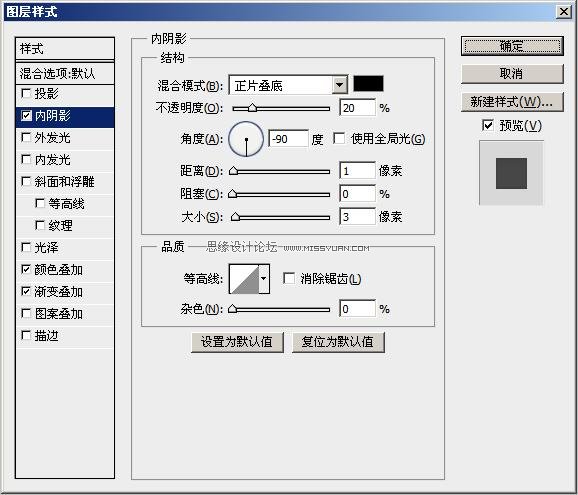
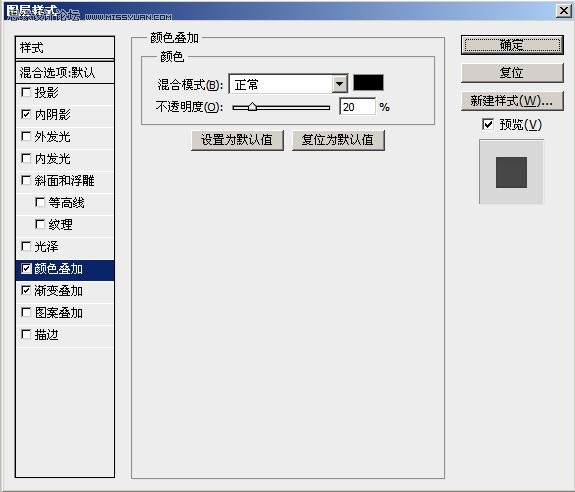
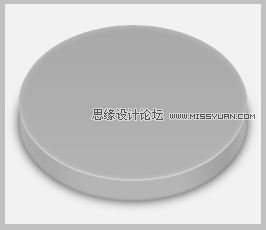
Step 5: 3D Layer Styles 第五步:3D图层样式 Now select the 3D layer and apply the following Layer Styles. 现在选择3D图层然后添加如下的层样式 Once you are done you should have this: 这次完成后应该是这
Step 5: 3D Layer Styles
第五步:3D图层样式
Now select the “3D” layer and apply the following Layer Styles.
现在选择“3D”图层然后添加如下的层样式
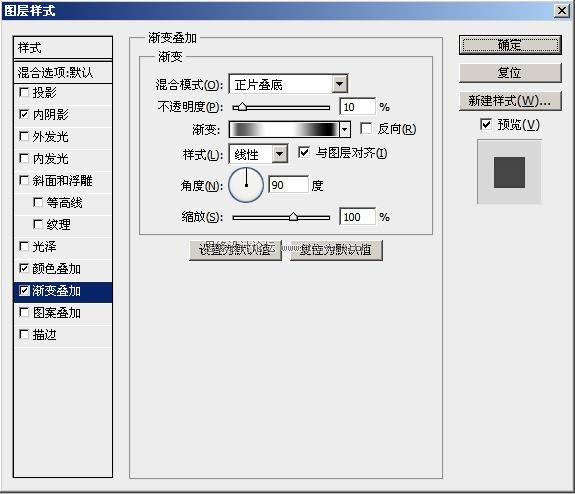
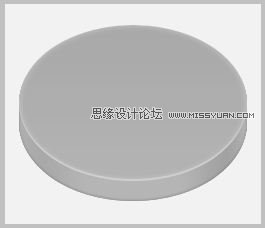
Once you are done you should have this:
这次完成后应该是这个样子:
Step 6: Creating The Shadow
第六步:创建阴影
Create a new layer below the previous two layers and name it “Shadow”. Get the selection of the “Top”layer by ctrl+clicking on the layer icon. Fill the selection with Black and Deselect (ctrl+D) it. Go toFilters>Blur>Gaussian Blur and use 5px. Set the Opacity to 75%. Using the Move Tool (V), shift the shadow down just below the body of the icon.
新建一个层在之前两层下面并命名为“Shadow”。在“Top”层图标上按照Ctrl键点击框选该层。用黑色填充并取消选择(Ctrl+D)。然后选择滤镜–>模糊–>高斯模糊,半径为5px。设置透明度为75%,然后使用移动工具(V)将阴影移动到图标主体的下面。
 情非得已
情非得已
推荐文章
-
 Photoshop设计撕纸特效的人物海报教程2020-10-28
-
 Photoshop制作立体风格的国庆节海报2020-10-10
-
 Photoshop设计撕纸特效的人像海报2020-03-27
-
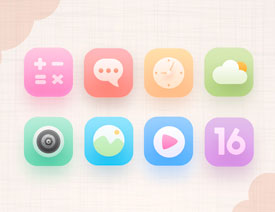
 图标设计:用PS制作奶油质感手机主题图标2019-11-06
-
 图标设计:用PS制作中国风圆形APP图标2019-11-01
-
 手机图标:用PS设计儿童贴画风格的APP图标2019-08-09
-
 电影海报:用PS制作蜘蛛侠海报效果2019-07-09
-
 创意海报:用PS合成铁轨上的霸王龙2019-07-08
-
 电影海报:用PS设计钢铁侠电影海报2019-07-08
-
 立体海报:用PS制作创意的山川海报2019-05-22
热门文章
-
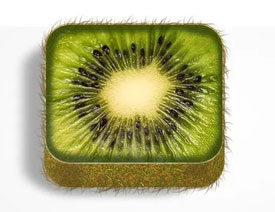 Photoshop设计猕猴桃风格的APP图标2021-03-10
-
 Photoshop制作逼真的毛玻璃质感图标2021-03-09
-
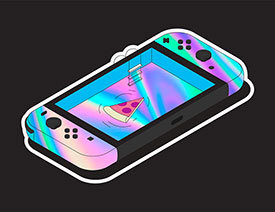
 Photoshop结合AI制作抽象动感的丝带2021-03-16
-
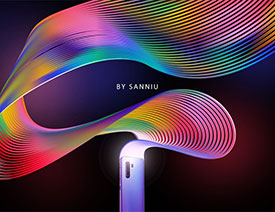
 Photoshop结合AI制作炫酷的手机贴纸2021-03-16
-
Photoshop设计猕猴桃风格的APP图标
相关文章2212021-03-10
-
Photoshop制作逼真的毛玻璃质感图标
相关文章2102021-03-09
-
图标设计:用PS制作奶油质感手机主题图标
相关文章11692019-11-06
-
图标设计:用PS制作中国风圆形APP图标
相关文章8772019-11-01
-
 简约图标:用PS制作荷花形态的APP图标
相关文章11812019-08-15
简约图标:用PS制作荷花形态的APP图标
相关文章11812019-08-15
-
手机图标:用PS设计儿童贴画风格的APP图标
相关文章13392019-08-09
-
 设计图标:用PS设计拟物风格的APP图标
相关文章16132019-08-05
设计图标:用PS设计拟物风格的APP图标
相关文章16132019-08-05
-
 手机图标:用PS制作拟物风格手机APP图标
相关文章15532019-07-12
手机图标:用PS制作拟物风格手机APP图标
相关文章15532019-07-12
