Photoshop实例教程:创建金属光泽图标
文章来源于 Dalton Tan,感谢作者 viperasi 给我们带来经精彩的文章!这个教程将教会你如何创建有个性的、金属的、具有光泽的Adobe图标集。
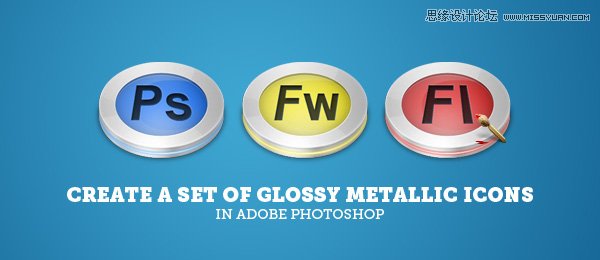
先看看效果图
Step 1: Creating a New Document
第一步:创建一个新文档
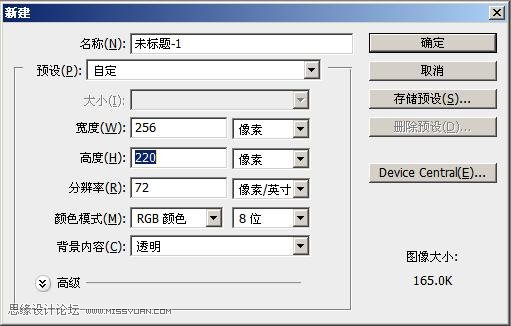
We are going to create a new document with a standard resolution of 256px. But because our icon is quite short the height will be smaller.
我们将创建一个256像素标准分辨率的新文档.不过我们的图标高度稍微小一点。
Next, grab the Paint Bucket Tool (G), and fill the document with the following colour #F2F2F2. This is to make viewing easier.
然后,使用油漆桶工具(G),使用#F2F2F2颜色填充文档。这是为了查看更轻松。
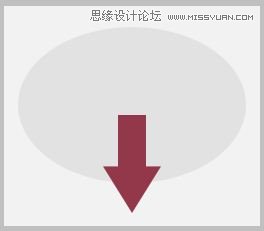
Step 2: Setting The Base
第二步:设定基础

![]()
Using the Ellipse Tool (U), draw an oval on a new layer as shown above. Let’s name this “Top”.
使用椭圆工具(U)在新层上画一个类似上图的椭圆,取名“TOP”。
Shape layers
Using the Shape layers instead of Fill pixels allows you to transform your circle as many times as you want without quality loss. This is great for experimenting.
形状图层
使用形状图层替代填充像素可以让你任意变换你的形状而没有画质损耗。这是非常值得的尝试。
Step 3: Going 3D
第三步:创建3D效果
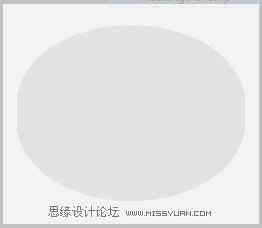
Select your Move Tool (V). While holding down the alt key, press the down arrow 20 times. This will determine the height of the icon. Now select the past duplicates and Merge (ctrl+E). Arrange that layer below the “Top” layer. Remember that there should be one extra layer named “Top”. We’ll just name this new merged layer “3D” for readability.
选择移动工具(V),按着Alt键,按下箭头键20次。这会让图标有高度的感觉。现在选择刚才所有的复制品层,然后选择融合(Ctrl+E)。将这个层放到”Top”层下面。这里会有多个层都叫“Top”,为了区分我们将新融合的层命名为“3D”。
 情非得已
情非得已
-
 Photoshop设计撕纸特效的人物海报教程2020-10-28
-
 Photoshop制作立体风格的国庆节海报2020-10-10
-
 Photoshop设计撕纸特效的人像海报2020-03-27
-
 图标设计:用PS制作奶油质感手机主题图标2019-11-06
-
 图标设计:用PS制作中国风圆形APP图标2019-11-01
-
 手机图标:用PS设计儿童贴画风格的APP图标2019-08-09
-
 电影海报:用PS制作蜘蛛侠海报效果2019-07-09
-
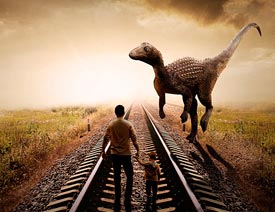 创意海报:用PS合成铁轨上的霸王龙2019-07-08
-
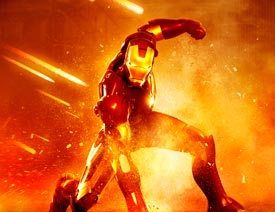 电影海报:用PS设计钢铁侠电影海报2019-07-08
-
 立体海报:用PS制作创意的山川海报2019-05-22
-
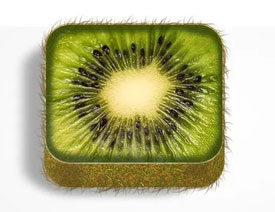 Photoshop设计猕猴桃风格的APP图标2021-03-10
-
 Photoshop制作逼真的毛玻璃质感图标2021-03-09
-
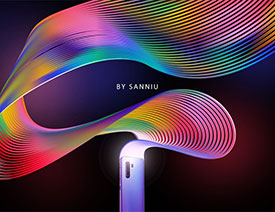 Photoshop结合AI制作抽象动感的丝带2021-03-16
-
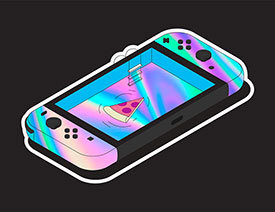 Photoshop结合AI制作炫酷的手机贴纸2021-03-16
-
Photoshop设计猕猴桃风格的APP图标
相关文章2212021-03-10
-
Photoshop制作逼真的毛玻璃质感图标
相关文章2102021-03-09
-
图标设计:用PS制作奶油质感手机主题图标
相关文章11692019-11-06
-
图标设计:用PS制作中国风圆形APP图标
相关文章8772019-11-01
-
 简约图标:用PS制作荷花形态的APP图标
相关文章11812019-08-15
简约图标:用PS制作荷花形态的APP图标
相关文章11812019-08-15
-
手机图标:用PS设计儿童贴画风格的APP图标
相关文章13392019-08-09
-
 设计图标:用PS设计拟物风格的APP图标
相关文章16132019-08-05
设计图标:用PS设计拟物风格的APP图标
相关文章16132019-08-05
-
 手机图标:用PS制作拟物风格手机APP图标
相关文章15532019-07-12
手机图标:用PS制作拟物风格手机APP图标
相关文章15532019-07-12
