Photoshop绘制可爱卡通的海盗船长(4)
文章来源于 ICONFANS,感谢作者 Milaky 给我们带来经精彩的文章!Step 34
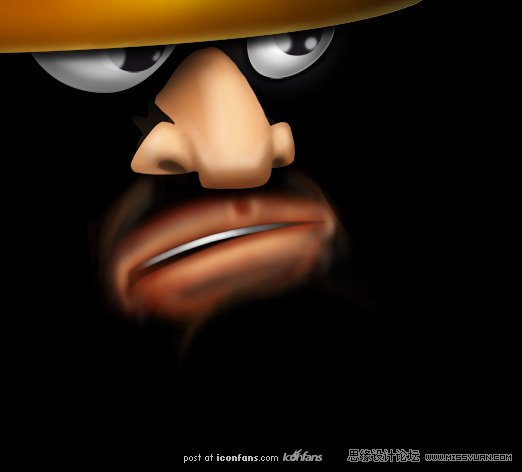
Then, add a new layer (Shift + Command/Ctrl + N), fill itwith the Paint Bucket Tool (G) and a black color.
然后,新建图层(shift+ctrl+N),用油漆桶工具(G)填充一个黑色。
Step 35
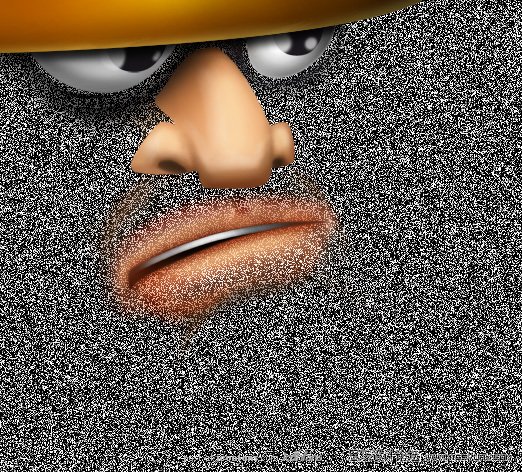
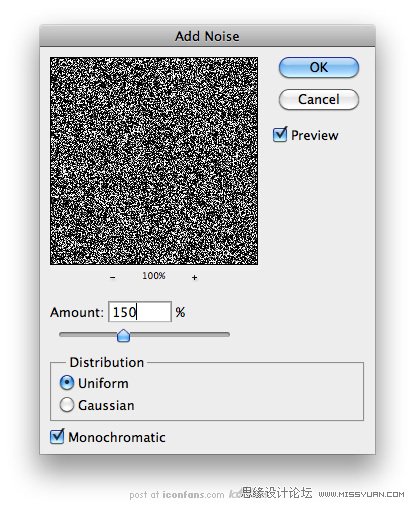
Add a “Noise” filter on the layer (Filter > Noise >Add Noise).
添加杂色(滤镜>杂色>添加杂色)。看图设置。
Step 36
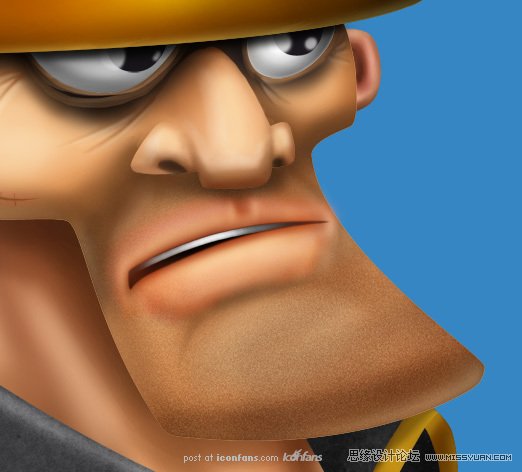
Command/Ctrl + Left Click on the “Beard” layer, reverse theselection with Shift + Command/Ctrl + I, erase with the “Del” key and deselectwith Command/Ctrl + D.
命令ctrl+左键点击“胡子”层,命令shift+ctrl+I反选,点击Del删除,ctrl+D取消选择。

Step 37
Set to “Soft Light” mode and opacity to 40%.
设置为“柔光”模式,不透明度为40%。
Step 38
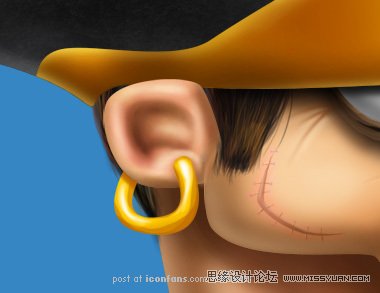
For the hairs, use a 1 pixel soft brush with a dark browncolor for the shadows, and a light brown for the lights.
对于头发,使用1像素暗棕色的软毛刷绘制阴影,和褐色绘制亮部毛发。
Step 39
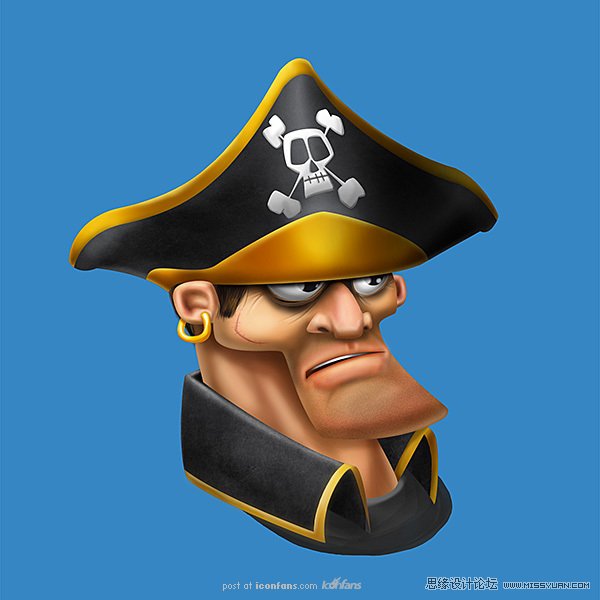
Our pirate is finally finished!
我们的海盗终于完成啦!
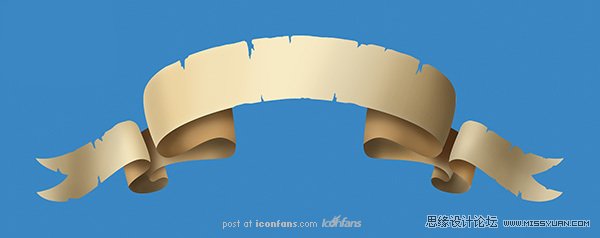
Step 40
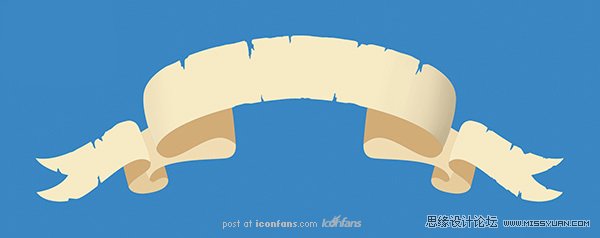
For the ribbon, use the step 5 to 8 from the pirate’s head.Use the colors: #f7eac5, #f0dcb3, #e5cc9d, #d2ac76. Erase the edges with theEraser Tool (E) for the torn edges.
对于剪彩条,用5-8海盗的头步骤,使用颜色#f7eac5,#f0dcb3,#e5cc9d,#d2ac76。然后用橡皮擦除边缘达到撕裂效果。
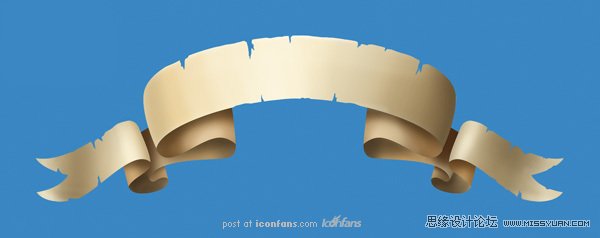
Step 41
You can see all the parts in this picture.
你可以看到这张图片的所有部分。
Step 42
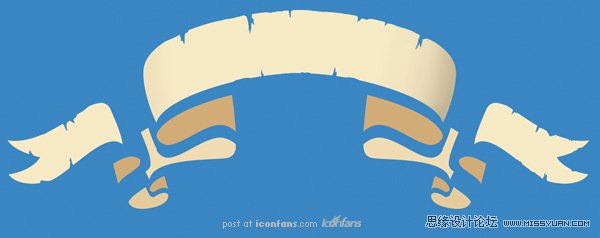
Add the shadows on the ribbon.增加剪彩条所有的阴影部分。
Step 43
Then add the lights.然后增加光亮部分。
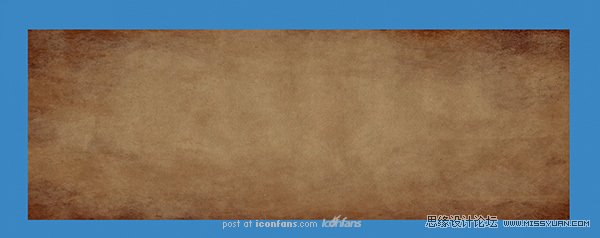
Step 44
Place the Grunge Paper texture in the document; resize itto fit the ribbon.
导入一张纸张纹理,调整大小以适应剪彩条。
 情非得已
情非得已
-
 Photoshop绘制磨砂风格的插画作品2021-03-16
-
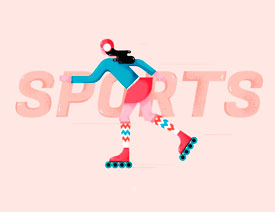
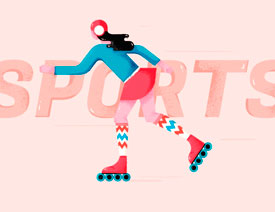 Photoshop结合AI制作扁平化滑轮少女插画2021-03-11
-
 Photoshop结合AI绘制扁平化风格的少女插画2020-03-13
-
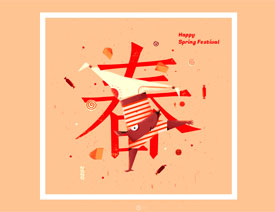 Photoshop结合AI绘制春字主题插画作品2020-03-13
-
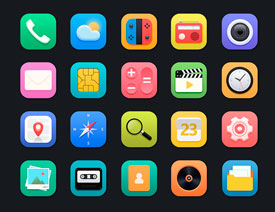 Photoshop绘制时尚大气的手机APP图标2020-03-12
-
 Photoshop绘制立体感十足的手机图标2020-03-12
-
 玻璃瓶绘画:PS绘制玻璃质感的魔法瓶2020-03-11
-
 像素工厂:用PS设计等距像素的工厂图标2019-03-20
-
 圣诞老人:使用PS绘制圣诞老人插画2019-02-21
-
 Lumix相机:PS绘制粉色的照相机教程2019-01-18
-
Photoshop结合AI制作扁平化滑轮少女插画2021-03-11
-
Photoshop绘制磨砂风格的插画作品2021-03-16
-
 超萌猴头:用PS绘制可爱的猴子头像
相关文章7392019-02-28
超萌猴头:用PS绘制可爱的猴子头像
相关文章7392019-02-28
-
 企鹅插画:PS绘制噪点风格的可爱企鹅
相关文章4142019-01-17
企鹅插画:PS绘制噪点风格的可爱企鹅
相关文章4142019-01-17
-
 硬盘皮肤:PS绘制可爱的小黄鸭输入法皮肤
相关文章3342019-01-14
硬盘皮肤:PS绘制可爱的小黄鸭输入法皮肤
相关文章3342019-01-14
-
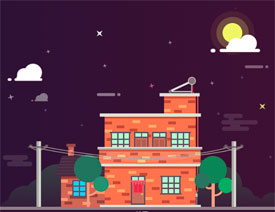 卡通插画:PS绘制扁平化风格的房屋插画
相关文章6432018-12-25
卡通插画:PS绘制扁平化风格的房屋插画
相关文章6432018-12-25
-
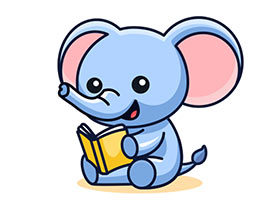 卡通绘画:PS和AI绘制卡通风格的小象
相关文章4962018-12-23
卡通绘画:PS和AI绘制卡通风格的小象
相关文章4962018-12-23
-
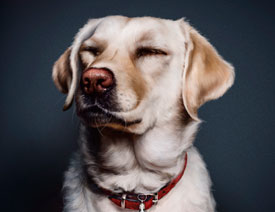 Photoshop绘制可爱的狗狗教程
相关文章4902018-12-07
Photoshop绘制可爱的狗狗教程
相关文章4902018-12-07
-
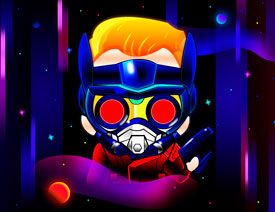 Photoshop绘制卡通风格的机器人插画
相关文章3892018-11-05
Photoshop绘制卡通风格的机器人插画
相关文章3892018-11-05
-
 Photoshop绘制卡通风格的照相机图标
相关文章3742018-10-24
Photoshop绘制卡通风格的照相机图标
相关文章3742018-10-24
