Photoshop绘制可爱卡通的海盗船长(3)
文章来源于 ICONFANS,感谢作者 Milaky 给我们带来经精彩的文章!Step 19
Like the previous steps, add the shadows on the “Shadow”layer.
像以前的步骤,添加“阴影”层的阴影。

Step 20
Add the light in the eyes on the “Light” layer.
在“光”层添加高光。
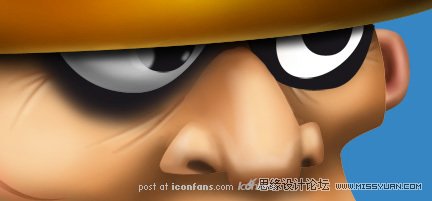
Step 21
With the Eraser Tool (E), give the eye a better look byerasing the black border a little bit.
用橡皮擦工作给眼睛黑色边框擦除更好看些。
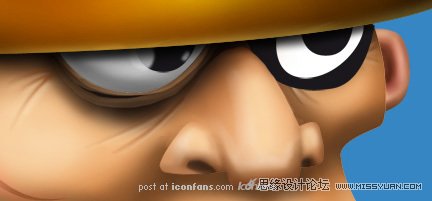
Step 22
Repeat steps 18 to 21 for the left eye.
重复18~21左眼的步骤。
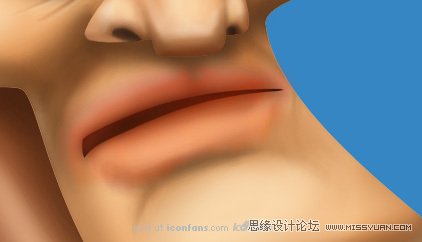
Step 23
For the mouth, create a new layer and set mode to “Color”and the opacity to 50-55%, add a little bit of red around the mouth with a softbrush.
嘴部分,创建一个新图层,设置模式为为“颜色”,用50-55%的柔角画笔涂绘嘴边红点。
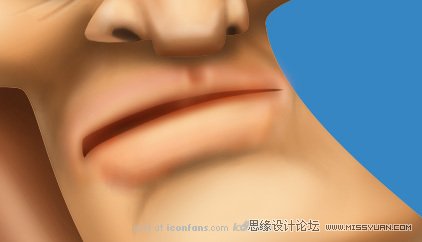
Step 24
Add some shadows on the “Shadow” layer.绘制“阴影”层的阴影。
Step 25
And light on the “Light” layer.
绘制“光”层的光亮部分。
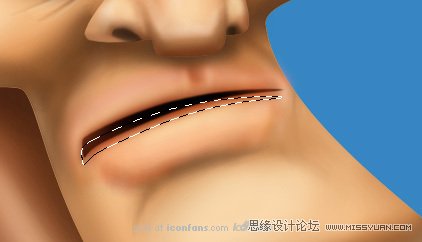
Step 26
Duplicate the “Mouth” layer and put it above the “Light”layer.
复制嘴巴图层在光层上面。

Step 27
elect the mouth shape with Command/Ctrl + Left Click.命令crtl+左键点击嘴型图层。

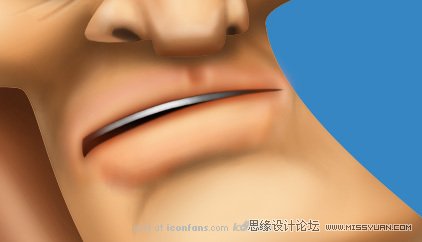
Step 28
Move the selection a little bit down with the Down Key,erase by hitting the Del key.
将虚线选框往下移动一点,点击Del删除。
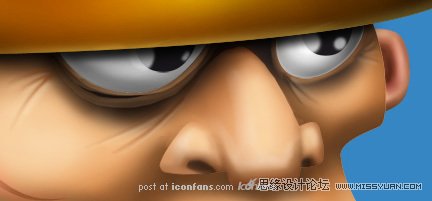
Step 29
Draw the teeth with a soft brush and a black color.
用黑白颜色软刷画笔绘制牙齿部分。
Step 30
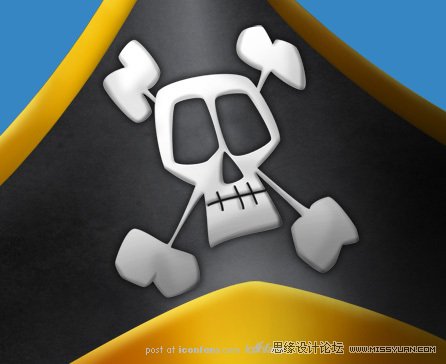
For the skull head, add shadow and light as usual.
对于骷髅头,添加阴影和光亮部分像之前一样操作。
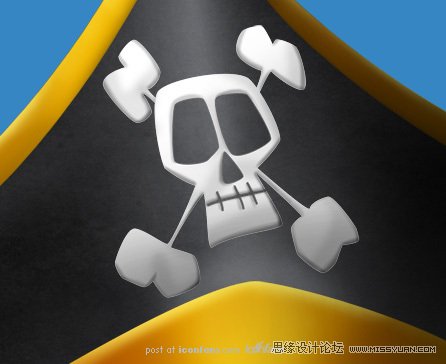
Step 31
Then add a Drop Shadow Style on the skull he3ad layer.
然后,头颅骨上添加阴影样式效果。看图设置。
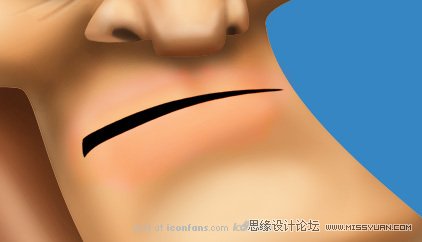
Step 32
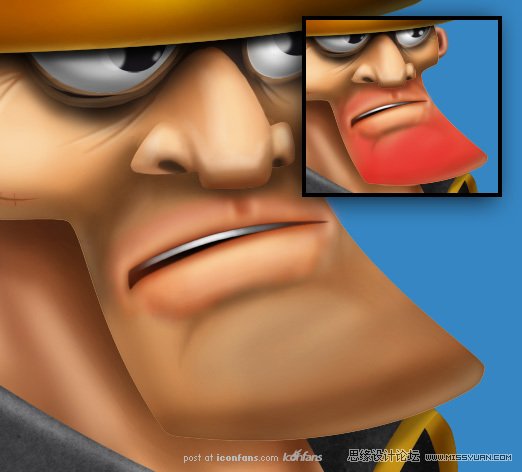
Here is a detail of the scar, nothing special, just anextra “Color” mode layer with a little bit of red around the scar.
这里是一个疤痕,没什么特别,只是一个额外的“颜色”模式层的细节。

Step 33
For the beard, add a new layer and set mode to"Multiply", select a soft brush and a brown color, then start topaint. I’ve shown you the "beard" zone in red on the thumbnail.
对于胡子,新建一个图层,设置模式为“正片叠底”,选择一个软刷和棕褐色,然后开始画。我展示的是缩略图中的红色区域。
 情非得已
情非得已
-
 Photoshop绘制磨砂风格的插画作品2021-03-16
-
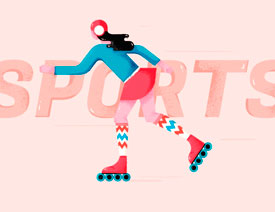 Photoshop结合AI制作扁平化滑轮少女插画2021-03-11
-
 Photoshop结合AI绘制扁平化风格的少女插画2020-03-13
-
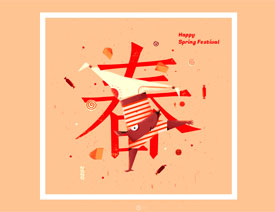 Photoshop结合AI绘制春字主题插画作品2020-03-13
-
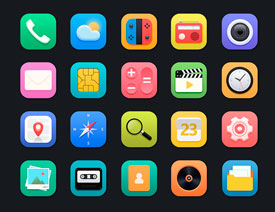 Photoshop绘制时尚大气的手机APP图标2020-03-12
-
 Photoshop绘制立体感十足的手机图标2020-03-12
-
 玻璃瓶绘画:PS绘制玻璃质感的魔法瓶2020-03-11
-
 像素工厂:用PS设计等距像素的工厂图标2019-03-20
-
 圣诞老人:使用PS绘制圣诞老人插画2019-02-21
-
 Lumix相机:PS绘制粉色的照相机教程2019-01-18
-
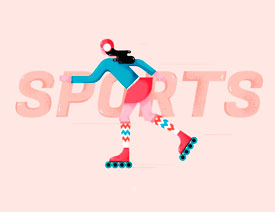
Photoshop结合AI制作扁平化滑轮少女插画2021-03-11
-
Photoshop绘制磨砂风格的插画作品2021-03-16
-
 超萌猴头:用PS绘制可爱的猴子头像
相关文章7392019-02-28
超萌猴头:用PS绘制可爱的猴子头像
相关文章7392019-02-28
-
 企鹅插画:PS绘制噪点风格的可爱企鹅
相关文章4142019-01-17
企鹅插画:PS绘制噪点风格的可爱企鹅
相关文章4142019-01-17
-
 硬盘皮肤:PS绘制可爱的小黄鸭输入法皮肤
相关文章3342019-01-14
硬盘皮肤:PS绘制可爱的小黄鸭输入法皮肤
相关文章3342019-01-14
-
 卡通插画:PS绘制扁平化风格的房屋插画
相关文章6432018-12-25
卡通插画:PS绘制扁平化风格的房屋插画
相关文章6432018-12-25
-
 卡通绘画:PS和AI绘制卡通风格的小象
相关文章4962018-12-23
卡通绘画:PS和AI绘制卡通风格的小象
相关文章4962018-12-23
-
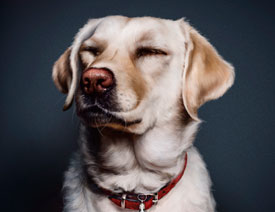 Photoshop绘制可爱的狗狗教程
相关文章4902018-12-07
Photoshop绘制可爱的狗狗教程
相关文章4902018-12-07
-
 Photoshop绘制卡通风格的机器人插画
相关文章3892018-11-05
Photoshop绘制卡通风格的机器人插画
相关文章3892018-11-05
-
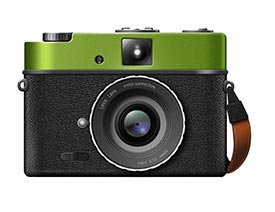 Photoshop绘制卡通风格的照相机图标
相关文章3742018-10-24
Photoshop绘制卡通风格的照相机图标
相关文章3742018-10-24
