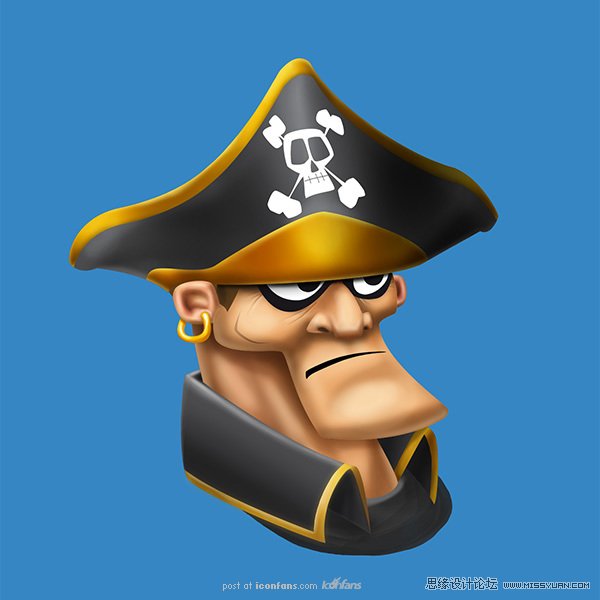
Photoshop绘制可爱卡通的海盗船长(2)
文章来源于 ICONFANS,感谢作者 Milaky 给我们带来经精彩的文章!Step 9
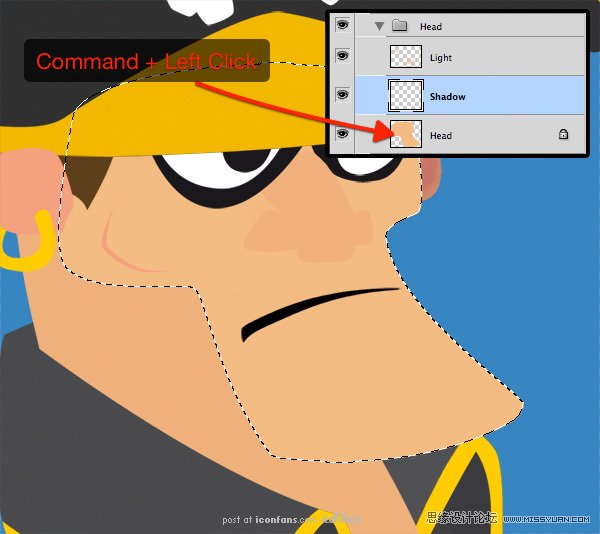
Select the “Shadow” layer then get the head selection byclicking on the “Head” layer with Command/Ctrl + Left Click. Hide the selection(Command/Ctrl + H). We’re now ready to work on the shadow’s head.
选择“阴影”层,按命令Ctrl+左键点击“头”图层。隐藏虚线选择(Ctrl+H),我们现在准备画头部的阴影。
Step 10
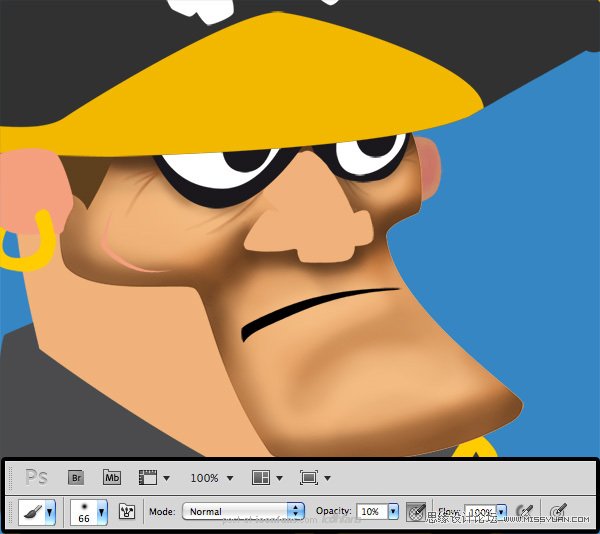
I’m starting with a soft 66 pixel brush with the opacityset to 10%. Start to draw the shadows with the same base color (#f4bc83) as thehead, then gradually, choose a darker color. Adjust the brush size to suit yourneeds.
使用柔角画笔,设置为10px,透明度66%,选择与脸部基本颜色((#f4bc83),渐渐地选择较暗的颜色,调整画笔大小绘制,以满足你的需求。
Step 11
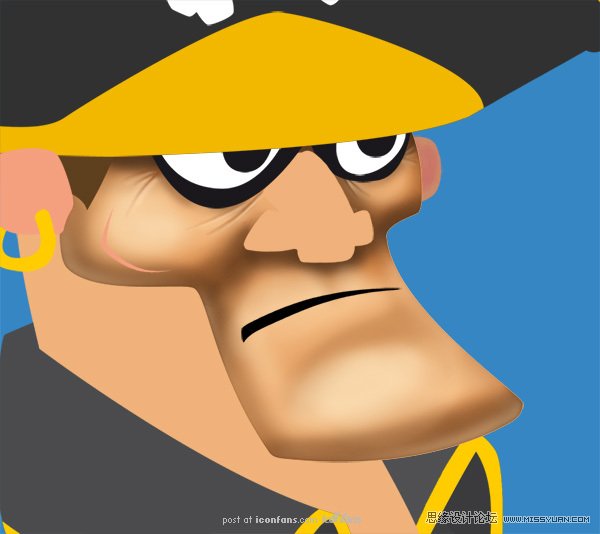
Do the same things on the “Light” layer, but this time,gradually choose a lighter color when drawing.
这次绘制脸部明亮的部分,但是这一次,是选择较浅的颜色绘制。
Step 12
Repeat steps 10 to 11 for all others parts of thecharacter.
其余部分都重复10~11步骤的绘制方法。
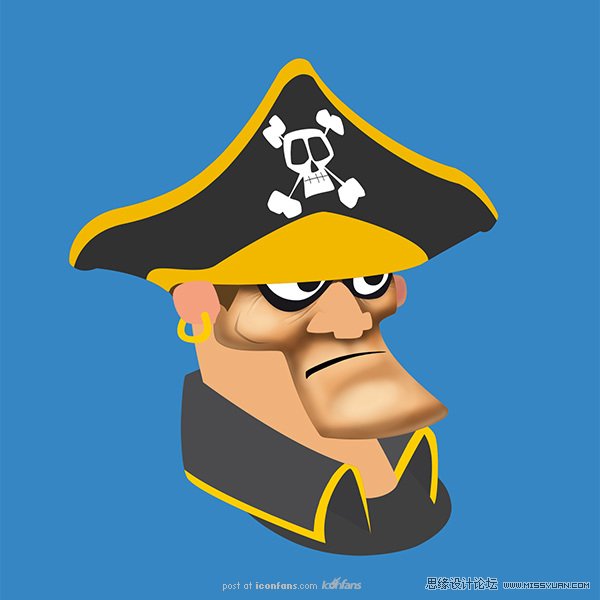
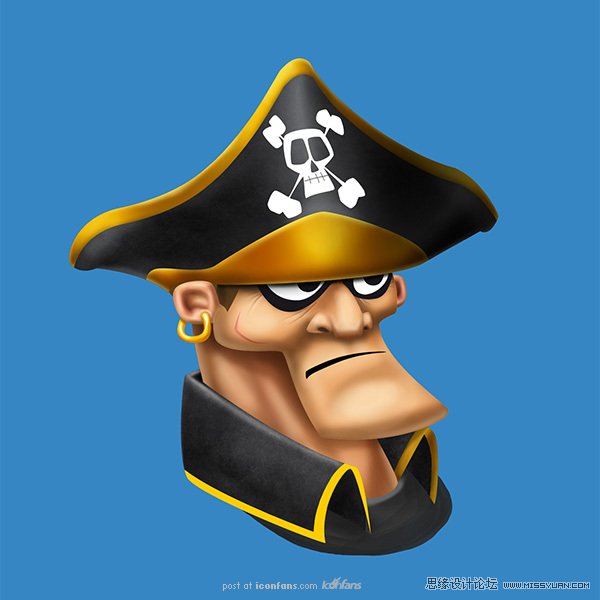
Step 13And voilà, the shadows and the lights has been added onmost of the character’s parts. But there’re still some parts that deserve moredetails.
瞧,阴影和光亮就布满了人物的大部分。但有些地方依然存在不足,需要更多的细节。
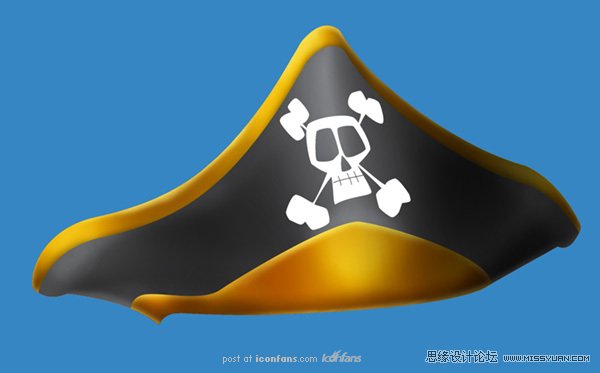
Step 14
The hat looks good, but let’s add a little texture to it.
这顶帽子看起来不错,但是还需要让我们来添加一些纹理吧。
Step 15
Place the "Black and White Grunge" texture in thedocument (between the "Base" layer and the "Shadow" layer),name it "Texture" and resize it to fit the hat. Select the hat’sshape with Command/Ctrl + Left Click by clicking on the "Hat" layer,invert the selection with Shift + Command/Ctrl + I. Hit Delete and deselectwith Command/Ctrl + D.
导入一张黑白纹理图片放置在阴影和光亮图层中间,命名为“纹理”,并调整其大小以适合帽子。选择帽子与命令Ctrl+左键点击帽子图层,命令Ctrl+shift+I反选选区,命令Ctrl+D去掉选区。
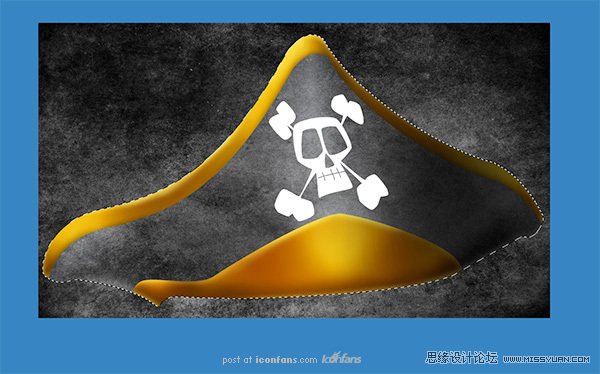
Step 16
Set the “Texture” layer to Multiply mode
设置“纹理”图层为正片叠底模式。
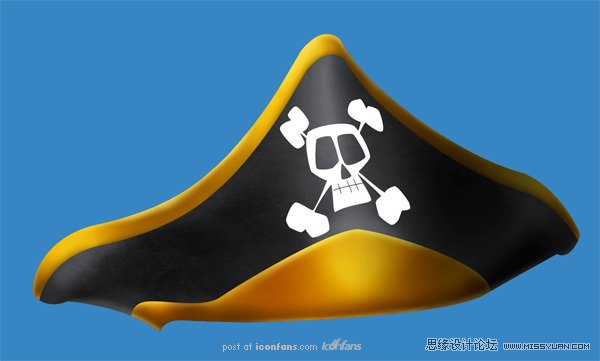
Step 17
Repeat steps 15 to 16 for the others clothes.
其他衣服纹理重复15~16步骤。
Step 18
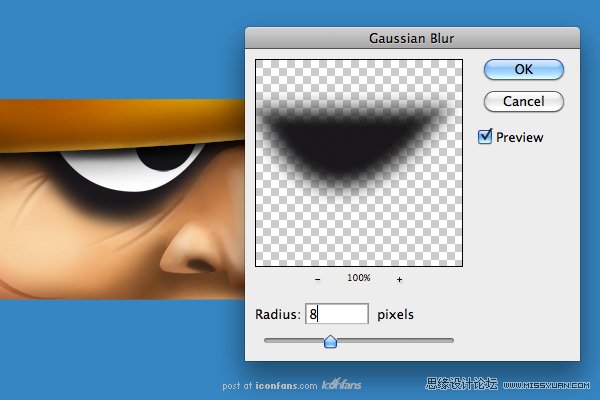
For the eyes, select the black border layer and apply aGaussian filter on it.
对眼睛,选择黑色边框,选择滤镜>模糊>高斯模糊>半径8px.
 情非得已
情非得已
-
 Photoshop绘制磨砂风格的插画作品2021-03-16
-
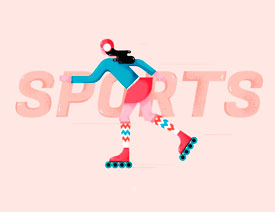
 Photoshop结合AI制作扁平化滑轮少女插画2021-03-11
-
 Photoshop结合AI绘制扁平化风格的少女插画2020-03-13
-
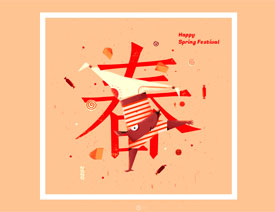 Photoshop结合AI绘制春字主题插画作品2020-03-13
-
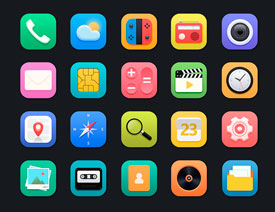 Photoshop绘制时尚大气的手机APP图标2020-03-12
-
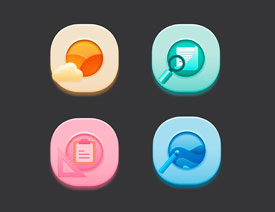 Photoshop绘制立体感十足的手机图标2020-03-12
-
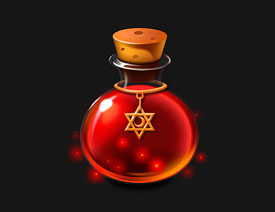 玻璃瓶绘画:PS绘制玻璃质感的魔法瓶2020-03-11
-
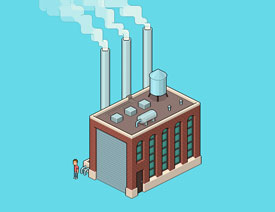 像素工厂:用PS设计等距像素的工厂图标2019-03-20
-
 圣诞老人:使用PS绘制圣诞老人插画2019-02-21
-
 Lumix相机:PS绘制粉色的照相机教程2019-01-18
-
Photoshop结合AI制作扁平化滑轮少女插画2021-03-11
-
Photoshop绘制磨砂风格的插画作品2021-03-16
-
 超萌猴头:用PS绘制可爱的猴子头像
相关文章7392019-02-28
超萌猴头:用PS绘制可爱的猴子头像
相关文章7392019-02-28
-
 企鹅插画:PS绘制噪点风格的可爱企鹅
相关文章4142019-01-17
企鹅插画:PS绘制噪点风格的可爱企鹅
相关文章4142019-01-17
-
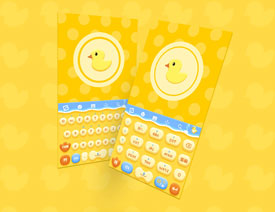 硬盘皮肤:PS绘制可爱的小黄鸭输入法皮肤
相关文章3342019-01-14
硬盘皮肤:PS绘制可爱的小黄鸭输入法皮肤
相关文章3342019-01-14
-
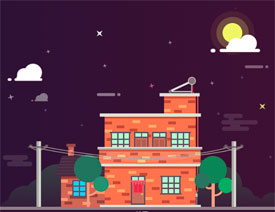 卡通插画:PS绘制扁平化风格的房屋插画
相关文章6432018-12-25
卡通插画:PS绘制扁平化风格的房屋插画
相关文章6432018-12-25
-
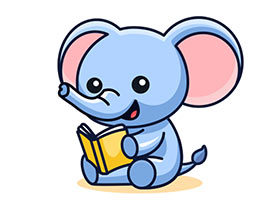 卡通绘画:PS和AI绘制卡通风格的小象
相关文章4962018-12-23
卡通绘画:PS和AI绘制卡通风格的小象
相关文章4962018-12-23
-
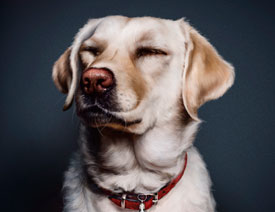 Photoshop绘制可爱的狗狗教程
相关文章4902018-12-07
Photoshop绘制可爱的狗狗教程
相关文章4902018-12-07
-
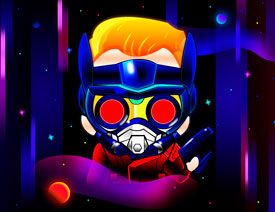 Photoshop绘制卡通风格的机器人插画
相关文章3892018-11-05
Photoshop绘制卡通风格的机器人插画
相关文章3892018-11-05
-
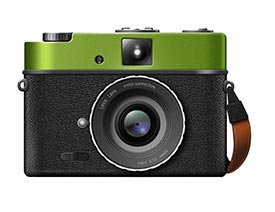 Photoshop绘制卡通风格的照相机图标
相关文章3742018-10-24
Photoshop绘制卡通风格的照相机图标
相关文章3742018-10-24
