Photoshop绘制可爱卡通的海盗船长
文章来源于 ICONFANS,感谢作者 Milaky 给我们带来经精彩的文章!先看看效果图

Step 1
Let’s start with a sketch, I always draw a sketch and scanit into my computer.
让我们从一个草图开始,我总是画一个草图扫描进我的电脑。

Step 2
Create a new 2000 by 1800 pixel document with a whitebackground. Fill the background layer with a blue color #3686c3. Put the layerin a group, name it "Background", duplicate the background layer,rename it "Background Color" and put it in the "Background"group. Delete the old background layer.
创建2000*1800像素白色背景新文件。用蓝色#3686c3填充背景层。命名为“背景颜色”。

Step 3
Put the sketch in a new layer and name it “Sketch”.
载入一个新图层,命名为“素描”。

Step 4
Set the “Sketch” Opacity to 20%. Use the Pen Tool (P) todraw the head shape.
设置“素描”不透明度为20%。使用钢笔工具(P)绘制的头部形状。

Step 5
Once the head path is complete, right click on the path,select Make Selection, then press OK.Create a new layer and name it with a name easy to remember (in this example,name the layer “Head”).Fill the selection with a grey color, then deselect with Command/Ctrl + D.
查看头部路径是否完整,在路径上点击右键,选择“建立选区”,然后按确定。创建一个新图层并命名一个名字易记(在这个例子中,命名该层的“头”)中。用灰色填充,快捷键: CTRL + D取消选区。我再提供方法二:使用钢笔勾勒矢量图层后,灰色填充,点击矢量图右键选择“栅格化图层”,命名为“头”。


Step 6
Select the “Head” layer, create a group with Command/Ctrl +G and name this group “Head”.Create a new layer above the layer “Head” (Shift + Command/Ctrl + N), name it“Shadow”, and choose “Multiply” mode.Create a second layer (Shift + Command/Ctrl + N), name it “Light”, and choose“Screen” mode.
选择“头”图层,按 Ctrl + G组合图层,并命名该组合为“头”。在“头”层上创建一个新图层( Ctrl +Shift +N),命名为“影”新层,并选择“叠加”模式。创建第二层(Ctrl +Shift + N),命名为“光”,然后选择“正片叠加”模式。

Step 7
Repeat steps 5 to 6 for all the character’s parts.
重复步骤5至6所有操作的部分。

Step 8
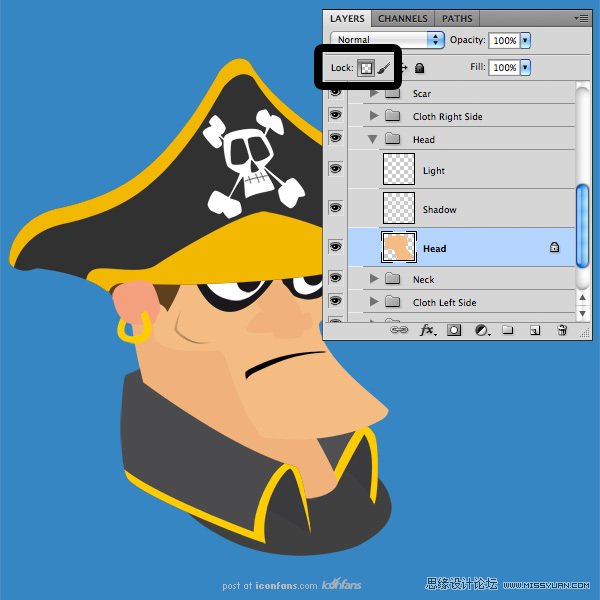
Ok, It’s time to bring some colors to our character. We aregoing to start with the head. Select the layer "Head", lock thetransparency (by clicking the small icon "Lock" in the top left ofthe layers). Choose a color (#f4bc83), a hard brush (Opacity 100%) for coloringthe head shape. Repeat this step for all the character’s shapes.
OK,是时候给人物上一些颜色。我们从头部开始,选择“头”图层,锁定图层,(按图层左上角小图标“锁定”)。设定颜色(#f4bc83),用100%硬笔刷涂绘头部形状。以下形状做同样步骤。
 情非得已
情非得已
-
 Photoshop绘制磨砂风格的插画作品2021-03-16
-
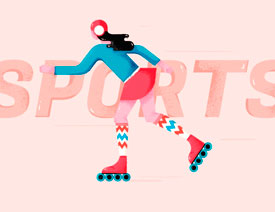 Photoshop结合AI制作扁平化滑轮少女插画2021-03-11
-
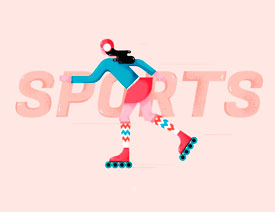 Photoshop结合AI绘制扁平化风格的少女插画2020-03-13
-
 Photoshop结合AI绘制春字主题插画作品2020-03-13
-
 Photoshop绘制时尚大气的手机APP图标2020-03-12
-
 Photoshop绘制立体感十足的手机图标2020-03-12
-
 玻璃瓶绘画:PS绘制玻璃质感的魔法瓶2020-03-11
-
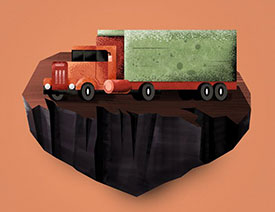
 像素工厂:用PS设计等距像素的工厂图标2019-03-20
-
 圣诞老人:使用PS绘制圣诞老人插画2019-02-21
-
 Lumix相机:PS绘制粉色的照相机教程2019-01-18
-
Photoshop结合AI制作扁平化滑轮少女插画2021-03-11
-
Photoshop绘制磨砂风格的插画作品2021-03-16
-
 超萌猴头:用PS绘制可爱的猴子头像
相关文章7392019-02-28
超萌猴头:用PS绘制可爱的猴子头像
相关文章7392019-02-28
-
 企鹅插画:PS绘制噪点风格的可爱企鹅
相关文章4142019-01-17
企鹅插画:PS绘制噪点风格的可爱企鹅
相关文章4142019-01-17
-
 硬盘皮肤:PS绘制可爱的小黄鸭输入法皮肤
相关文章3342019-01-14
硬盘皮肤:PS绘制可爱的小黄鸭输入法皮肤
相关文章3342019-01-14
-
 卡通插画:PS绘制扁平化风格的房屋插画
相关文章6432018-12-25
卡通插画:PS绘制扁平化风格的房屋插画
相关文章6432018-12-25
-
 卡通绘画:PS和AI绘制卡通风格的小象
相关文章4962018-12-23
卡通绘画:PS和AI绘制卡通风格的小象
相关文章4962018-12-23
-
 Photoshop绘制可爱的狗狗教程
相关文章4902018-12-07
Photoshop绘制可爱的狗狗教程
相关文章4902018-12-07
-
 Photoshop绘制卡通风格的机器人插画
相关文章3892018-11-05
Photoshop绘制卡通风格的机器人插画
相关文章3892018-11-05
-
 Photoshop绘制卡通风格的照相机图标
相关文章3742018-10-24
Photoshop绘制卡通风格的照相机图标
相关文章3742018-10-24
