Photoshop绘制超真实的铅笔教程(3)
文章来源于 iconfans.org,感谢作者 leenjia 给我们带来经精彩的文章!Step 12第12步
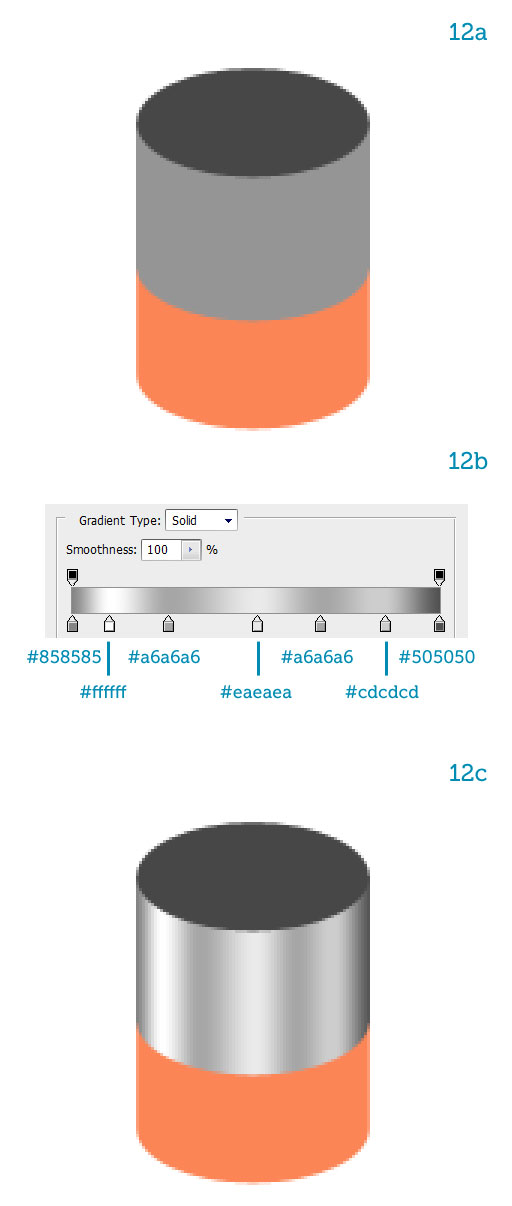
On to the metal clasp now.到现在的金属扣。
Hide the "body" and "tip" layers.隐藏的“身体”和“提示”层。
Darken the top ellipse.变暗顶端椭圆。
It will be the hole where the wooden pencil inserts.这将是洞,插入的木制铅笔。
Fill in the lighter ellipse to close the gap (12a).填写打火机椭圆缩小差距(第12A)。
Apply a Gradient Overlay style with many highlights to get a nice metal surface (12b).适用于许多突出了渐变叠加样式,得到了一个很好的金属表面(12B)款。
Step 13步骤13
Duplicate the "hole" ellipse.重复的“洞”椭圆。
Name the copy "ring," reduce its Fill to 0% then add a dark Stroke (13a).复制名称“环”,减少其填充为0%,然后添加一个黑暗的中风(第13A)。
Erase the top half (13b).擦除的上半部分(第13B)。
Now add a white Drop Shadow (13c) to simulate a highlight (13d).现在添加白色阴影(碳)来模拟一个亮点(第13)。
Make a bunch of copies of the "ring" and arrange them over the metal clasp (13e).记下的“环副本的一群”,并安排了金属扣(13E条)他们。
Group all similar layers together.集团一起类似的层。

Step 14步骤14
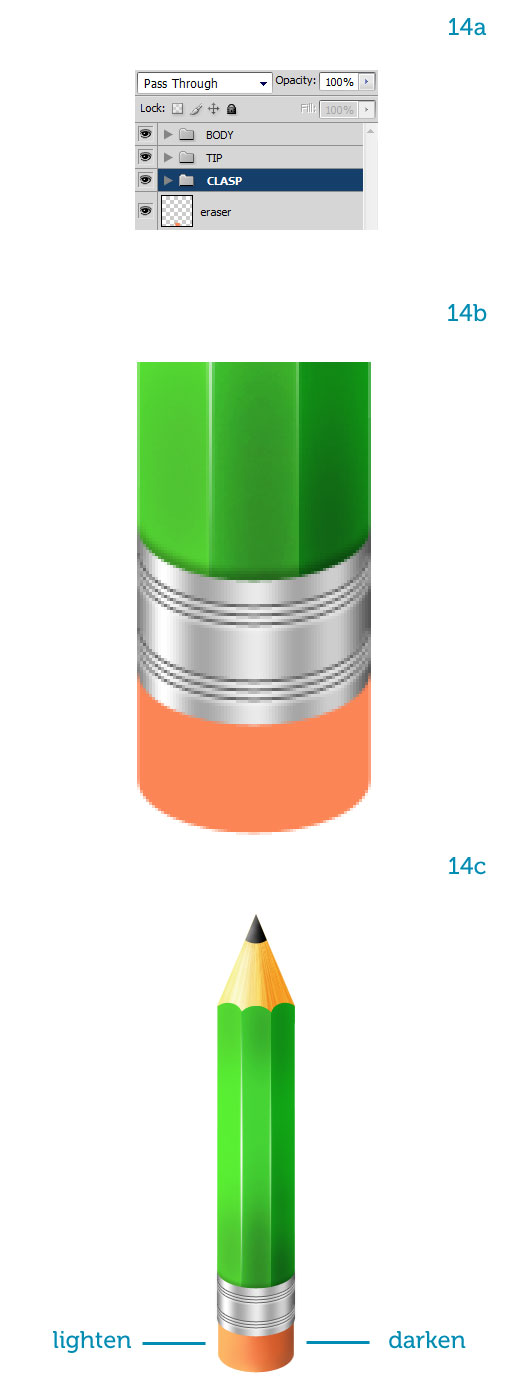
Before we move on let's take a look at the layer structure we have.在我们继续之前,让我们看一看在层结构,我们看看。
It's important to keep files tidy.重要的是要保持档案整洁。
We can easily toggle layers on and off, which speeds up productivity.我们可以很容易地切换和关闭层,其中达生产力的速度。
It also makes complex layer structures less scary to look at (14a).这也使得复合层结构不可怕,研究(第14A)。
Move the "CLASP" group above the "BODY."移动高于“机构的”标识和器具“组。
”
Add an internal shadow by painting with a soft, black brush on a separate layer (14b).添加绘画软,一个单独的层(第14B)黑色画笔内部阴影。
To complete the pencil we have to shade the eraser.为了完成铅笔,我们必须遮盖橡皮擦。
First let's scale it down a bit so it's smaller than the metal clasp.首先,让我们的规模下来了一点,所以比金属扣小。
Then lighten the left part and darken the right part.然后,减轻左侧的一部分,变暗的权利的一部分。
How do you do that?你怎么做呢?
Just like we did for the "lead," lock the eraser's transparency then paint with low opacity brushes along the edges, white to lighten and black to darken (14c).就像我们的“领导做了,”锁定橡皮擦的透明度,然后画刷透明度低沿边缘,白色和黑色,以减轻变暗(14C条)。
Step 15第15步
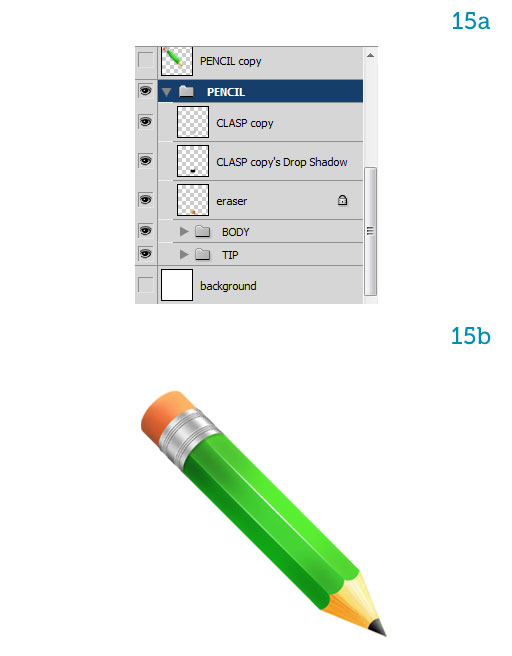
The pencil is complete.铅笔完成。
Select all layers and group them as "PENCIL."选择所有图层和群组中的“铅笔。
”
Duplicate the group and hit Command + E to merge all layers into one.重复组和打击司令部+ E至合并为一个所有层。
Keep the original group for later adjustments, just in case, but work on the single layer from now on (15a).随后进行调整,保持原有的组,以防万一,但是从现在开始的工作(第15a)在单层。
Rotate the pencil 135 degrees clockwise so it points down diagonally (15b).旋转135度顺时针铅笔使其指向下斜(15B条)。
Lock this layer to avoid messing it up.锁定该层,以避免它搞乱。
You can see now that the shading suggests light coming from the top.现在您可以看到显示的阴影光线来自上层。
Let's keep that in mind.让我们记住这一点。
 情非得已
情非得已
-
 Photoshop绘制磨砂风格的插画作品2021-03-16
-
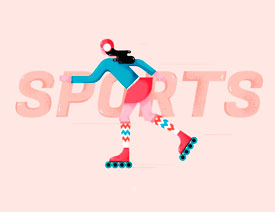
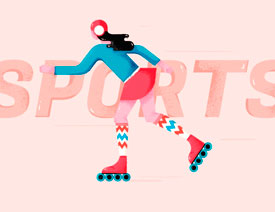 Photoshop结合AI制作扁平化滑轮少女插画2021-03-11
-
 Photoshop结合AI绘制扁平化风格的少女插画2020-03-13
-
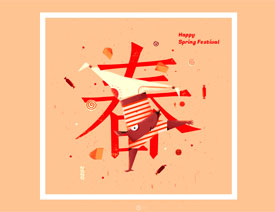 Photoshop结合AI绘制春字主题插画作品2020-03-13
-
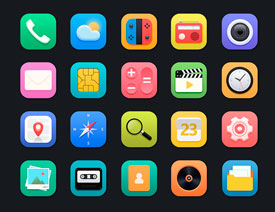 Photoshop绘制时尚大气的手机APP图标2020-03-12
-
 Photoshop绘制立体感十足的手机图标2020-03-12
-
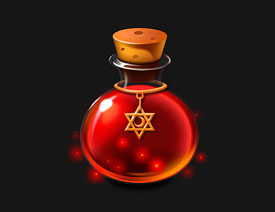 玻璃瓶绘画:PS绘制玻璃质感的魔法瓶2020-03-11
-
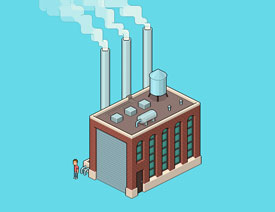 像素工厂:用PS设计等距像素的工厂图标2019-03-20
-
 圣诞老人:使用PS绘制圣诞老人插画2019-02-21
-
 Lumix相机:PS绘制粉色的照相机教程2019-01-18
-
Photoshop结合AI制作扁平化滑轮少女插画2021-03-11
-
Photoshop绘制磨砂风格的插画作品2021-03-16
-
Photoshop绘制磨砂风格的插画作品
相关文章1702021-03-16
-
Photoshop结合AI制作扁平化滑轮少女插画
相关文章2032021-03-11
-
 Photoshop绘制搞怪的胖子人像教程
相关文章6912020-09-26
Photoshop绘制搞怪的胖子人像教程
相关文章6912020-09-26
-
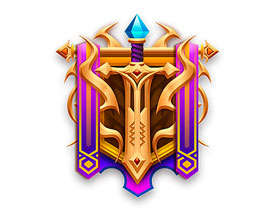 Photoshop绘制立体风格的序章图标
相关文章8612020-04-01
Photoshop绘制立体风格的序章图标
相关文章8612020-04-01
-
Photoshop结合AI绘制扁平化风格的少女插画
相关文章7992020-03-13
-
Photoshop结合AI绘制春字主题插画作品
相关文章4762020-03-13
-
Photoshop绘制立体感十足的手机图标
相关文章6362020-03-12
-
 像素绘画:用PS绘制像素风格树木教程
相关文章10652019-03-26
像素绘画:用PS绘制像素风格树木教程
相关文章10652019-03-26
