Photoshop绘制超真实的铅笔教程
文章来源于 iconfans.org,感谢作者 leenjia 给我们带来经精彩的文章!先看看最终效果图:
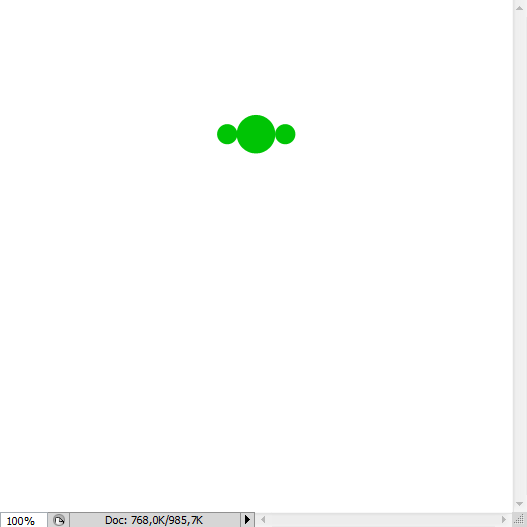
第1步
我们将创建铅笔首先是因为它是我们最棘手的项目图标。 该中心绘制一个小的绿色循环的使用椭圆选框工具(米)的帆布顶。 然后两个较小的副本,每边1。
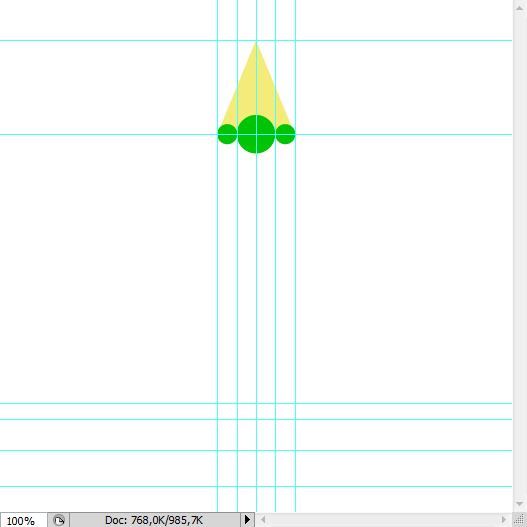
第2步
激活单元从视图菜单(Shift + Command键+;),创造铅笔指南。扣三个各界纪念铅笔地方的垂直边缘会。绘制低于要么使用钢笔工具性(P界分层浅黄色三角形)或多边形套索工具(长),抢购的指导,以确保对称性。命名此三角“的一角。”
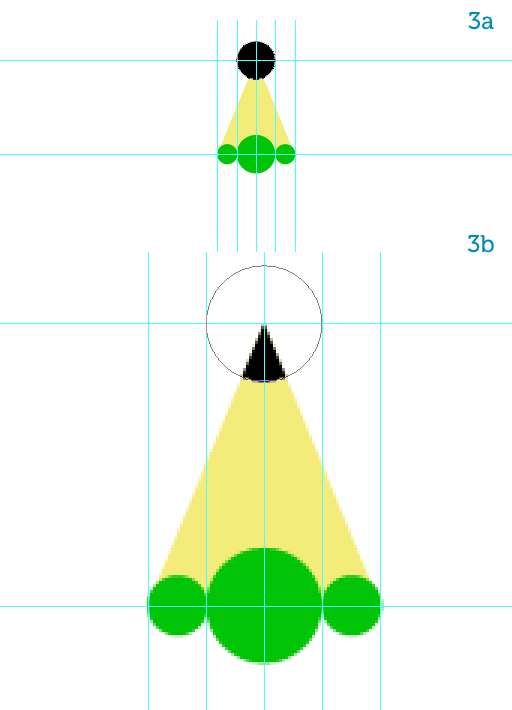
第3步
绘制一份有关“蒂普托普黑色圆圈”,在一个单独的图层,命名为“领导”(3)。命令,单击“提示”层,使用此选项来掩盖“领导”。右键单击图层调板中的面具,选择图层蒙版应用到农作物的“领导”的“小费”(3B)条。
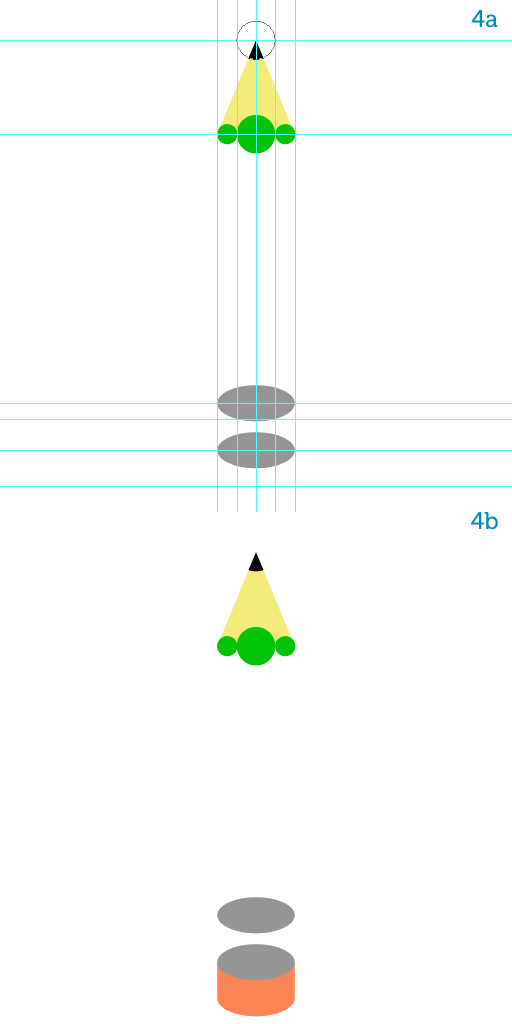
第4步
Add two gray ellipses at the bottom guides, right where the metal clasp will be, using the Ellipse Tool (U) (4a).在底部添加导游两个灰色椭圆,右手边的金属扣将,使用椭圆工具(ü)(4A)条。
Copy the bottom ellipse, name it "eraser" and move it down.复制底部椭圆,将其命名为“擦”,并下移。
Change its color to a pinkish orange then rasterize all three shapes.改变它的颜色粉红橙色然后栅格三种形状。
With a simple rectangular selection fill in the gap between the bottom gray ellipse and the "eraser" (4b).用一个简单的矩形选择填写底部之间的灰色椭圆和“擦差距”(4b)的。
Step 5第5步
Move the bigger green circle down a bit, then using the Pen Tool (P) draw the shape for the pencil's body, snapping to the guides (5a).移动了一点更大的绿色圆圈,然后使用钢笔工具(规划)绘制的铅笔的身体形态,捕捉到导游(5A)条。
Adjust the position of the three circles so they look like a crown on top of the main shape then merge all green shapes together (5b).调整三环地位,它们看起来像一个主要形状的顶部皇冠然后合并在一起的绿色形状(5B)条。

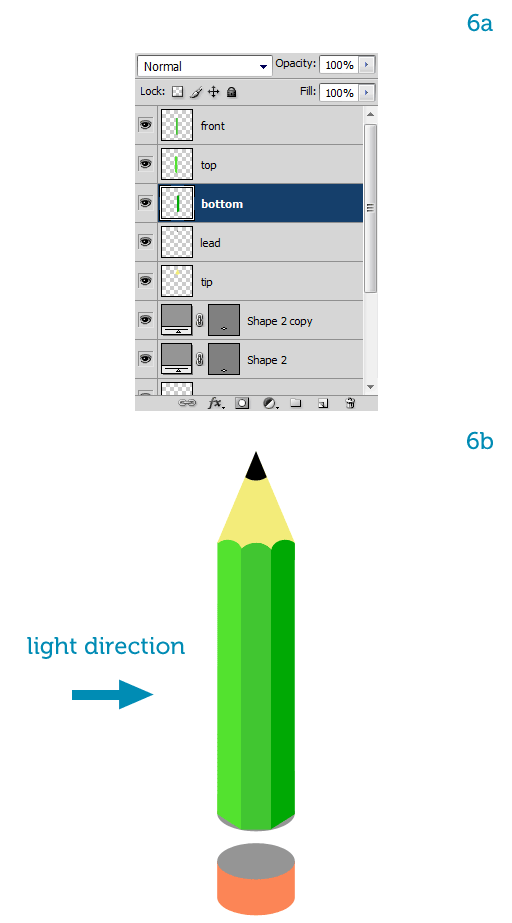
Step 6第6步
Using the Rectangular Marquee Tool (M) and snapping to the edges of the circles at the top, select each vertical side of the pencil's body then hit Shift + Command + J to create a new layer from the selection, or go to Layer > New > Layer via Cut.使用矩形选框工具(M)和捕捉到顶部的圆圈的边缘,选择每一个铅笔的身体垂直一边,然后按下Shift + Command键+ J,为创建一个选择,新的层或去层>“新建“通过剪切层。
You will thus obtain three layers.你将因此获得三个层次。
From left to right name them as follows: "top", "front" and "bottom."从左至右依次为它们命名如下:“顶”,“前线”和“底部。”
When we rotate the pencil so it points to the sketchbook, the left side will be on top, the middle side will be at the front, and the right side will be at the bottom (6a).当我们旋转铅笔,以便它指向写生,左边将顶部,中间方将在前面,右侧将在底部(6A)款。
Let's imagine that the light comes from the left so when we rotate the pencil to make it write on the sketchbook it will appear to be coming from the top.让我们想象,光从左侧所以当我们旋转铅笔,使写在写生,将显示为来自上层来。
To comply with the light's direction we have to make the "top" layer lighter and the "bottom" layer darker.为了遵守光的方向,我们必须使“顶部”层打火机和“底”层暗。
You can use the Brightness/Contrast, the Hue/Saturation (Command + U) or the Levels window to accomplish that.您可以使用亮度/对比度,色相/饱和度(命令+ U)或该级别的窗口实现这一目标。
It's your choice (6b).这是您的选择(型)。
Step 7第7步
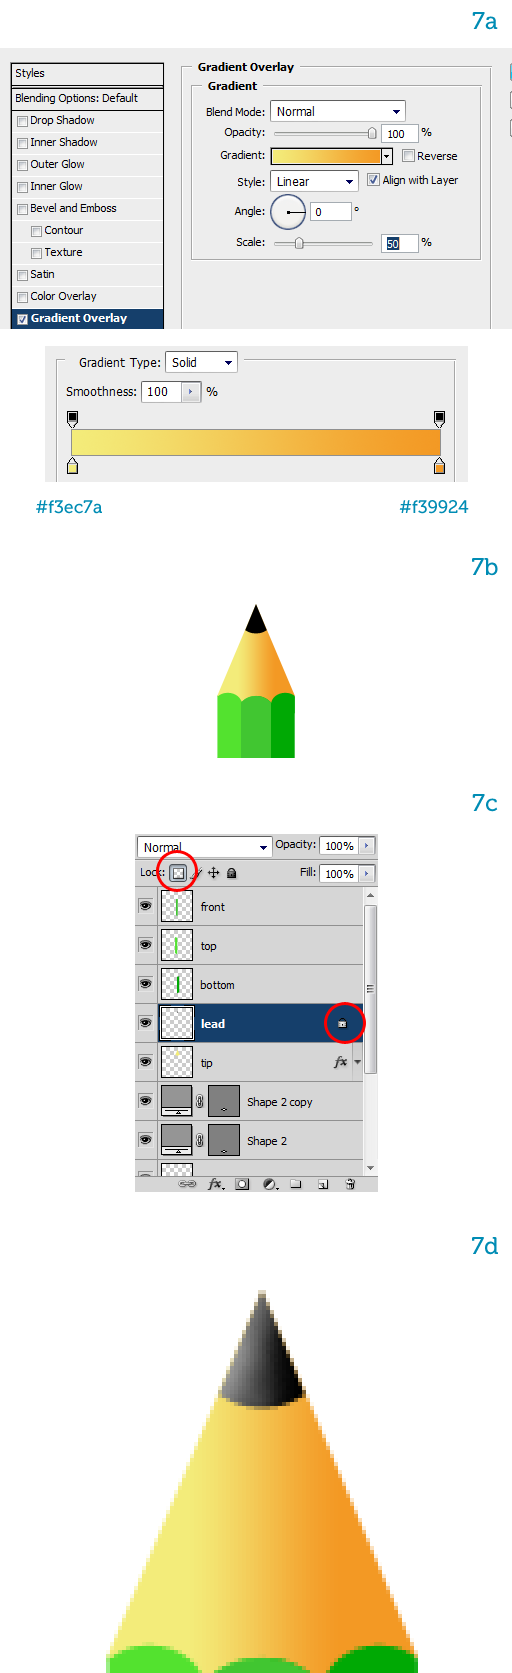
Let's shade the tip now.让我们现在阴影的技巧。
Add a pale yellow-to-orange horizontal Gradient Overlay style to the "tip" layer (7a) so the right part, which will be the bottom once the pencil is rotated, is darker (7b).添加淡黄色到橙色水平渐变叠加样式的“小费”层(7A)条,以便正确的一部分,这将是底部一旦铅笔旋转,是深色(7B)条。
To enforce the lighting we must also brighten the left side of the "lead."执行灯光照亮,我们还必须对“牵头的左边。”
Lock its transparency so you won't be able to paint inside the existing pixels (7c).锁其透明度,使你无法描绘内(7C条)现有的像素。
Hit B to select the Brush Tool and make sure the color is pure white.点击乙选择画笔工具,并确保颜色是纯白色。
Then paint a single stroke along the left side with a big, soft, white brush, while keeping the opacity to a low number (7d).然后画左侧的一杆的大,柔软,白刷,同时保持透明度,以一个较低的数字(7D条)。
This adds a nice, subtle highlight.这增加了一个不错的,微妙的亮点。
 情非得已
情非得已
-
 Photoshop绘制磨砂风格的插画作品2021-03-16
-
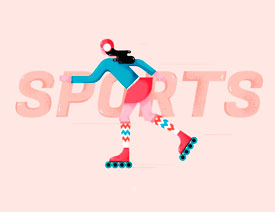
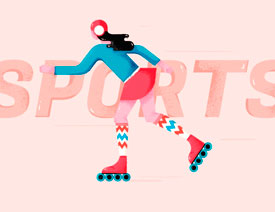 Photoshop结合AI制作扁平化滑轮少女插画2021-03-11
-
 Photoshop结合AI绘制扁平化风格的少女插画2020-03-13
-
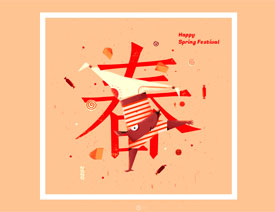 Photoshop结合AI绘制春字主题插画作品2020-03-13
-
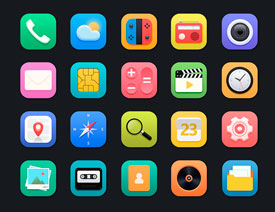 Photoshop绘制时尚大气的手机APP图标2020-03-12
-
 Photoshop绘制立体感十足的手机图标2020-03-12
-
 玻璃瓶绘画:PS绘制玻璃质感的魔法瓶2020-03-11
-
 像素工厂:用PS设计等距像素的工厂图标2019-03-20
-
 圣诞老人:使用PS绘制圣诞老人插画2019-02-21
-
 Lumix相机:PS绘制粉色的照相机教程2019-01-18
-
Photoshop结合AI制作扁平化滑轮少女插画2021-03-11
-
Photoshop绘制磨砂风格的插画作品2021-03-16
-
Photoshop绘制磨砂风格的插画作品
相关文章1702021-03-16
-
Photoshop结合AI制作扁平化滑轮少女插画
相关文章2032021-03-11
-
 Photoshop绘制搞怪的胖子人像教程
相关文章6912020-09-26
Photoshop绘制搞怪的胖子人像教程
相关文章6912020-09-26
-
 Photoshop绘制立体风格的序章图标
相关文章8612020-04-01
Photoshop绘制立体风格的序章图标
相关文章8612020-04-01
-
Photoshop结合AI绘制扁平化风格的少女插画
相关文章7992020-03-13
-
Photoshop结合AI绘制春字主题插画作品
相关文章4762020-03-13
-
Photoshop绘制立体感十足的手机图标
相关文章6362020-03-12
-
 像素绘画:用PS绘制像素风格树木教程
相关文章10652019-03-26
像素绘画:用PS绘制像素风格树木教程
相关文章10652019-03-26
