Photoshop设计Wordpress博客模版以及切片(2)
文章来源于 ximumu.cn,感谢作者 情非得已 给我们带来经精彩的文章!继续添加代码--建一个DIV容器来装所有的图层.
| <body> <div id="page"> <!--Insert the layout here--> </div> <!--End of "page"--></body> |
头部代码:
| <div id="header"> <div id="headerimg"> Page title </div> <div id="top_nav"> <ul> <li>Home</li> <li>About</li> </ul> </div> </div> <!--End of "header"--> |
主内容层代码:
|
<div id="content"> <div class="blogcontent"> <small>November 2nd, 2008 | by admin | <a href="#">Lorem ipsum</a>| <a href="#">Category 1</a>| <a href="#">Uncategorized</a></small> </div> <!--End of "post title"--> </div> <div class="entry"> <img class="alignleft" title="pic-02" src="images/jpgs/pic-01.jpg" border="0" </a> But I must explain to you how all this mistaken idea of denouncing pleasure and praising pain was born and I will give you a complete account of the system, and expound the actual teachings of the great explorer of the truth, the master-builder of human. No one rejects, dislikes, or avoids <a href="#">pleasure</a> itself, because it is pleasure, but because those who do not know how to pursue pleasure rationally encounter consequences that are extremely painful. <a href="#" class="more-link">Read more »</a> </div> <!--End of "post"--> <ul> <li><a href="#">Category 2</a> (1)</li> </li> <li class="archives"> </li> |
footer代码:
|
<br style="clear: both;" /> <div id="footer"> <div class="column2"> <li><a href="#" title="About">About</a></li> |
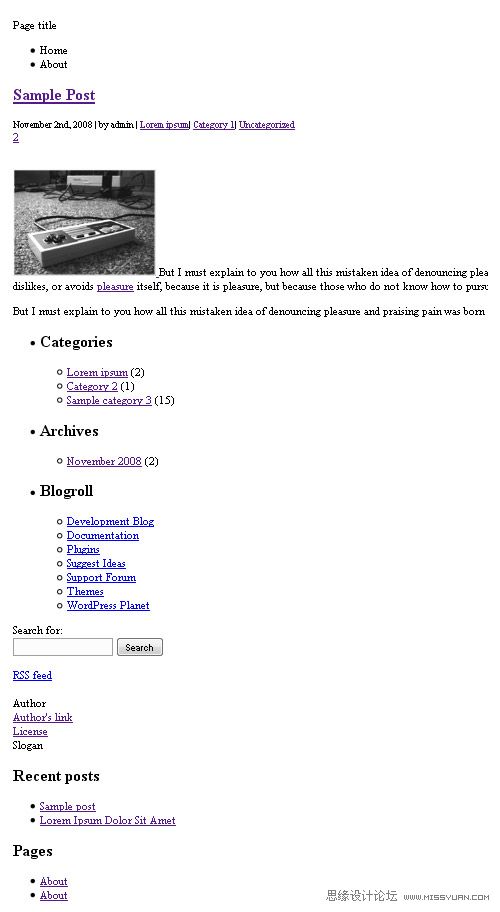
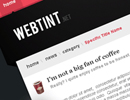
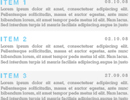
Step6--测试
当我们把代码编好了,下一步要做是测试在浏览器中的效果,在这里我用的是firefox的最高版本.效果如图:
 情非得已
情非得已
-
 Photoshop详解商业磨皮中如何提升照片质感2020-03-19
-
 直方图原理:实例解析PS直方图的应用2019-01-17
-
 工具原理:详解PS渐变映射的使用技巧2019-01-10
-
 Photoshop CC 2019 20.0中文版新功能介绍2018-10-24
-
 Photoshop详解ACR渐变滤镜在后期的妙用2018-09-29
-
 Photoshop通过调色实例解析直方图使用技巧2018-09-29
-
 Photoshop详细解析CameraRaw插件使用2018-03-29
-
 Photoshop解析新手必须知道的学习笔记2017-06-05
-
 Photoshop详细解析曲线工具的使用原理2017-02-08
-
 Photoshop详细解析钢笔工具的高级使用技巧2016-12-08
-
 详细解析对比度和清晰度以及锐化的区别
相关文章15582017-12-08
详细解析对比度和清晰度以及锐化的区别
相关文章15582017-12-08
-
 Photoshop简单6步把Gif动效图嵌入到手机模版
相关文章7092015-11-18
Photoshop简单6步把Gif动效图嵌入到手机模版
相关文章7092015-11-18
-
 Photoshop制作特色质感博客教程
相关文章11992009-12-02
Photoshop制作特色质感博客教程
相关文章11992009-12-02
-
 Photoshop设计淡雅风格的博客网页模板
相关文章13182009-11-13
Photoshop设计淡雅风格的博客网页模板
相关文章13182009-11-13
