Photoshop绘制逼真的苹果MP3播放器
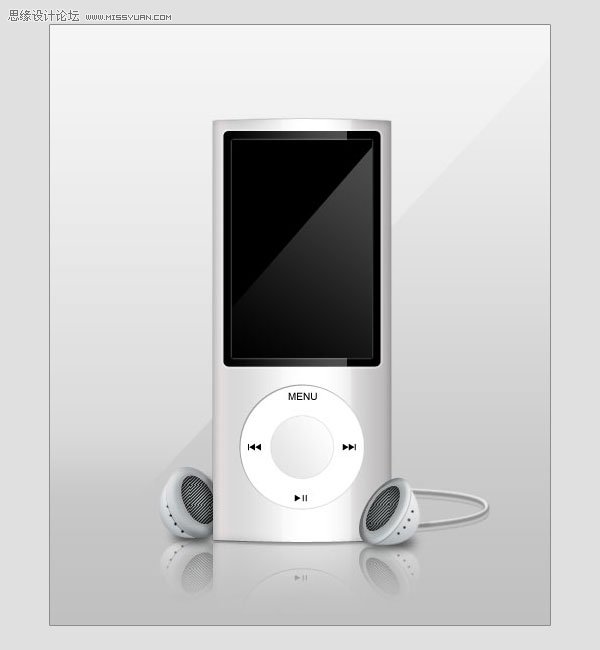
文章来源于 ICONfans,感谢作者 alexguo翻译 给我们带来经精彩的文章!Final Image Preview最终图片预览
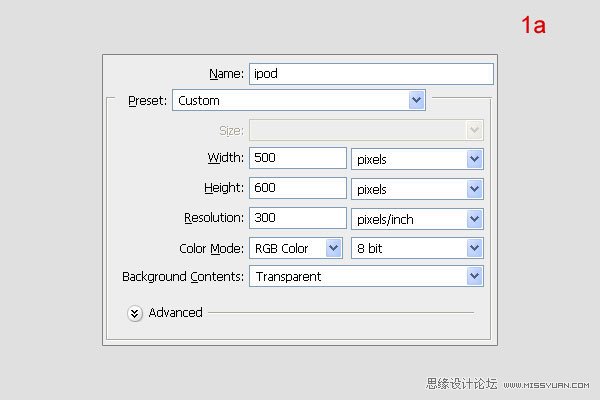
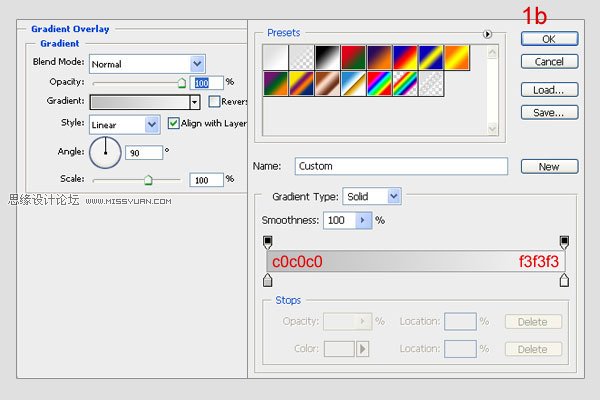
Step 1Create a new document with these settings like 1a. The first layer, call it “background” and fill any color. Then Open the Blending Options and settings (1b).
步骤1
创建一个新文档,参见图1a。第一层命名“background” 可以填充任何颜色。给他添加图层样式,渐变叠加,设置参见b1
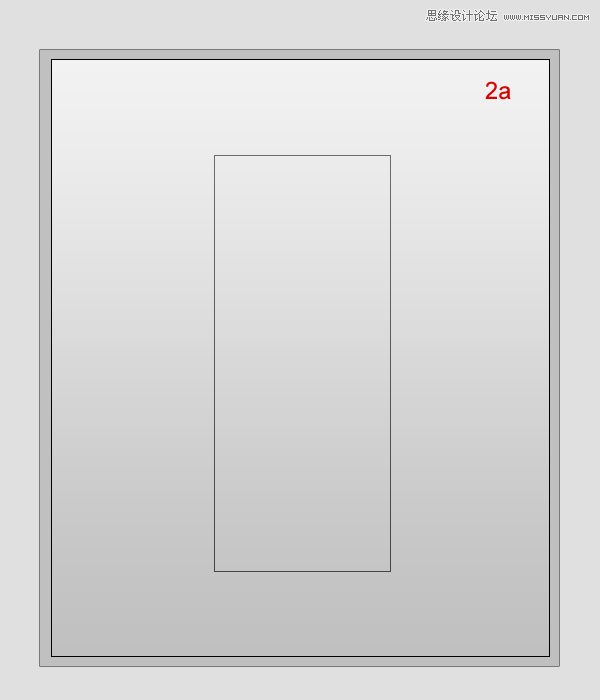
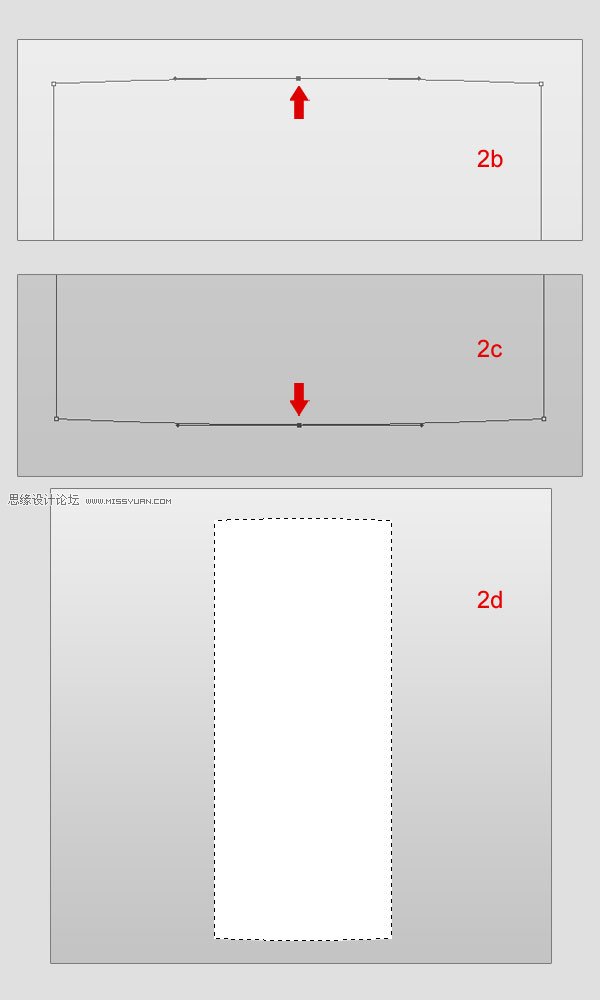
Step 2Create a new folder, call it “ipod”. In this folder, create a new layer, call it “ipod” as well. Select the Rectangle Tool (U) to draw a rectangle shape like the one below (2a). Select the Pen Tool and click on the shape. After that, create four nodes of the shape as shown. At the top line, click to make a node between two top nodes. Then correct the top line of the curve by holding “Command” down, and clicking and dragging the node upward by a little (2b). Do the same with bottom line, but downward this time(2c). Then press Command + Enter to make the selection and fill that with color (2d).
步骤2
创建一个新的文件夹,吧它命名为“ipod”,在这个文件夹里面创建一个新层,命名为“ipod”。使用矩形工具(U)创建一个图2a所示形状。选择钢笔工具在形状添加锚点,如下所示。然后按下Ctrl + Enter建立选区,并填充颜色,参见(2d)
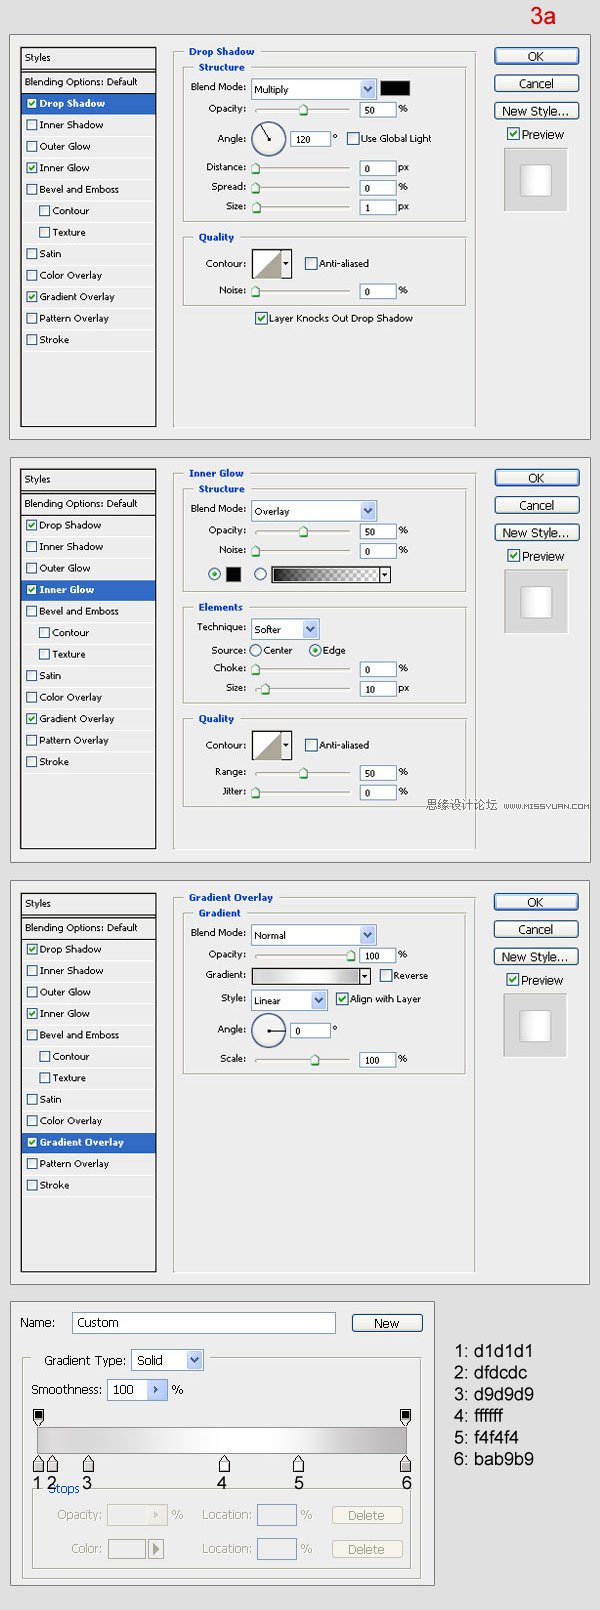
Step 3Open the Blending Options menu for “ipod” and adjust the settings like in image 3a. Create a new layer on top, call it “light ipod”. Use the Rectangular Marquee Tool (M) to make a rectangle selection and fill it with white (3b). Then reduce the Opacity to 30% (3c).
步骤3
给“iPod”添加图层样式,参见图3a的设置。在“iPod”上面创建一个新层,命名为“light ipod”。使用矩形选框工具(m)建立选区如图(3b)并填充白色。然后,将不透明度设置为30%(3c)。

 情非得已
情非得已
-
 Photoshop绘制磨砂风格的插画作品2021-03-16
-
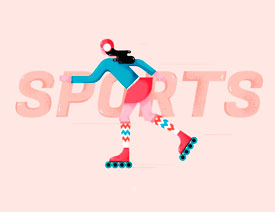
 Photoshop结合AI制作扁平化滑轮少女插画2021-03-11
-
 Photoshop结合AI绘制扁平化风格的少女插画2020-03-13
-
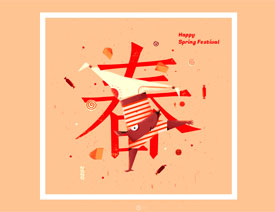 Photoshop结合AI绘制春字主题插画作品2020-03-13
-
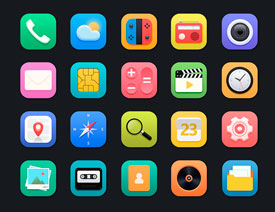 Photoshop绘制时尚大气的手机APP图标2020-03-12
-
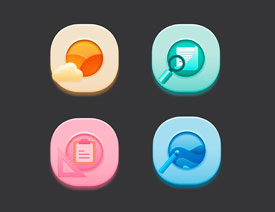 Photoshop绘制立体感十足的手机图标2020-03-12
-
 玻璃瓶绘画:PS绘制玻璃质感的魔法瓶2020-03-11
-
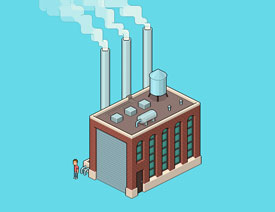 像素工厂:用PS设计等距像素的工厂图标2019-03-20
-
 圣诞老人:使用PS绘制圣诞老人插画2019-02-21
-
 Lumix相机:PS绘制粉色的照相机教程2019-01-18
-
Photoshop结合AI制作扁平化滑轮少女插画2021-03-11
-
Photoshop绘制磨砂风格的插画作品2021-03-16
-
 蝴蝶结绘画:PS绘制逼真的蝴蝶结图标
相关文章7222019-01-07
蝴蝶结绘画:PS绘制逼真的蝴蝶结图标
相关文章7222019-01-07
-
 商业插画:PS绘制逼真的DC海王插画
相关文章8962018-12-20
商业插画:PS绘制逼真的DC海王插画
相关文章8962018-12-20
-
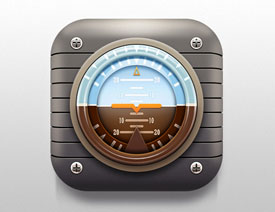 Photoshop绘制立体逼真的拟物仪表盘图标
相关文章19312018-11-03
Photoshop绘制立体逼真的拟物仪表盘图标
相关文章19312018-11-03
-
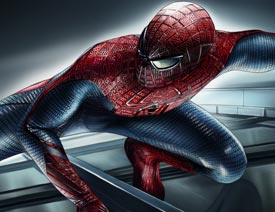 Photoshop绘制逼真的超凡蜘蛛侠教程
相关文章11872018-09-17
Photoshop绘制逼真的超凡蜘蛛侠教程
相关文章11872018-09-17
-
 Photoshop绘制逼真的游戏宝箱图标
相关文章4902018-09-12
Photoshop绘制逼真的游戏宝箱图标
相关文章4902018-09-12
-
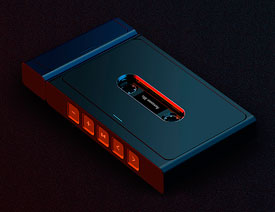 Photoshop结合AI制作卡式播放器图表
相关文章7922018-09-07
Photoshop结合AI制作卡式播放器图表
相关文章7922018-09-07
-
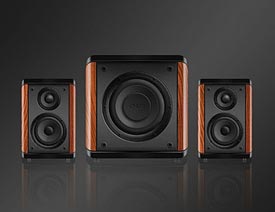 Photoshop鼠绘逼真的音响图标教程
相关文章8722018-09-03
Photoshop鼠绘逼真的音响图标教程
相关文章8722018-09-03
-
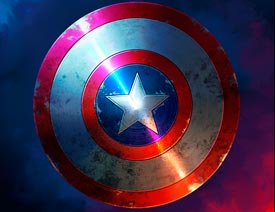 Photoshop绘制逼真的美国队长盾牌教程
相关文章14742018-08-23
Photoshop绘制逼真的美国队长盾牌教程
相关文章14742018-08-23
