Photoshop制作复古花朵组成的艺术字【英】
文章来源于 Tutsplus,感谢作者 Rose 给我们带来经精彩的文章!Day of the Dead (Día de Muertos) is a Mexican holiday that celebrates the spirit and honors the memory of the friends and family members who have died. Marigold is the traditional flower used in the celebration of the Day of the Dead, as well as in the decoration of the Sugar Skulls, which are the most popular symbol of that day.
教程素材:http://www.daimg.com/photoshop/201511/photoshop_74760.html
This tutorial will show you how to create simple marigold flowers, and use them with a couple of brushes, textures, layer styles, and shape settings, in order to create a Day of the Dead sugar skull-inspired text effect. Let's get started!
If you're interested in buying a graphic, vector, or template (to complement your work on the text effect), there's a useful collection of Day of the Dead items on GraphicRiver.
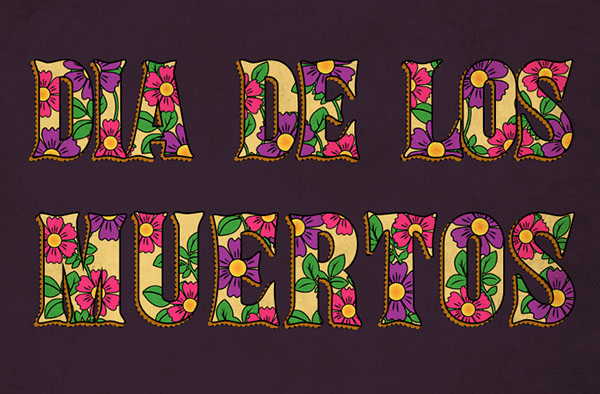
先看看效果图
1. Create the Basic Guidelines
Step 1
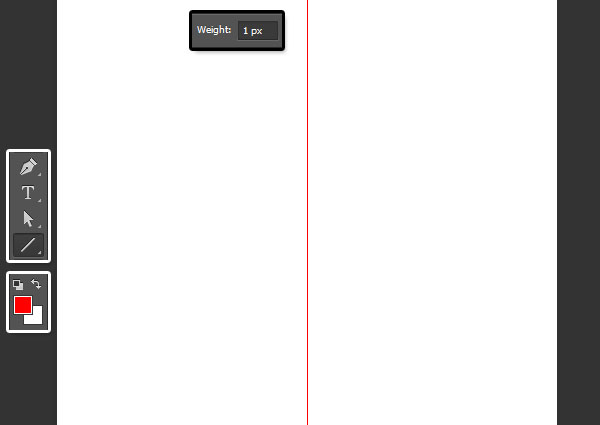
Create a new 500 x 500px document, and pick the Line Tool.
Set the Foreground color to Red, and in the Options bar, set the Weight to 1.
Create a vertical line in the center of the document, and extend it a little bit outside.
Step 2
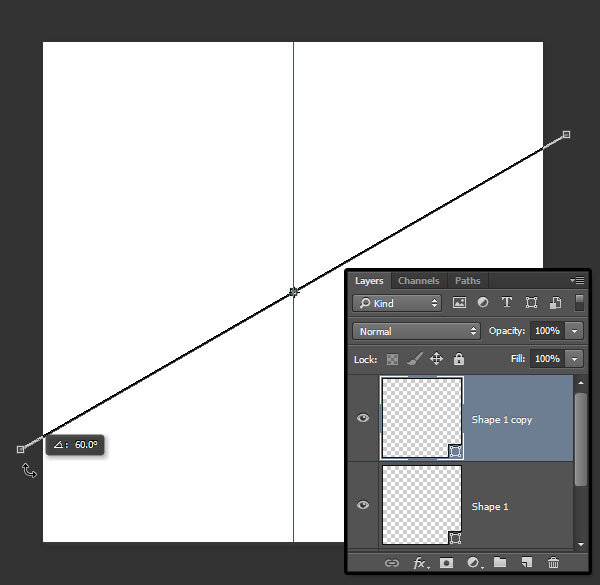
Duplicate the line shape layer, and rotate the copy line 60° counter-clockwise.
Step 3
Duplicate the copy line and rotate the second copy another 60° counter-clockwise.
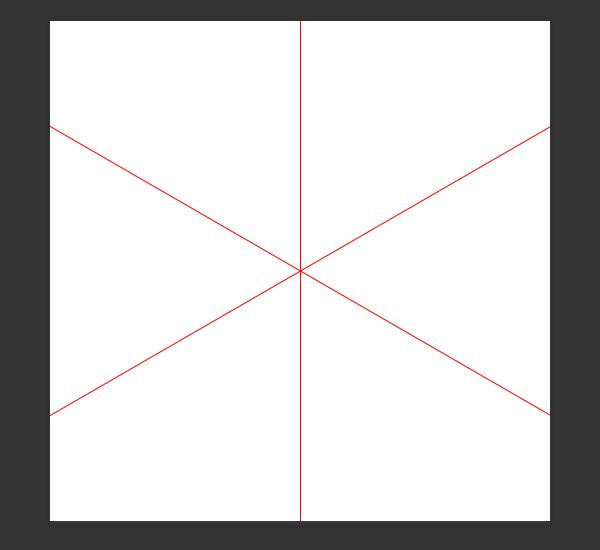
Step 4
Select all the line shape layers, go to Layer > Merge Shapes, and rotate the merged shapes 30° clockwise. You can lock that layer if you like once you're done.
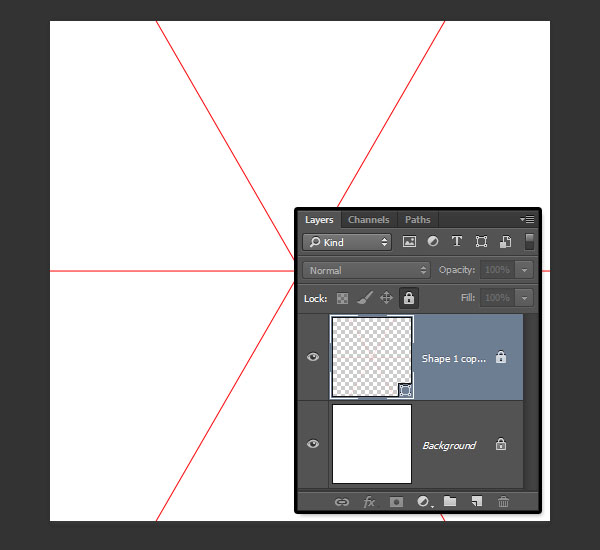
Step 5
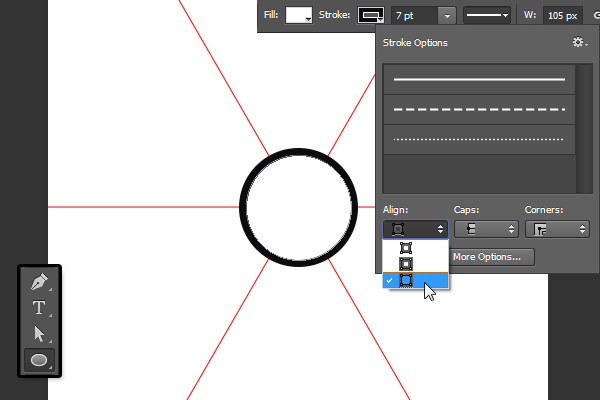
Pick the Ellipse Tool and create a 366 x 373 px ellipse in the center of the document.
In the Options bar, change the Fill Color to White, the Stroke Color to Black, and click the Set shape stroke type icon to change Align to Outside.
2. Create the Petals
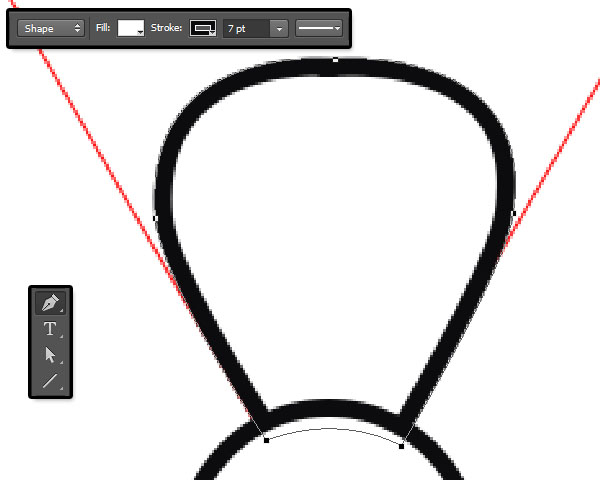
Step 1
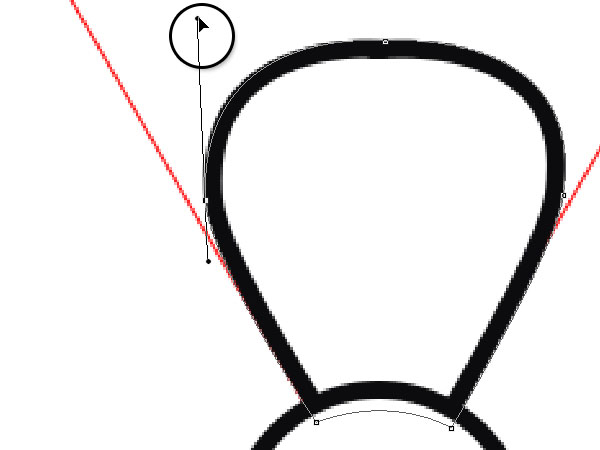
Pick the Pen Tool, choose the Shape option in the Options bar, and set the Fill Color to White, the Stroke Color to Black, and its Size to 7.
What you'll need to do next is create the basic petal shape.
You can click once to add points, and click and drag to create curves. Use the shape below as a guide to how many anchor points you need and where they should be placed.
Don't worry about making the shape perfect, as we'll work on that in the next step.
Step 2
Once you create the basic shape, you can pick the Direct Selection Tool, and click-drag the anchor points to change their position.
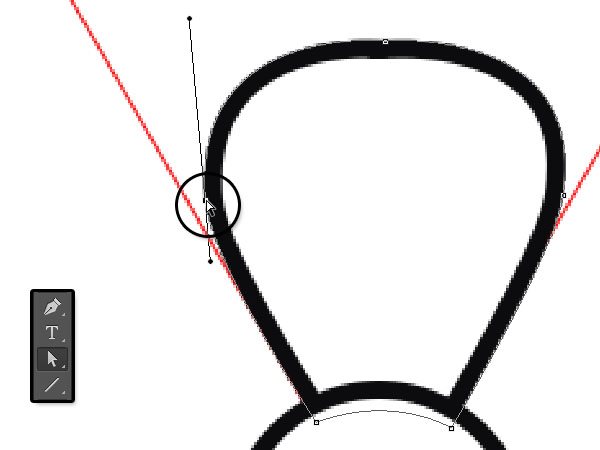
Step 3
You can also click and move the handles at both ends of the anchor point to change the curve's shape.
Take some time to work on the petal shape until you like the result you get.
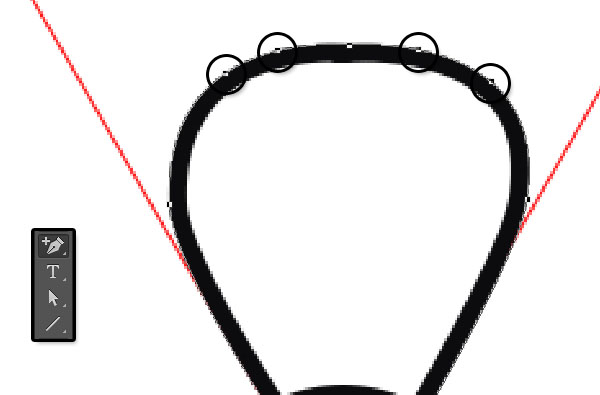
Step 4
Pick the Add Anchor Point Tool, and add four anchor points as shown below.
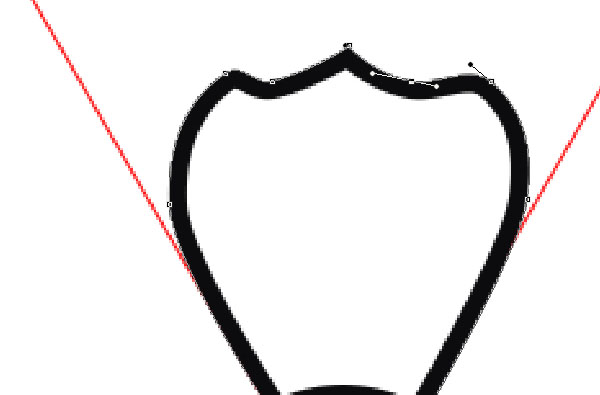
Step 5
Pick the Direct Selection Tool, and click and drag each of the second and fourth anchor points down, changing their shape as you like to create the jagged edges of the petal.
 爱你不要你
爱你不要你
-
 Photoshop制作复古风格的老照片效果【英】2018-04-23
-
 Photoshop合成长着创意大树的长颈鹿【英】2018-04-23
-
 Photoshop合成冰冻特效的金鱼场景【英】2018-02-10
-
 Photoshop合成梦幻风格的森林场景【英】2018-02-10
-
 Photoshop合成正在施法的巫师【英】2018-02-10
-
 Photoshop制作金属质感的3D立体字【英】2018-01-09
-
 Photoshop设计火焰燃烧艺术字教程【英】2018-01-09
-
Photoshop制作复古风格的老照片效果【英】
相关文章11882018-04-23
-
 Photoshop制作黄金质感立体字【英】
相关文章7422018-02-10
Photoshop制作黄金质感立体字【英】
相关文章7422018-02-10
-
 Photoshop制作惊艳大气的3D立体字
相关文章14682018-02-10
Photoshop制作惊艳大气的3D立体字
相关文章14682018-02-10
-
 Photoshop制作复古双重曝光字体
相关文章6532018-01-09
Photoshop制作复古双重曝光字体
相关文章6532018-01-09
-
 Photoshop制作木地板LOGO刻印效果【英】
相关文章19272018-01-09
Photoshop制作木地板LOGO刻印效果【英】
相关文章19272018-01-09
-
Photoshop制作金属质感的3D立体字【英】
相关文章4612018-01-09
-
Photoshop设计火焰燃烧艺术字教程【英】
相关文章7612018-01-09
-
 Photoshop制作可爱的糖果饼干字【英】
相关文章6722017-12-25
Photoshop制作可爱的糖果饼干字【英】
相关文章6722017-12-25
